
The best trail camera isn't a single product—it's the one that perfectly lines up with what you’re trying to accomplish. A hunter needing live updates from a remote food plot is going to want a cellular model. On the other hand, a researcher documenting nesting habits for a long-term study will likely prioritize a non-cellular camera with marathon battery life.
It all comes down to the mission.
Your Quick Guide to Finding the Best Trail Camera

Diving into the world of trail cameras can feel like learning a new language. You'll hear terms like "trigger speed," "detection range," and "flash type," and it's easy to get bogged down in the technical jargon. But figuring out what are the best trail cameras boils down to one simple question: What problem are you trying to solve?
Answering that is your first step. Your main goal—whether it's scouting an elusive buck, keeping an eye on your property line, or just capturing some incredible wildlife photos—is what dictates which features are mission-critical and which are just nice to have. This guide is built to cut through that noise, starting with the biggest decision you'll make.
Start with Your Connection Needs
The first major fork in the road is choosing between a cellular and a non-cellular camera. This one decision impacts everything that follows, from convenience and cost to how you'll interact with the camera in the field.
- Cellular Cameras: Think of these as your real-time eyes in the woods. They instantly send photos and videos straight to your phone, making them perfect for remote spots you can't visit often or for time-sensitive jobs like security and active hunt scouting.
- Non-Cellular (SD Card) Cameras: These are the dependable workhorses. They save everything to a physical SD card that you have to retrieve by hand. It's a simpler, more affordable approach without any monthly data fees.
The core difference isn't just technology; it's a philosophy. Cellular models are all about immediate information and interaction. Non-cellular models prioritize simplicity, long-term data collection, and sticking to a budget.
Making this choice first streamlines the entire process. If you know you need instant alerts, you can immediately focus on cellular options. But if you’d rather pull cards on a weekly schedule and avoid data plans, then non-cellular models are where you should be looking.
Finding a great value is important either way. That’s why we created a detailed breakdown of the best game cameras for the money to help you find a high-performer that fits your budget.
To make this even clearer, here’s a quick breakdown of how different use cases match up with camera types.
Quick Look At Trail Camera Types And Use Cases
This table should help you quickly match your needs to the right kind of camera and the features that matter most for that job.
| Use Case | Recommended Camera Type | Key Feature to Prioritize | Typical Price Range |
|---|---|---|---|
| Big-Game Hunting | Cellular or High-End Non-Cellular | Trigger Speed & Low-Glow/No-Glow Flash | $120 - $400 |
| Wildlife Research | Non-Cellular (SD Card) | Battery Life & Video Quality | $80 - $250 |
| Property Security | Cellular | Instant Notifications & Detection Range | $150 - $500 |
| Casual Observation | Non-Cellular (SD Card) | Image Quality & Ease of Use | $50 - $150 |
Ultimately, this table is just a starting point. Your specific property, budget, and goals will help you dial in the perfect setup.
A Growing Market Driven By Real-World Needs
The demand for these cameras is exploding. The trail camera market was valued at over USD 101.7 million in 2022 and continues to climb, fueled by hunters, researchers, and security-conscious landowners.
What's really interesting is that cameras with 8 to 12-megapixel resolution held a massive 57.5% market share. This tells us that most people are prioritizing clear, reliable images over chasing the highest megapixel counts on the box—a sign that the technology is maturing to meet practical, real-world needs.
How to Decode Trail Camera Features and Specs
Staring at the back of a trail camera box can feel like trying to read a foreign language. All those numbers and technical terms are enough to make anyone’s head spin. But figuring out what they actually mean is the secret to getting a camera that does what you need it to, without overpaying for features you’ll never use.
Let's break down the jargon into real-world performance.
Think of trigger speed as the camera's reaction time. It’s the tiny gap between the moment a deer walks into the sensor’s view and when the shutter actually clicks. A blazing-fast trigger, say 0.2 seconds, is crucial if you want a crisp, centered shot of a buck trotting down a game trail. A slower speed, like 0.8 seconds, might just get you a blurry picture of his tail as he leaves the frame.
Now, a slow trigger isn’t always a deal-breaker. If you’re setting up over a bait pile where a bear might hang out for a few minutes, that half-second delay won't make a difference. The trick is to match the camera's reflexes to how fast your target is moving.
Megapixels Are Not the Whole Story
It’s easy to get caught up in the megapixel race, assuming that a bigger number automatically means a better photo. While a higher megapixel count can create a larger image file, the real MVPs of picture quality are the lens and the image sensor.
A camera with 12 megapixels paired with a top-notch sensor and glass lens will almost always deliver clearer, richer images than a cheap camera claiming 30 megapixels with subpar components. My advice? Look for a camera that balances its specs—don't just get hypnotized by the biggest number on the box.
Video quality is another key spec, usually shown as 1080p (Full HD) or 4K (Ultra HD). Honestly, for most hunters and property owners, 1080p is the sweet spot. It gives you excellent clarity without creating gigantic files that chew through your battery life and SD card space. 4K is awesome for YouTubers or anyone needing cinematic-level footage, but it's overkill for basic scouting.
Understanding Detection and Recovery
The detection range is how far out the camera’s sensor can sense motion and heat. A camera might boast an 80-foot flash range, but if its detection circuit only reaches 60 feet, it’s never going to trigger on an animal standing 70 feet away. You need the detection and flash ranges to be a good match, otherwise, you have a bottleneck.
Just as important is the recovery time. This is how fast the camera can get ready to take another picture after the first one. A quick recovery of a second or two means you'll get multiple shots of a whole string of does walking past. A slow recovery of 30 seconds or more? You'll get the lead doe and miss the rest of the group entirely.
Key Takeaway: A trail camera is a system, and every part has to work together. A lightning-fast trigger doesn't help if the detection range is too short, and amazing resolution is worthless if the lens is foggy or cheap.
The Critical Role of Flash Type
The kind of flash a trail camera uses is a huge deal. It determines what your nighttime pictures look like and, more importantly, whether animals even know the camera is there. This is one of the most important decisions you'll make, especially for hunting or security.
You’ll run into three main types:
-
No-Glow (Invisible IR): This flash is completely invisible to humans and animals. It’s the ultimate choice for stealth, making it perfect for security or monitoring skittish, mature bucks. The only trade-off is that nighttime images can sometimes be a little darker or grainier than other types.
-
Low-Glow (Red Glow IR): This is the most popular type of flash for a reason. It emits a very faint red glow from the LEDs when it goes off at night. If you’re looking right at it, you can see it, but most animals don't seem to care. The payoff is that low-glow flashes usually produce brighter, sharper night photos with a longer reach than no-glow.
-
White Flash (Incandescent): This works just like the flash on a regular point-and-shoot camera, blasting out a bright white light. It's the only way to get full-color photos and videos at night. The downside is that it’s impossible to miss. It will absolutely alert animals (and people) to your camera’s location, making it a poor choice for most hunting and security setups.
Understanding how all these specs connect is the key. For instance, the whole process starts with the PIR (Passive Infrared) sensor, which detects the heat and motion that triggers the camera. The sensitivity of that sensor is a critical setting you'll need to master. To really get into the weeds on that, check out our guide that explains what PIR sensitivity is on a trail camera and how to dial it in perfectly.
Choosing Between Cellular and Non-Cellular Trail Cameras
The biggest decision you'll make when buying a trail camera is how you get your photos. This choice splits the market down the middle and impacts everything from your budget to how you scout. It’s the difference between getting real-time intel from the field and waiting days—or weeks—to see what walked by your stand.
Think of it this way: a cellular trail camera is your scout in the woods, ready to text you a picture the second a buck shows up. A non-cellular camera, on the other hand, is more like a silent photographer, patiently storing its work on an SD card until you hike in to retrieve it.
The Instant Gratification of Cellular Cameras
Cellular models are all about immediate information. They tap into 4G networks to send photos and videos straight to an app on your phone, giving you a live look at what’s happening on your property, no matter where you are.
This real-time feedback is a massive advantage in a few key situations:
- Remote Property: Perfect for spots that are hours away. You save fuel, time, and avoid spooking game by repeatedly walking in.
- Security: Get instant alerts if trespassers show up, letting you react immediately instead of finding out a week later.
- Active Hunting: Track game movement during the season to make smarter, faster decisions on where to hunt next.
Of course, this convenience isn't free. Cellular cameras require a monthly or annual data plan, just like a cell phone. These plans vary depending on how many photos or videos you need. You'll also need to make sure there's a decent cell signal where you plan to hang the camera.
If you want to dive deeper into the tech, check out our guide on how do cellular trail cameras work. It breaks down the whole process.
The Simple Reliability of Non-Cellular Cameras
Non-cellular, or traditional SD card cameras, are the straightforward workhorses of the trail cam world. They’re usually cheaper upfront and have zero monthly fees, making them a fantastic choice if you're on a budget or setting up in an area with no cell service.
Their operation couldn't be simpler: the camera takes pictures and saves them to an SD card. To see your photos, you have to physically go to the camera, swap the card, and view the files on a computer or card reader.
The core appeal of non-cellular cameras is their set-it-and-forget-it nature. They excel in long-term studies, monitoring low-traffic areas, or for anyone who enjoys the routine of checking their cameras and discovering what’s been happening.
This manual process is both their biggest strength and their biggest weakness. It saves you money, but it also means you’re always behind the action. That delay can be a serious handicap for security or time-sensitive hunting scenarios.
To help you weigh the options, here's a side-by-side comparison.
Cellular Vs. Non-Cellular Camera Feature Comparison
| Feature | Cellular Trail Camera | Non-Cellular (SD Card) Camera |
|---|---|---|
| Initial Cost | Higher | Lower |
| Ongoing Costs | Monthly/annual data plan required | None |
| Image Retrieval | Instant, sent to your phone/app | Manual, requires visiting the camera |
| Convenience | High (remote access) | Low (physical access needed) |
| Best For | Remote properties, security, active hunting | Budget-conscious users, areas with no cell service, low-traffic spots |
| Battery Life | Can be shorter due to data transmission | Generally longer |
| Setup | Requires account and plan activation | Simple: insert batteries and SD card |
Ultimately, both camera types get the job done, but they serve very different needs. The table makes it clear: if you value immediate information and remote management, cellular is the way to go. If you prioritize simplicity and low cost, a traditional SD card camera is a reliable choice.
A Market Expanding Beyond the Hunt
The capabilities of both camera types are fueling massive growth in the industry, well beyond the hunting community. In 2023, over 9 million trail cameras were shipped globally—a huge jump from 6.2 million in 2020. This boom is driven by a surge in wildlife research, law enforcement, and property surveillance, with these non-hunting uses growing by 28% in 2023 alone. You can find more insights in the full MarketGrowthReports analysis.
This decision tree helps visualize another key feature—flash type—that’s important for both cellular and non-cellular models.
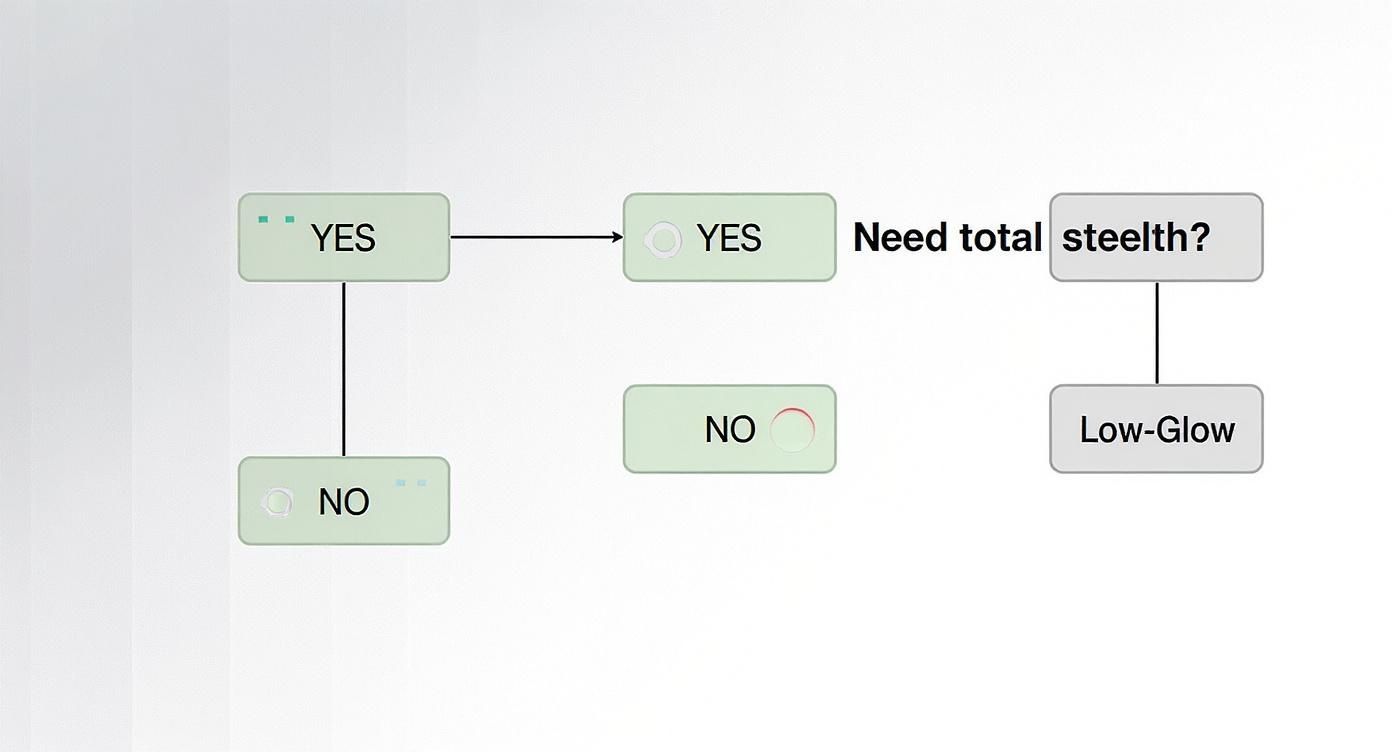
As you can see, if total stealth is your top priority for security or wary game, a no-glow flash is the only way to go.
Your journey to finding the perfect trail camera starts right here. Weigh the instant convenience and recurring cost of a cellular model against the simple, manual approach of a non-cellular one. Your answer will immediately narrow your search and get you on the right path.
Matching Your Camera to Your Primary Mission
Knowing the specs of a trail camera is one thing, but connecting those features to your goal is where the real magic happens. The best cameras aren't chosen from a spec sheet alone; they’re picked because they're the right tool for a specific job.
Your mission—whether it’s patterning a trophy buck, capturing beautiful wildlife footage, or securing your property—should drive every choice you make.
Let's break down how to match a camera to three of the most common missions.
For the Big-Game Hunter: The Tactical Advantage
For a serious hunter, a trail camera is way more than a scouting gadget. It’s a source of critical, real-time intel. The goal is to pattern animal movement with the least possible disturbance, and that requires a specific blend of stealth, speed, and connectivity.
The single biggest game-changer for hunting is cellular connectivity. Getting a picture of your target buck sent to your phone the second he shows up at a scrape means you can make decisions on the fly. It stops you from wasting a morning in a dead stand or, even worse, bumping deer on your way in to pull an SD card.
Speed is another non-negotiable. Deer are almost always on the move, and a camera with a slow trigger speed will give you a fantastic collection of photos of deer hindquarters. Look for speeds of 0.4 seconds or faster to guarantee you get a clear, centered shot of whatever walks by.
Finally, stealth is everything.
A mature buck didn't get old by being sloppy. A visible flash or a loud shutter click can teach him exactly where your camera is, and he'll start avoiding that spot like the plague. This is why a no-glow flash is the gold standard for serious hunters—it's completely invisible to an animal's eye.
Hunter's Checklist:
- Top Priority: Cellular capability for real-time intel.
- Must-Have: Fast trigger speed (under 0.5 seconds) to capture moving game.
- Essential for Stealth: No-glow infrared flash to stay totally undetected.
For the Wildlife Photographer and Researcher: The Unblinking Eye
When your objective shifts from hunting to documentation—whether for art or science—your priorities change, too. Here, the mission is to capture the highest quality images and video possible, often over very long periods. You need a camera that can act as a patient, unblinking eye in the wild.
Image and video quality are now the top concerns. This is where you need to look past megapixel counts and focus on the lens quality and image sensor. A camera with a top-notch sensor can produce incredible 4K video, which is priceless for professional content creators or researchers studying animal behavior. The ability to capture clear audio adds another rich layer of data.
Since these cameras are often left in the field for weeks or even months at a time, battery life is a make-or-break factor. Non-cellular models usually have a big advantage here since they aren't constantly sipping power to transmit data. Pair one with high-capacity lithium batteries or a solar panel, and you can extend your deployment times dramatically.
Understanding how to match gear to a specific task is a universal principle. For instance, when choosing the best drones for professional photography, a photographer matches the drone’s camera specs to their project. The same logic applies here.
Photographer's Checklist:
- Top Priority: High-resolution sensors for crisp photos and 1080p or 4K video.
- Must-Have: Excellent battery life for long-term, undisturbed deployments.
- Nice-to-Have: Time-lapse modes and high-quality audio recording.
For Property Security: The Silent Sentry
Using a trail camera for security turns it into a rugged, discreet sentry that watches over your property 24/7. The mission here is immediate awareness and clear identification. Your camera has to detect threats reliably and tell you about them instantly, regardless of the conditions.
For security, cellular models are almost always the right call. Getting an instant notification on your phone the moment motion is detected lets you react immediately, whether that means calling a neighbor or the authorities. A non-cellular camera that only tells you about a trespasser a week after it happened isn't much help.
A wide detection angle and long range are also crucial. You want the camera to cover as much ground as possible, like a wide driveway or a long fence line. This ensures you capture activity across the entire scene, not just in a tiny slice of it.
Finally, durability is key. A security camera needs to be built to handle bad weather and potential tampering. Look for a weatherproof design and think about adding a steel security box and a cable lock to protect your investment from both two-legged and four-legged threats. The invisible nature of a no-glow flash is also a huge advantage for security, as it won't tip off intruders to the camera's location.
Security Checklist:
- Top Priority: Cellular capability for instant alerts and remote monitoring.
- Must-Have: Wide detection angle and long range to cover key areas.
- Essential for Reliability: Rugged, weatherproof construction and theft-deterrent accessories.
Mastering Trail Camera Placement and Setup
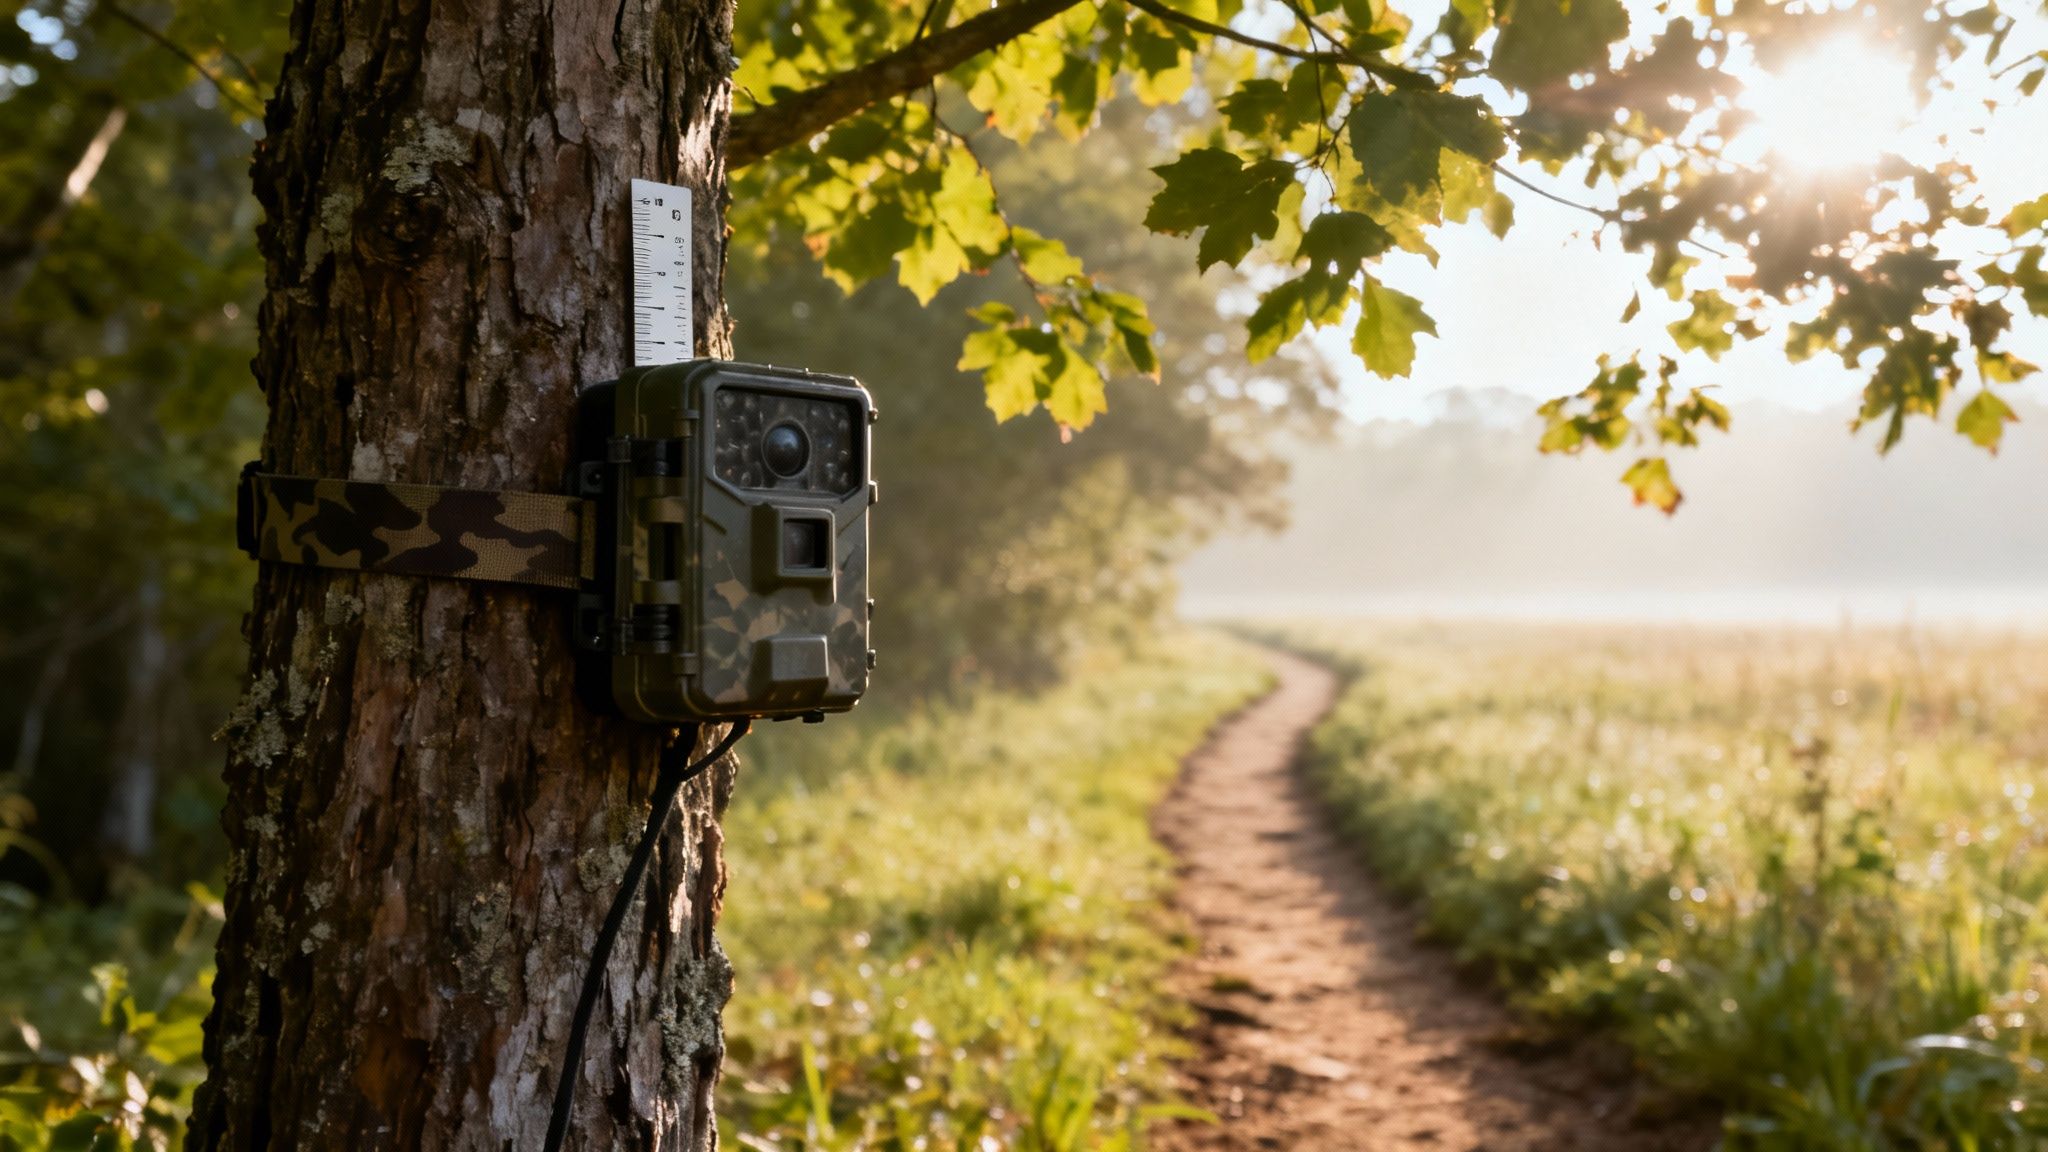
Owning a great trail camera is only half the battle. Its real performance comes down to one thing: how you deploy it in the field. A top-tier camera in the wrong spot will give you nothing but empty shots, while a well-placed budget model can unlock incredible insights.
Mastering placement and setup is what separates an empty SD card from a gallery of trophy bucks. Think of your camera's lens as the final piece of the puzzle. It can only see what you put in front of it, so it's your job to anticipate the action and set the stage for success.
Finding the Perfect Position
The first rule of placement is to think like your target. Whether you're scouting whitetails or keeping an eye on your property line, you have to find a natural travel corridor. This could be a game trail, a fence crossing, a subtle pinch point in the woods, or the entrance to a driveway.
Once you’ve scouted your spot, height and angle become critical. Mounting the camera at chest height—somewhere around 3-4 feet—is a solid starting point for deer and other animals of similar size. This gives you a natural, broadside perspective instead of just capturing the tops of their backs.
Here's a pro tip that will save you a ton of headaches: aim your camera north or south whenever possible. Pointing a camera east or west is a recipe for a memory card full of "false triggers"—blurry, washed-out photos caused by the rising and setting sun blasting the lens.
This simple adjustment drastically cuts down on glare and stops your battery from dying after taking hundreds of useless pictures of the sun. It ensures your camera is actually ready when a real target walks by.
Optimizing Your Settings for Success
Think of your camera’s settings menu as its brain. A few quick tweaks can fine-tune its performance for your exact goals, giving you a perfect balance between capturing great images and conserving battery life.
-
PIR Sensitivity: This is your motion sensor's trigger-happiness. Set it to High for wide-open fields where you need to detect movement at a distance. In dense woods, switch to Low to prevent every swaying branch from triggering a photo on a windy day.
-
Photo Bursts: Instead of one picture, this setting fires off a quick sequence of 2-3 images every time it's triggered. It's perfect for capturing an animal in motion or getting multiple shots of a group.
-
Delay (Recovery Time): This tells the camera how long to pause before it can be triggered again. A short delay of 5-10 seconds works great for busy trails where you want to see everything that comes through. For a bait site, a longer delay of a minute or more prevents you from getting a thousand photos of the same deer.
Dialing in these settings ensures you get the shots that matter without burning through batteries and storage.
Power Management and Concealment
There’s nothing worse than hiking a mile into your spot only to find a dead camera. Standard alkaline batteries are notorious for dying quickly, especially when the temperature drops. One of the best investments you can make is upgrading to lithium AA batteries. They last significantly longer and perform much better in the cold.
For long-term sets, particularly with power-hungry cellular models, a solar panel is a game-changer. These small panels connect to your camera and trickle-charge an internal battery, keeping your setup running almost indefinitely.
Concealment is just as important, both for hiding your camera from thieves and keeping it unnoticed by wary animals. Always try to use a tree that’s wider than the camera itself to break up its rectangular outline. Tucking a few natural branches or vines around the camera helps it disappear into the background. And don't forget to clear any small twigs or leaves directly in front of the lens that could wave in the wind and cause false triggers.
The growing interest in these setup strategies is no surprise, as the trail camera market continues to expand. North America currently leads the demand with a market share of over 40%, driven by hunters and outdoor enthusiasts. Globally, the market is on track to hit approximately USD 134.5 million by 2025, with other regions like Asia Pacific seeing rapid growth for wildlife research. You can dig deeper into these numbers and explore the global expansion of the trail cameras market from Cognitive Market Research.
Answering Your Top Trail Cam Questions
Even after you’ve picked the perfect camera, a whole new set of questions pop up the minute you head into the woods. Data plans, theft, flash types—getting these details right is the difference between a great scouting season and a frustrating one.
We get these questions all the time, so we’ve put together some straightforward, no-nonsense answers. Think of this as the last piece of the puzzle, giving you the confidence to get your camera up and running like a pro.
How Much Data Does a Cellular Trail Camera Use?
This is probably the number one question we hear about cellular cams, and the answer is: it depends. Your data usage is tied directly to your camera's settings and how much action it sees. It’s just like your cell phone plan—the more you use it, the more data it burns through.
For perspective, a camera sending 20-30 standard-resolution photos per day might only sip about 100 MB per month. But start requesting HD photos or video clips on the regular, and you’ll see that number climb into the gigabytes pretty fast.
Pro Tip: Don't overbuy your data plan right out of the gate. Start with a lower-tier plan, something in the 250-500 MB range. Let it run for a month and check your usage in the app. This real-world test tells you exactly what you need, and you can always upgrade if you're getting more action than you expected.
This approach saves you money and makes sure you’re not paying for data you simply don’t need.
Can Trail Cameras Be Used for Home Security?
Absolutely, and they're incredibly effective at it. Trail cameras are a tough, discreet solution for outdoor security, especially for spots where a typical security camera just won't cut it. Their weatherproof, camouflaged design is perfect for monitoring driveways, sheds, fence lines, or any remote corner of your property.
A cellular model is the real game-changer here. Because it runs on its own cell signal, it doesn't need your home Wi-Fi to work. The second it detects movement, it sends an alert with a photo straight to your phone. It’s a completely standalone surveillance system that can bust a trespasser in real-time.
What Is the Difference Between No-Glow and Low-Glow Flash?
This one’s all about a trade-off: do you want total stealth, or do you want the best possible nighttime image quality? The difference is all in what you (or the animal) can see.
-
No-Glow (Invisible IR): The infrared LEDs on these cameras are completely invisible to human and animal eyes. Period. This makes it the go-to choice for security, where you can't risk tipping off an intruder, or for hunting hyper-sensitive game that spooks at the slightest change in its environment.
-
Low-Glow (Red Glow IR): When this camera triggers at night, its LEDs emit a faint red glow. You can see it if you’re looking right at the camera, but most animals don’t seem to notice or mind. The big advantage? Low-glow flash usually produces brighter, sharper nighttime photos with a longer reach.
For most wildlife watching and general scouting, low-glow is a fantastic all-around option. But if you need maximum stealth for security or for that wise old buck, no-glow is the only way to fly.
How Can I Protect My Trail Camera from Being Stolen?
Keeping your camera safe from thieves isn’t about one single trick; it’s about a layered strategy that makes stealing it more trouble than it's worth.
- Concealment is Everything: Get your camera off the main trails. Use natural cover like tree branches, brush, and leaves to break up its outline and make it blend in.
- Get a Security Box: A heavy-duty steel lock box made for your specific camera model is your best physical defense. It protects against both thieves and curious bears.
- Lock it Down Tight: Use a quality python cable lock to secure both the camera and the lock box to a solid, healthy tree.
- Use Tech to Your Advantage: A cellular camera can be your secret weapon. If it gets stolen, you might get a final photo of the culprit. Some models even come with GPS tracking and other anti-theft features.
By combining smart placement with tough physical security, you dramatically lower the odds of losing your investment.
Here at Magic Eagle, we designed the EagleCam 5 to tackle these exact problems head-on. With built-in AI detection to reduce false alerts, SignalSync technology to automatically lock onto the strongest cell service, and a powerful anti-theft suite with GPS tracking, it’s built for reliability when it matters most. See how Magic Eagle brings clarity and confidence to the field. Visit us at https://magiceagle.com to learn more.