
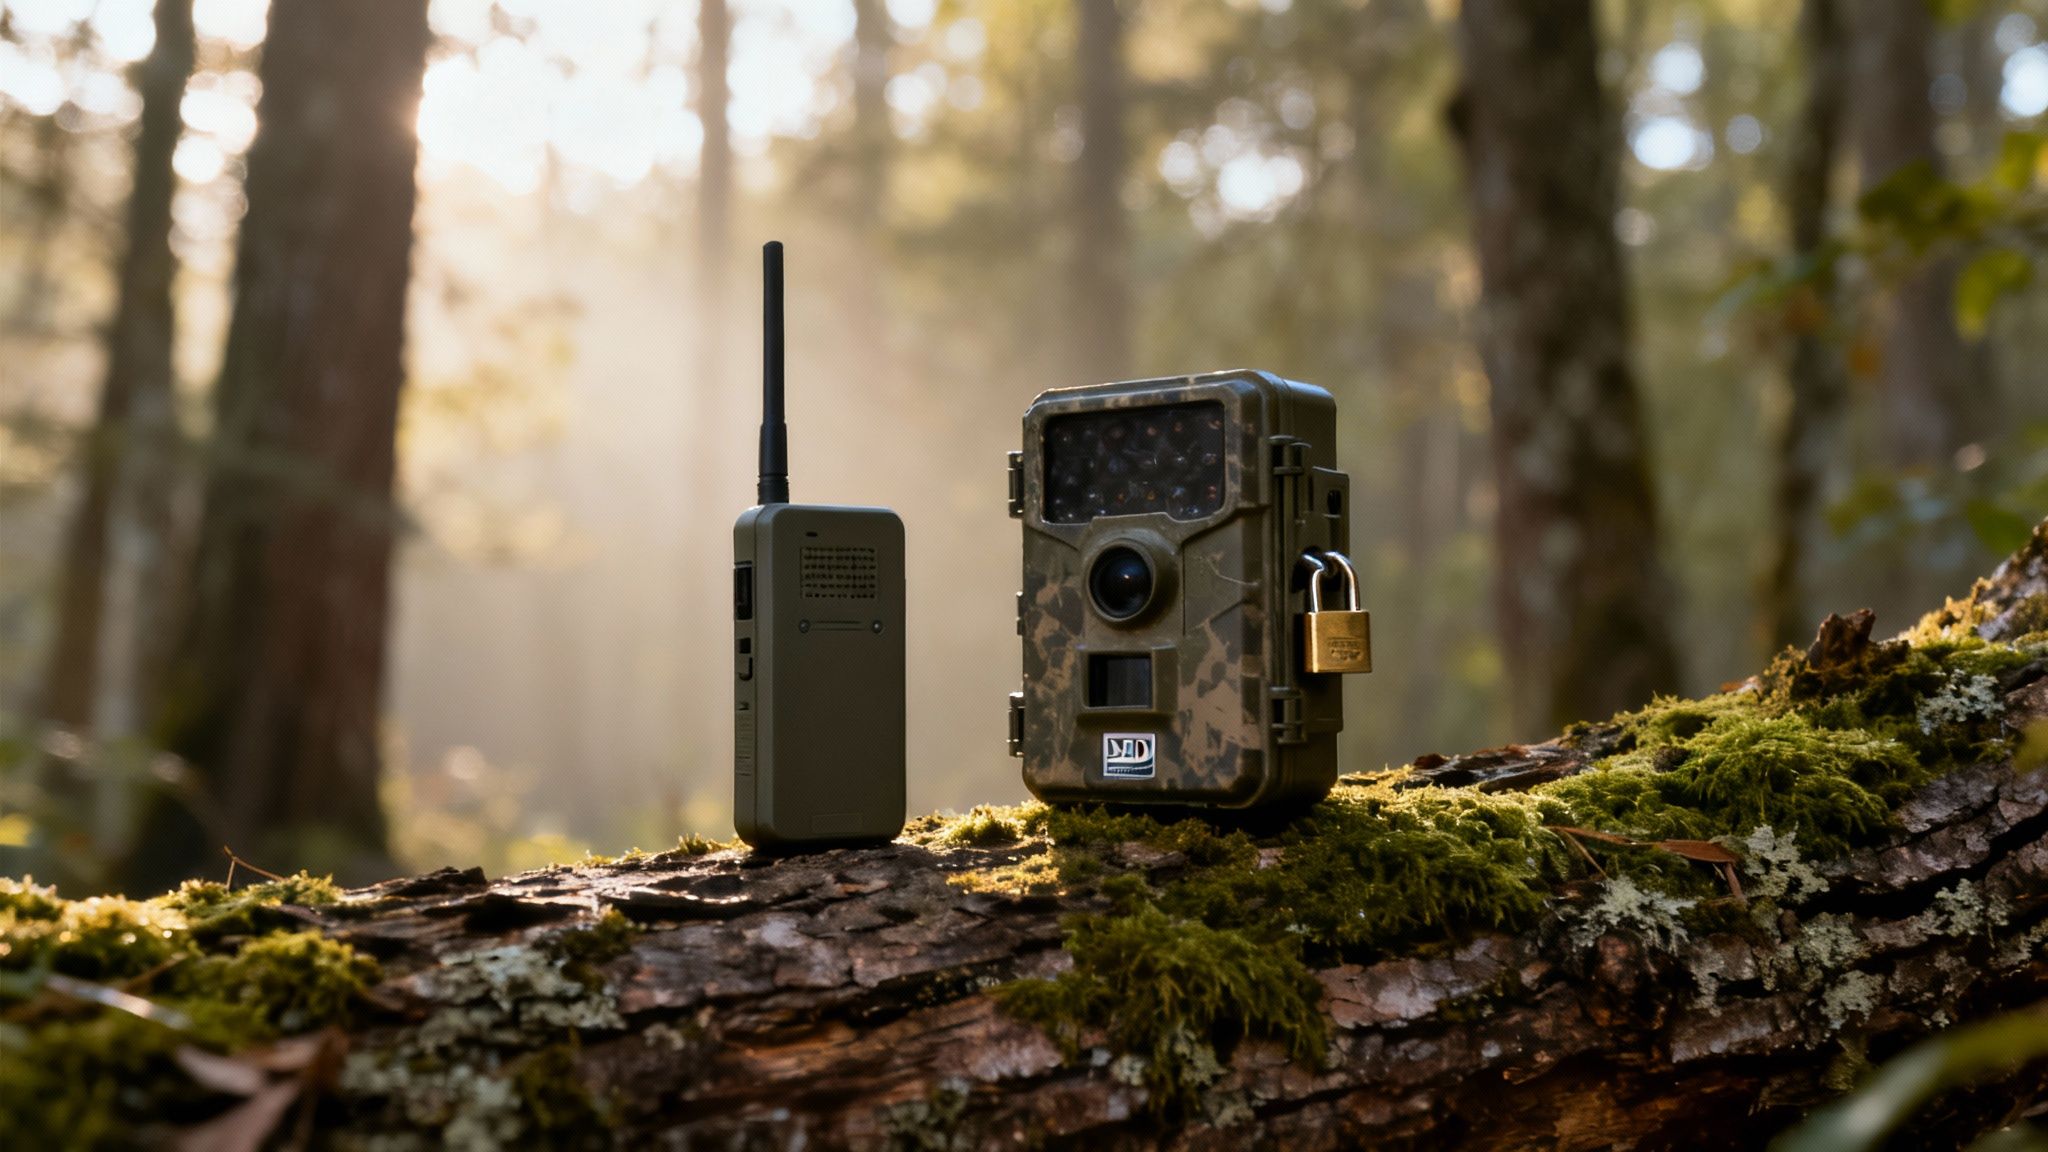
When you're trying to choose the right hunting camera, it really boils down to one big decision: cellular or a traditional SD card model?
A cellular camera is your eye in the woods, sending pictures straight to your phone so you get real-time intel from the field. On the other hand, a traditional SD card camera is the simpler, no-fuss option. You just have to physically hike in and pull the card to see what you've captured.
Your Guide to Choosing the Right Hunting Camera
Think of a good trail camera as a silent scout that works for you 24/7. It's more than just a gadget—it's an indispensable tool for gathering boots-on-the-ground intelligence on game movement, patterns, and population density without leaving your scent all over the place. It gives you a clear picture of what's happening on your property when you can't be there.
This guide is built to cut through the marketing noise and get straight to what actually matters for your hunt. The "best" camera isn't the one with the biggest price tag or a laundry list of features you'll never use. It's the one that fits exactly what you need it to do.
What to Expect From This Guide
We're going to move past the basic product descriptions and give you a clear roadmap for making a smart decision. The goal here is to arm you with the practical know-how to select, set up, and manage the right camera system for your specific hunting grounds.
Here’s what you can expect to learn:
- Essential Features Explained: We’ll break down the tech specs—like trigger speed, detection range, and flash type—and translate them into real-world advantages in the field.
- Strategic Deployment: Learn the proven tactics for placing your camera to get the most captures while avoiding a card full of pictures of swaying branches.
- Cellular vs. SD Card: We'll take a hard look at the pros and cons of each technology to help you decide which one truly fits your scouting style and your budget.
- Practical Field Tips: Get tips from guys who've been there, covering everything from picking the right batteries to weatherproofing your gear for the long haul.
It's no secret that trail cameras have become a cornerstone of modern hunting strategy. The market has blown up, valued at USD 224.08 million and still climbing, largely because more and more hunters are seeing the benefits. In fact, an estimated 62% of North American hunters now rely on trail cameras to pattern and track game. If you're interested in the numbers, you can dig deeper into hunting camera market trends with the full report from Market Growth Reports.
This guide will give you the information you need to join them effectively, turning your investment into tangible results and, hopefully, a more successful season.
Breaking Down the Specs: What Really Matters in the Field
Walking into the trail camera aisle can feel like you're trying to decipher a foreign language. The box is covered in terms like megapixels, trigger speed, and detection range, but what do those numbers actually mean when you're trying to pattern a ghost of a buck?
Let's cut through the marketing hype. The goal isn't just to buy the camera with the biggest numbers; it's to find the right tool for the job. A camera that’s perfect for a bait pile might be completely useless on a fast-moving scrape line.
Why More Megapixels Is Not Always Better
One of the biggest myths in the trail cam world revolves around megapixels (MP). Brands love to slap a high MP number on the box, making you think it’s the most important measure of quality. It’s not. Think of megapixels as the tiny dots that make up a picture. More dots mean a bigger file, not necessarily a clearer image.
For identifying antlers and body size, anything over 8-12 MP starts to deliver diminishing returns. A 30 MP photo isn't always sharper than a 10 MP one—it's just a massive file that will eat up your battery and data plan if you're using a cellular camera.
The real secret to a great trail camera photo isn't the megapixel count. It's the quality of the lens and the image sensor—the camera's "eyes." A top-tier 8 MP camera will blow a cheap 20 MP camera out of the water every single time.
Trigger Speed: The Difference Between Got 'Em and Gone
If one spec truly separates the good cameras from the great ones, it's trigger speed. This is simply how fast the camera wakes up and snaps a photo once it detects motion.
Picture a buck cruising down a trail. A camera with a slow trigger—say, 1 second or more—is going to give you a classic picture of a deer's backside leaving the frame. But a camera with a lightning-fast trigger of 0.5 seconds or less? That’s like a sprinter exploding from the blocks. It captures the animal perfectly centered, giving you the shot you need.
- Fast Trigger Speed (Under 0.5s): Absolutely essential for high-traffic spots like trails, creek crossings, or field edges where animals are on the move.
- Slower Trigger Speed (Over 0.7s): Perfectly fine for stationary locations where animals tend to hang around, like mineral licks, water holes, or bait sites.
Don't underestimate this feature. It can mean the difference between a folder full of clear buck photos and a collection of frustrating, blurry "what ifs."
Understanding Flash Types: No-Glow vs. Low-Glow
A lot of the action happens after dark, and your camera's flash determines how you capture it. The choice boils down to one simple trade-off: stealth versus image quality.
No-Glow Infrared (Black Flash)
These cameras use an infrared flash that is completely invisible to both animal and human eyes. This is the ultimate in stealth. If you're hunting heavily pressured deer or trying to keep a mature buck from knowing you exist, No-Glow is the only way to go. The downside? Nighttime pictures will be a bit grainier and the flash won't reach as far as a Low-Glow model.
Low-Glow Infrared (Red Glow)
When a Low-Glow camera fires at night, its LEDs emit a faint red glow. It’s subtle, but a sharp-eyed deer looking right at it might notice. The huge advantage here is that Low-Glow cameras produce brighter, clearer, and more detailed night photos with a much longer flash range—often reaching past 80 feet. This is a great all-around choice for areas with less hunting pressure or for general wildlife monitoring where total invisibility isn't your number one priority.
Cellular vs Traditional Trail Camera Showdown
Picking between a cellular and a traditional hunting camera is one of the first big decisions you'll make, and it sets the tone for your entire scouting season. This isn't just about a fancy feature list; it’s a strategic choice between getting live updates from the woods and pulling a detailed report you have to go pick up yourself.
Cellular trail cameras are your eyes in the field, 24/7. They send photos and videos straight to your phone, often just moments after an animal trips the sensor. This gives you a constant stream of intel, letting you monitor buck movement, see what's hitting a scrape, and adjust your strategy on the fly—all without leaving your scent all over the property.
But that instant gratification comes with a few trade-offs. Cellular models cost more upfront and need a monthly or yearly data plan to work. They also chew through batteries faster because sending data takes power, and they're completely useless if you don't have a decent cell signal where you hunt.
The Power of Immediate Intel
The biggest win for a cellular camera? It keeps you out of the woods until it's time to hunt. For anyone managing land that's hours away or trying to pattern a spooky old buck on a small parcel, this is a total game-changer. You can literally sit on your couch and confirm a target buck is visiting a food plot every evening before you even think about climbing into a stand.
This technology has exploded in North America, which now accounts for over 30% of global wildlife camera deployment. Our hunting culture's demand for better, smarter scouting tools has pushed innovation forward, leading to professional-grade cameras that are now staples for serious hunters and even wildlife researchers.
The Case for Traditional Simplicity
On the other side, you've got the old-school, non-cellular cameras that save everything to an SD card. Their biggest strength is their rugged simplicity. They don't need a cell signal, so you can stick them anywhere—from a deep hollow in the mountains to a remote backcountry basin where your phone says "No Service."
These cameras are the dependable workhorses of the scouting world. They're much cheaper to buy, have zero subscription fees, and their battery life can often be measured in months, not weeks. The catch is you have to physically go to the camera to pull the card, which means leaving your scent and potentially bumping deer. For some hunters, though, that periodic walk to check cameras is part of the ritual.
No matter which type you choose, you'll still have to decide on the flash. This quick visual breaks down the two main options.
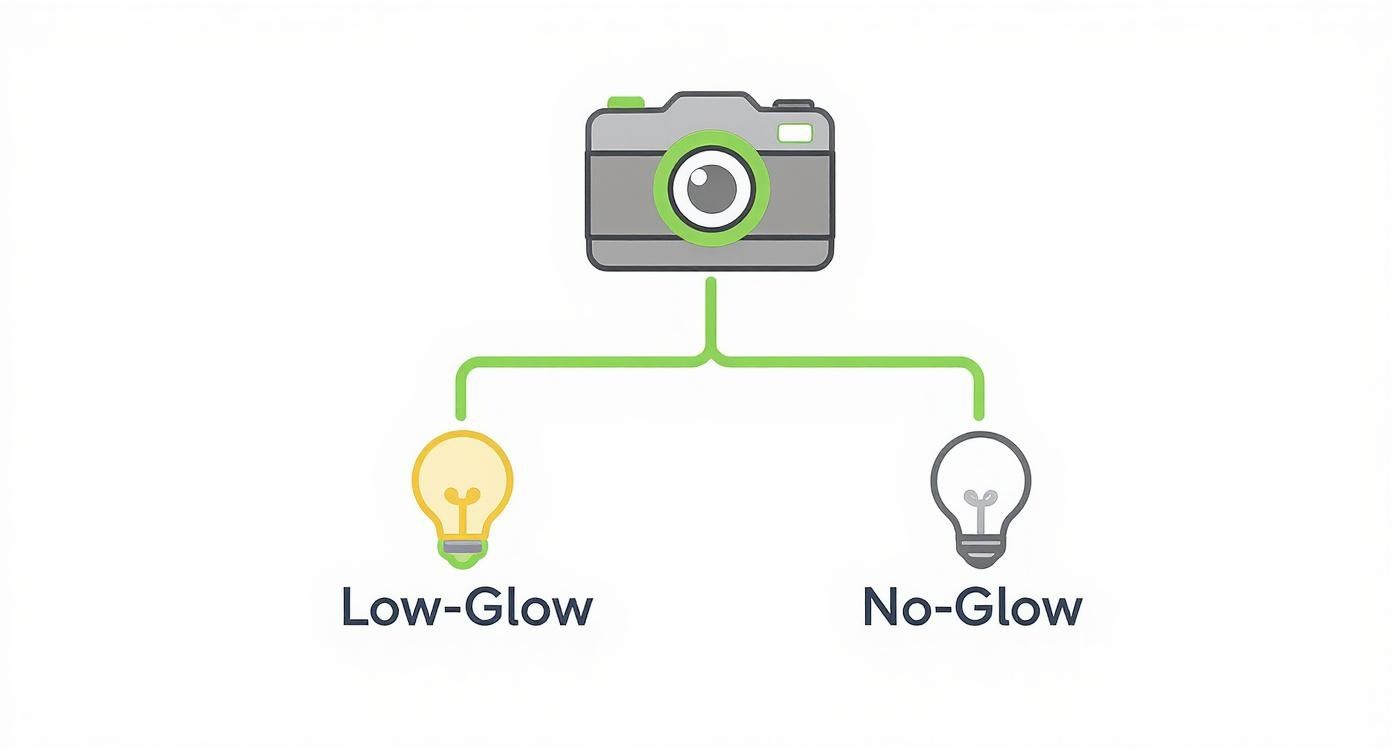
It really comes down to a simple choice: brighter night photos with a faint red glow (Low-Glow) or total stealth with a completely invisible flash (No-Glow).
Cellular vs. Traditional Hunting Camera Comparison
To make the decision clearer, here’s a direct comparison of what each type of camera brings to the table.
| Feature | Cellular Cameras | Traditional (SD Card) Cameras |
|---|---|---|
| Data Access | Real-time photos/videos sent to your phone | Must physically retrieve the SD card |
| Initial Cost | Higher ($100 - $500+) | Lower ($40 - $150) |
| Ongoing Costs | Monthly/annual data plan required | None (except for batteries/SD cards) |
| Battery Life | Shorter (weeks to a few months) | Longer (several months to a year) |
| Best For | Remote properties, minimizing human pressure | Areas with no cell service, budget-conscious scouting |
| Human Intrusion | Minimal; check from anywhere | High; requires regular visits to the site |
Ultimately, the table highlights a core trade-off: cellular cameras offer unparalleled convenience and real-time data at a higher cost, while traditional cameras provide a simple, affordable, and reliable solution for any location.
Making the Right Strategic Choice
So, which one is right for you? There's no single correct answer. It all boils down to your specific hunting situation.
Your choice between cellular and traditional cameras should be guided by three key factors: the location of your hunting property, your budget for both hardware and subscriptions, and how much you value real-time information versus long-term reliability.
To put it another way, think about these scenarios:
- Go Cellular If: You hunt land far from home, need to keep human disturbance to an absolute minimum, or want to keep tabs on several spots at once.
- Stick with Traditional If: Your hunting spot is in a cellular dead zone, you're on a tight budget, or you genuinely enjoy the process of walking your property to check cameras.
Many serious hunters use a hybrid approach, placing cellular cameras over key locations like food plots or primary scrapes while using cheaper traditional cameras to monitor secondary trails. If you're leaning toward cellular, it's worth understanding exactly how cellular trail cameras work to make sure the tech fits your property. The right camera setup doesn't just take pictures—it gathers critical intelligence that makes you a more effective hunter.
Mastering Camera Placement and Field Setup
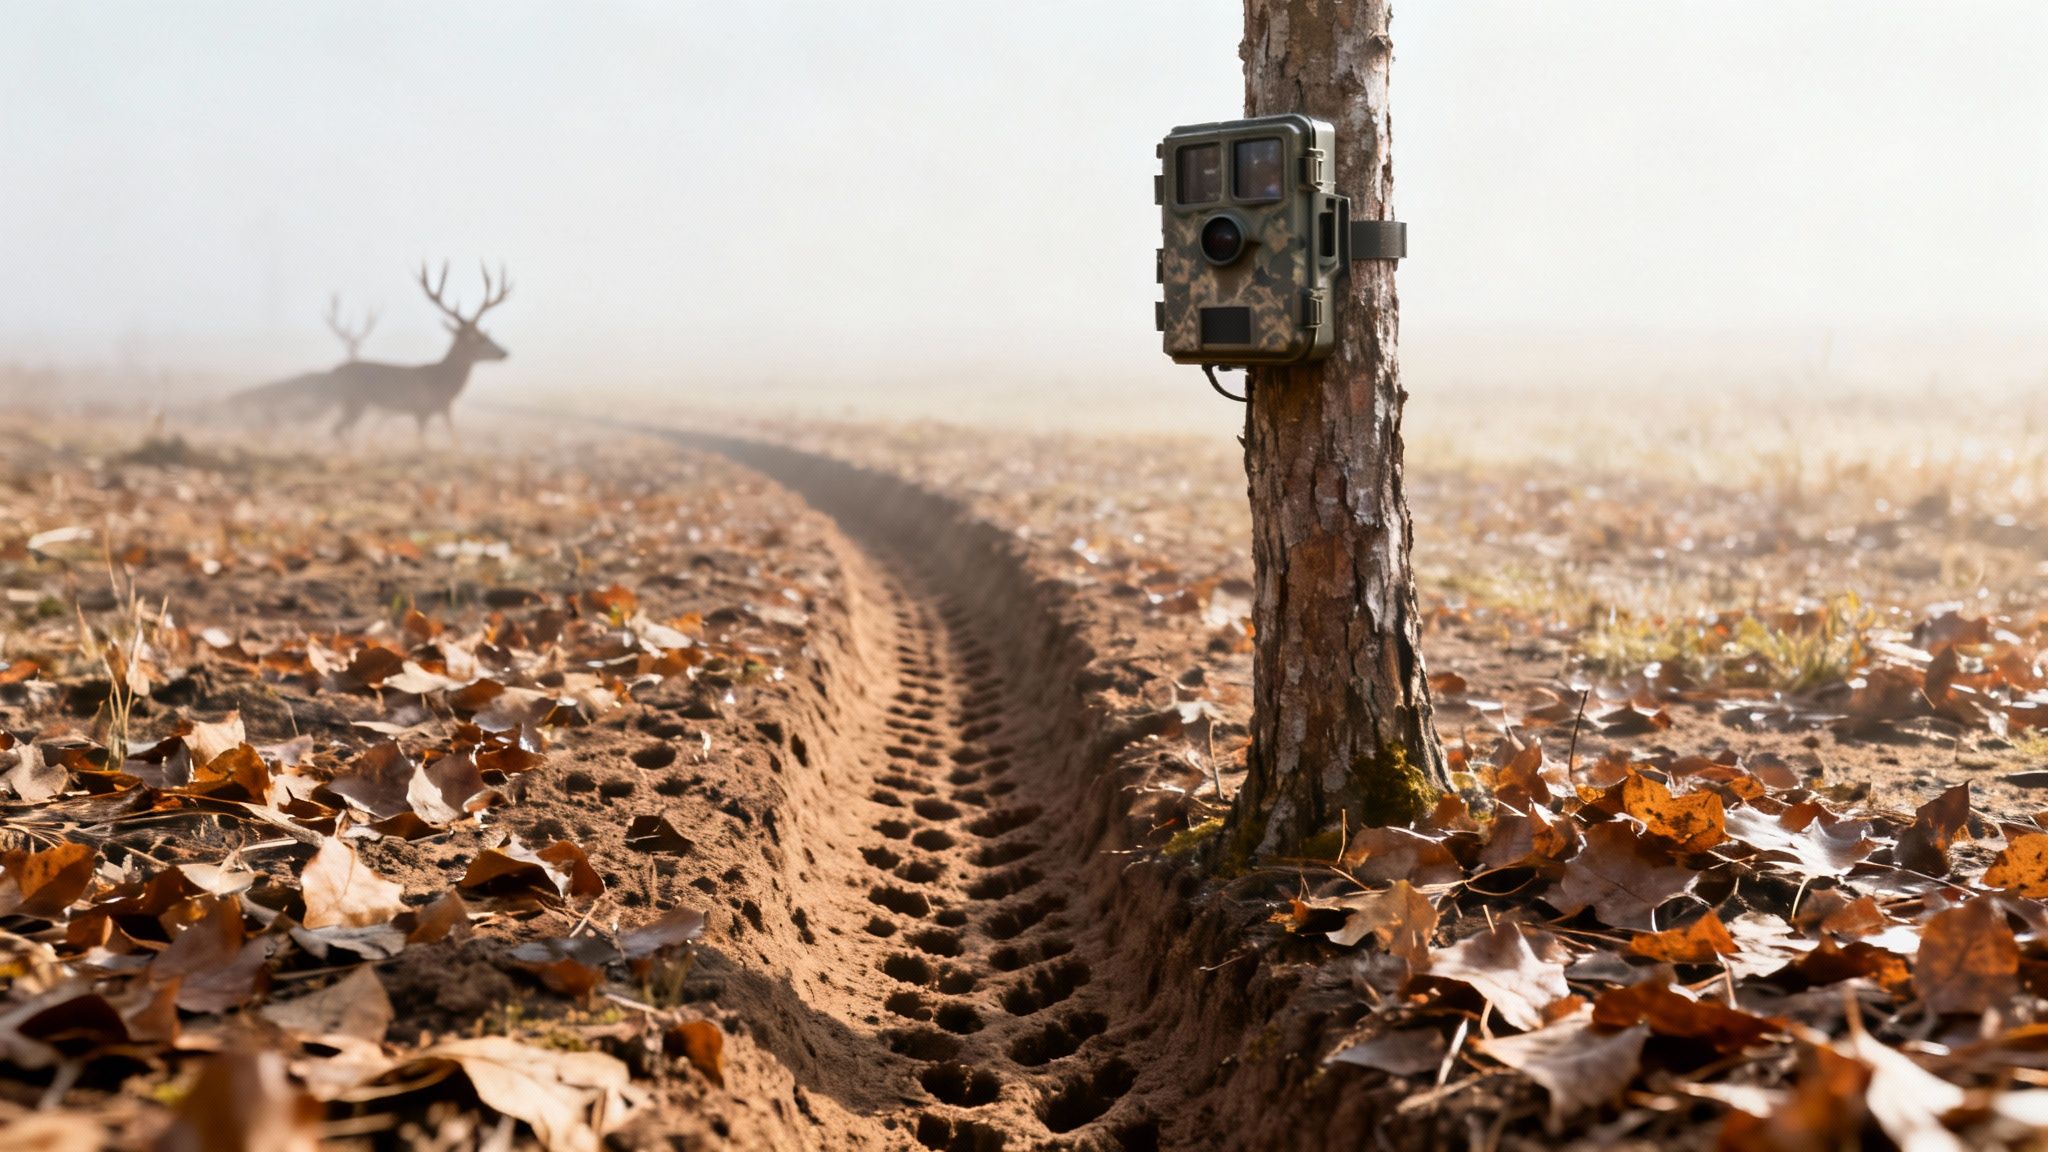
Owning a great hunting camera is only half the battle. The real art is deploying it effectively, turning a piece of tech into a powerful intel-gathering machine.
A perfectly placed camera can reveal the secret routines of that ghost buck you're after. A poorly placed one? You’ll just get thousands of pictures of a sun-bleached leaf swaying in the wind. Effective placement means thinking like a deer and finding the path of least resistance.
Finding the Perfect Spot
Before you even think about strapping that camera to a tree, take a minute to read the terrain. Look for natural features that funnel deer movement into predictable paths. These are your high-percentage spots.
Key locations to target include:
- Natural Funnels: Think creek crossings, saddle gaps in ridges, or those narrow strips of timber connecting two bigger woodlots. Animals use these like highways.
- Staging Areas: Find thick cover right off a major food source, like a cornfield or a white oak flat. Bucks love to "stage" here before stepping into the open, giving you the perfect photo op.
- Trail Intersections: When you find where multiple deer trails converge, it’s like setting up on a busy intersection. Your odds of seeing different animals go way up.
Dialing In Camera Height and Angle
Once you've picked your spot, the setup is everything. A common mistake is aiming the camera straight out at waist level—a perfect recipe for sun glare and false triggers from waving branches.
For the best results, aim for a height of three to four feet off the ground. Angle the camera down slightly toward the middle of the trail. This simple trick helps cut down on false triggers from the rising or setting sun and gives you a much better view of the animal's body and rack. And always clear any small branches or tall weeds right in front of the lens.
Smart placement isn't just about what you see; it's about what the camera sees. Always consider the sun's daily path. Facing a camera directly east or west will result in washed-out, unusable images during sunrise and sunset—prime times for deer movement.
Essential Field Maintenance Checklist
A "set it and forget it" attitude will leave you with dead batteries and missed opportunities. A quick maintenance check every time you visit a camera ensures it runs reliably all season. If you're just getting started, our detailed guide on how to set up a trail camera provides a fantastic starting point for beginners.
Follow this simple checklist:
- Battery Check: Always check the battery level. For cold weather, lithium batteries are a must; they blow away alkaline batteries in freezing temps.
- SD Card Care: Format the SD card in the camera before every deployment. This ensures it's compatible and wipes old data to prevent file corruption.
- Lens and Sensor Cleaning: Use a soft microfiber cloth to gently wipe the lens, PIR sensor, and flash cover. A little bit of dirt or condensation can ruin an otherwise perfect shot.
This level of detail is becoming more important as camera technology gets better. North America continues to drive the global market, with hunters demanding higher performance. While affordable cameras with a flash range under 20 meters are still popular, the real growth is in models with a 20-40 meter range. They offer a powerful blend of visibility and efficiency. You can discover more insights about trail camera market growth from Cognitive Market Research.
Navigating Hunting Camera Laws and Ethics
Before you hang that shiny new camera on a tree, you need to understand something critical: deploying cameras for hunting isn’t just about finding the right spot. It’s about navigating a complicated and constantly shifting maze of laws and ethics.
What’s perfectly legal in your home state could land you a hefty fine one state over. That's why doing your homework before you head out is non-negotiable. Regulations change all the time, so always check with your local fish and game department for the most current rules.
For instance, some states have outlawed any trail camera that transmits images in real-time. Their argument? Getting a live photo of a buck walking toward your stand isn't scouting—it’s actively hunting with an electronic aid, which goes against the principles of fair chase.
Understanding Public vs. Private Land Rules
The rulebook for hunting cameras can look completely different depending on whether you're on public or private land. On your own property, you generally have a lot more freedom. But public land often comes with a laundry list of restrictions designed to manage wildlife and prevent hunter conflicts.
Some states, like Arizona and Utah, have rolled out major restrictions or even outright bans on trail cameras for hunting big game. They're trying to address growing concerns over fair chase and wildlife harassment. Getting these rules straight is essential, which is why a clear understanding of what’s legal for trail cameras on public land is so important.
Common public land regulations you might run into include:
- Prohibitions on Live-Feed Cameras: Banning devices that transmit images or videos during the hunting season.
- Restrictions on Placement: Limiting camera use around sensitive areas like water sources, especially in dry regions.
- Identification Requirements: Some states require your name and contact information to be clearly visible on the camera itself.
Beyond the Law: The Ethics of Fair Chase
Legal statutes are black and white, but hunting ethics live in the gray areas. At the heart of it all is the concept of fair chase—the bedrock of modern, ethical hunting. How we use technology like cameras directly impacts this core principle. It’s all about giving the animal a respectable chance and not letting tech eliminate the challenge.
Using technology to scout is one thing, but using it to guarantee a kill removes the "hunt" from hunting. The ethical question every hunter must ask is whether their camera is a tool for understanding wildlife or simply a remote trigger for their ambush.
This forces you to consider the spirit of the hunt. Are you using your camera to pattern a buck over weeks and months, learning his habits? Or are you sitting in a treestand, waiting for your phone to buzz with a notification that he’s 100 yards away and closing in?
At the end of the day, respecting the game, other hunters, and the traditions of the sport should always be the compass guiding your decisions in the field.
Frequently Asked Questions About Hunting Cameras
Even after you've got the basics down, a few nagging questions always seem to pop up right before you head out to deploy your cameras. Let's tackle some of the most common ones I hear from hunters, so you can make the right calls and sidestep those frustrating rookie mistakes.
How Many Megapixels Do I Really Need?
Camera companies love to scream about massive megapixel numbers, but here's the honest truth from the field: 8-12MP is the sweet spot for crystal-clear images. Anything more is usually just marketing fluff.
Think of it this way: a higher megapixel count just gives you a physically larger photo file, not necessarily a sharper one. For identifying a specific buck or counting antler tines, the quality of the lens and the image sensor are what truly matter. Sticking to that 8-12MP range also means your SD card won't fill up in a week, and if you're running a cellular model, your pictures will transmit much faster without killing your battery.
Can I Use a Cellular Camera Anywhere?
Absolutely not. A cellular trail camera is only as good as the signal it can find. It needs a reliable connection from its carrier—whether that's Verizon, AT&T, or another provider—to send photos to your phone. If you're in a dead zone, it's just an expensive traditional camera.
Before you even think about buying a cellular model, do this simple test: walk out to your hunting spot, pull out your own cell phone, and check the signal. If you're struggling to hold one or two bars, save yourself the headache. A standard SD card camera will be a far more dependable choice for that location.
What Is the Biggest Mistake People Make During Setup?
Hands down, the most common and maddening mistake is bad placement. Too often, guys point their cameras directly east or west. This means the rising or setting sun blasts the lens twice a day, giving you washed-out, ghost-like images and a memory card full of false triggers.
Another classic error is not clearing the area right in front of the camera. Small branches, weeds, or even a single blade of tall grass can become your worst enemy. On a windy day, that swaying vegetation will trigger the motion sensor over and over, leaving you with hundreds of pictures of a dancing sapling instead of the monster buck you're after.
How Can I Protect My Camera from Getting Stolen?
Protecting your gear is a two-part strategy: hide it well and lock it down.
First, make it tough to spot. Most thieves are just opportunistic. Mount your camera higher than eye level—I like to go 7-10 feet up a tree—and angle it down toward the trail. Use some extra camo tape or even natural brush to break up its hard, rectangular outline against the bark.
Second, get physical security. Nothing beats a purpose-built steel lock box made for your specific camera model. These enclosures protect it from two-legged thieves and four-legged vandals like curious bears. Run a heavy-duty cable lock through the box and around the tree. It makes a quick snatch-and-grab impossible.
At Magic Eagle, we design our cameras to solve these real-world hunting problems. With practical features like GPS anti-theft tracking, AI species recognition that filters out junk photos, and rock-solid connectivity, you get a scouting partner built for the toughest conditions. Explore Magic Eagle cameras today and see what a difference smart, field-tested technology makes.