
Trail camera cellular plans are what connect your camera to a network, letting it zap photos and videos straight to your phone. Think of it like a dedicated data line for your scouting device, giving you real-time updates from the woods without ever having to pull an SD card again. It completely changes scouting from a weekend chore into something you can do from your couch.
How Cellular Trail Cameras Actually Work
At its core, a cellular trail camera is a specialized smartphone built for the wild. Its only job is to do one thing perfectly: capture images and send them to you. It doesn't need its own phone number, and you definitely don't add it to your family cell phone plan. It operates completely on its own using a built-in cellular modem and a dedicated SIM card.
The whole process—from a deer stepping in front of the lens to your phone buzzing with a notification—happens in just a few key steps. Once you get the hang of this workflow, picking the right cellular plan becomes a whole lot easier.
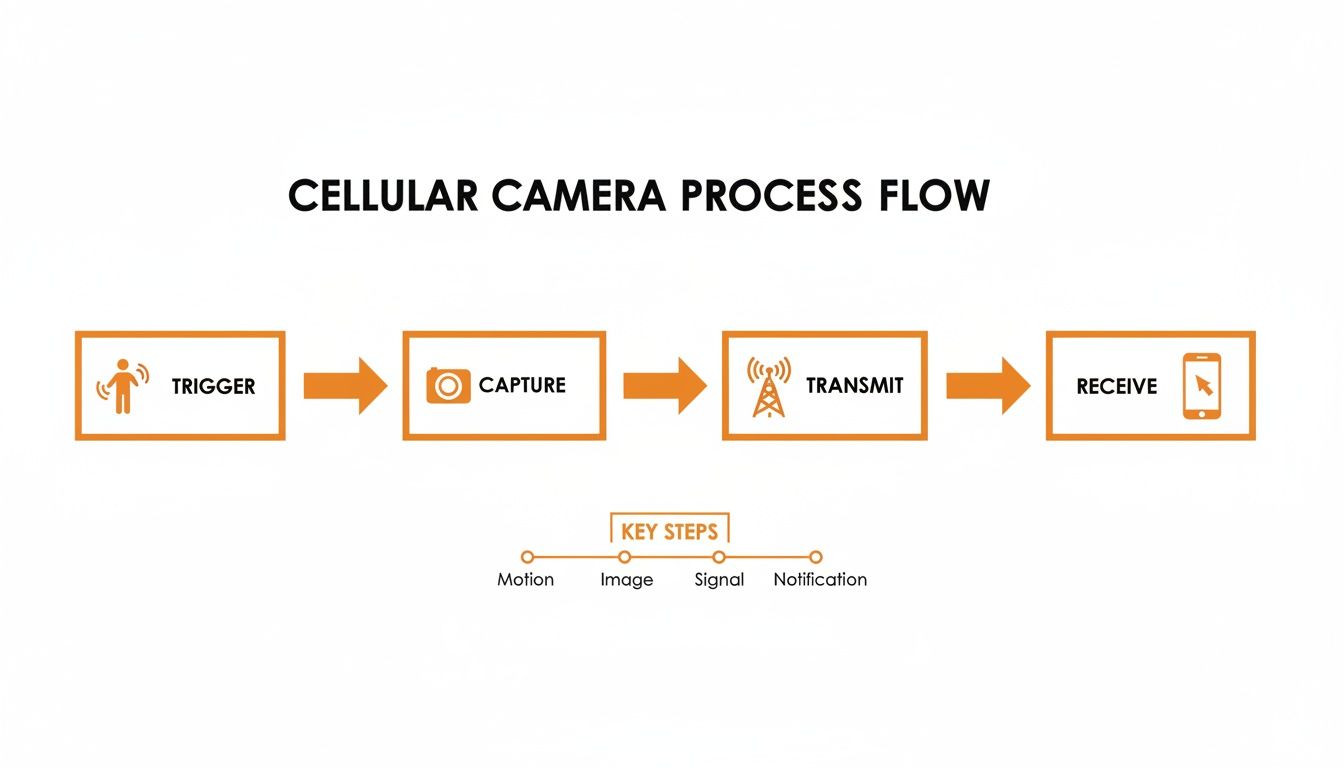
The Four-Step Transmission Process
Every single time your camera sends you a photo, it follows the same slick, efficient sequence. This system is designed to sip battery and data while making sure you get the intel you need.
Here are the four core stages:
- Trigger: The camera’s Passive Infrared (PIR) sensor detects the motion and body heat of an animal, waking the camera from its low-power sleep mode.
- Capture: In an instant, the camera snaps a photo or records a video, saving the full-resolution file to its SD card or internal memory.
- Transmit: Using its modem, the camera finds the strongest cell signal, shrinks the image into a smaller "thumbnail" preview, and sends it out over the air.
- Receive: That thumbnail travels through the cell network to the camera company's secure cloud servers. From there, it gets pushed to an app on your smartphone, and you get a notification.
That entire journey, from a buck walking into the frame to the alert on your phone, often takes less than a minute. The speed and efficiency here are what make trail camera cellular plans such a game-changer for modern scouting.
Why You Don't Need Another Phone Line
A lot of folks think you need to call up Verizon or AT&T and add a new line to your personal phone plan. That’s a common myth. The camera’s data plan is a completely separate, data-only service built just for that device. If you want to dive deeper, you can learn more about how cellular trail cameras work and see why their dedicated systems are such a huge advantage.
This self-contained design is critical. It means your camera's data use is totally separate from your phone's, so you don't have to worry about surprise overage charges on your personal bill. Even better, modern all-in-one systems ship with pre-installed SIM cards that are already configured. All you do is activate the camera in an app, pick a plan, and you're ready to go. That seamless setup is the foundation of a reliable remote scouting system.
Estimating Your Trail Camera Data Needs
Picking the right cellular plan for your trail camera really boils down to one thing: understanding data.
Think of it like this: sending a low-res thumbnail photo is like sending a quick text message—it barely uses any data. But requesting a full-HD video is like trying to email a movie; it’s a data hog. Nailing this balance is the secret to avoiding surprise bills and making sure your camera stays online all season.
The biggest driver of your data usage is simply how many photos and videos your camera sends. Every time a buck walks by and triggers the sensor, your camera makes a data transmission. If you’ve got it set up over a busy food plot, it could send hundreds of images a month. A camera watching a quiet, remote scrape might only send a few dozen.
This flowchart breaks down the simple process your camera follows every time it's triggered, from snapping the shot to buzzing your phone.
Each step in that chain uses a little bit of data. Over a month, all those little bits add up to your total usage.
Breaking Down Data Consumption
Not all pictures are created equal. The size of the file being sent has a direct impact on your data plan. High-resolution images and videos give you incredible detail, but they come at a higher data cost. To choose a plan wisely, you need a good handle on your camera's appetite for data, much like estimating data usage durations for any other device.
To give you a clearer picture, this table shows what you can typically expect for data usage per transmission.
Estimated Data Consumption Per Transmission
| Transmission Type | Typical Resolution | Estimated Data Size | Approximate Photos Per GB |
|---|---|---|---|
| Thumbnail Photo | 160x120 pixels | 50 - 100 KB | 10,000 - 20,000 |
| HD Photo | 1920x1080 pixels | 1 - 5 MB | 200 - 1,000 |
| Short Video Clip | 10-15 seconds | 5 - 15 MB | 65 - 200 (clips) |
| HD Video Clip | 10-15 seconds | 20 - 50+ MB | 20 - 50 (clips) |
This difference is everything. Some plans are sold based on the number of photos you get, which sounds great until you realize requesting a few dozen HD images or videos can burn through your allowance fast. That's why we always recommend plans based on gigabytes (GB). You can read more about why GB-based data plans are better than photo-based plans for trail cameras in our full breakdown.
Calculating Your Estimated Monthly Needs
So, how do you put it all together and pick a plan? Start by thinking about your camera's activity level. Is it going on a high-traffic mineral lick or a quiet travel corridor? That’ll help you guess the number of trigger events.
Pro Tip: For your first month, I always recommend picking a plan that’s a little bigger than you think you need. It gives you a real-world baseline for that specific location, and you can always adjust your plan up or down later without losing service.
Let's run through a quick example. Say you place your camera on a deer trail and expect about 10 triggers per day, mostly sending you the standard thumbnails.
- 10 thumbnails/day x 30 days = 300 thumbnails/month
- 300 thumbnails x 75 KB/photo = 22,500 KB (or about 22.5 MB for thumbnails)
Now, let's say you see a few good bucks and decide to request the full HD version of 20 of those photos and five 10-second videos during the month.
- 20 HD photos x 3 MB/photo = 60 MB
- 5 videos x 10 MB/video = 50 MB
Your total estimated usage would be 22.5 MB + 60 MB + 50 MB = 132.5 MB.
In this scenario, a small plan like 250 MB would be plenty. But if that camera was on a feeder sending 50 images a day with you requesting videos left and right, you could easily blow past 1 GB.
By doing this simple math, you can confidently pick a trail camera cellular plan that actually fits your scouting style and your budget. No guesswork needed.
Comparing Different Cellular Plan Models
Figuring out the right cellular plan for your trail camera can feel like a chore, but it’s simpler than it looks. Most options boil down to a few different models. Nailing this choice is the key to making sure your camera works how you want it to, without breaking the bank.
The biggest fork in the road is deciding between a plan offered by the camera company itself and one from a major carrier like AT&T or Verizon. Your first instinct might be to just add the camera to your phone plan. It sounds easy, but it’s usually the path of most resistance.
Smartphone plans are built for, well, smartphones. They aren't designed for the short, specific data bursts that trail cameras use. This mismatch often leads to weird compatibility problems, service drops, or—worst case—your carrier suspending the line. That’s why the entire industry has shifted toward plans sold directly by the camera brands. They’re built for the hardware and just plain work.
Plans from Camera Brands
This is the way to go these days. When you buy a modern camera from a brand like Magic Eagle, the SIM card is usually already inside, just waiting to be activated. You download their app, set up an account, and pick your plan right there on your phone.
This all-in-one approach has some serious perks:
- It’s ridiculously simple. No trips to the Verizon store, no guessing which SIM card fits. Everything happens inside one app.
- Performance is dialed in. The plans are designed to work flawlessly with the camera's software and the way it sends data.
- One call fixes all. If something goes wrong, you have one company to contact. No more getting the runaround between the camera maker and the cell provider.
This streamlined experience is a huge reason the cellular trail camera market, valued at around $500 million in 2025, is expected to explode to $1.525 billion by 2033. It just works.
Plans from Major Carriers
This used to be the only option. With older cameras, you had to go buy a separate SIM card and get a data line from a major carrier. You could find specific data plans for Verizon trail cameras, for example, but it was often a headache.
The biggest problem with using a major carrier is the customer service nightmare. If your camera stops sending photos, who do you call? The camera company will probably blame the network, and the network will blame the camera, leaving you stuck in the middle.
This whole approach is fading away fast as camera manufacturers make their all-in-one solutions better, cheaper, and more reliable for hunters and landowners.
Common Plan Structures
No matter who you get your plan from, the payment models tend to look pretty similar. Understanding the differences will help you find the most cost-effective option for how you scout.
Here's a quick look at the most common models out there.
Comparison of Cellular Plan Models
| Plan Type | Best For | Pros | Cons |
|---|---|---|---|
| Tiered Monthly | Predictable, year-round scouting. | Easy budgeting, simple to understand, widely available. | Can be inefficient if usage varies wildly month to month. |
| Annual Plans | Dedicated users with cams out all year. | Significant cost savings (often 15-25%), set-it-and-forget-it billing. | Requires a larger upfront payment. |
| Pay-As-You-Go | Seasonal hunters or short-term use. | Maximum flexibility, only pay when you need it, no commitment. | Higher per-month cost than annual or tiered plans. |
Let's break down what each of these really means in the field.
1. Tiered Monthly Subscriptions
This is the most popular model by far. You pay a flat fee each month for a set number of photos or a certain amount of data. For instance, a basic plan might give you 250 MB for around $5, while a heavier-use plan could offer 2 GB for $15. They're perfect for anyone with predictable scouting needs.
2. Annual Plans
If you’re serious about keeping cameras running all year, this is your best bet. Most brands offer a nice discount if you pay for 12 months upfront, often saving you 15-25% compared to the monthly price. It takes the hassle out of monthly bills and saves you money in the long run.
3. Pay-As-You-Go or No-Contract Plans
These flexible plans are a game-changer for seasonal use. You can fire up your service for a few months during the season, then pause it in the off-season to save cash. It gives you total control without locking you into a long-term contract you don't need.
Solving Poor Signal in Remote Locations
You can have the best camera and the perfect data plan, but none of it matters if your device can't connect to the network. This is easily the biggest frustration for hunters and property managers working in remote country. A weak or dead signal turns your high-tech scouting tool into a glorified plastic box, completely defeating the point of going cellular in the first place.
But here’s the good news: overcoming a spotty signal is no longer a game of chance. With the right strategies and modern camera tech, you can get a surprisingly reliable connection, even in places where your phone barely shows one bar.
Start with Smart Scouting and Placement
Before you even hang a camera, do a little digital scouting from home. Every major carrier has detailed coverage maps on its website showing estimated 4G/LTE signal strength. They aren't always perfect, but these maps are a fantastic starting point for spotting potential dead zones and hotspots on your property.
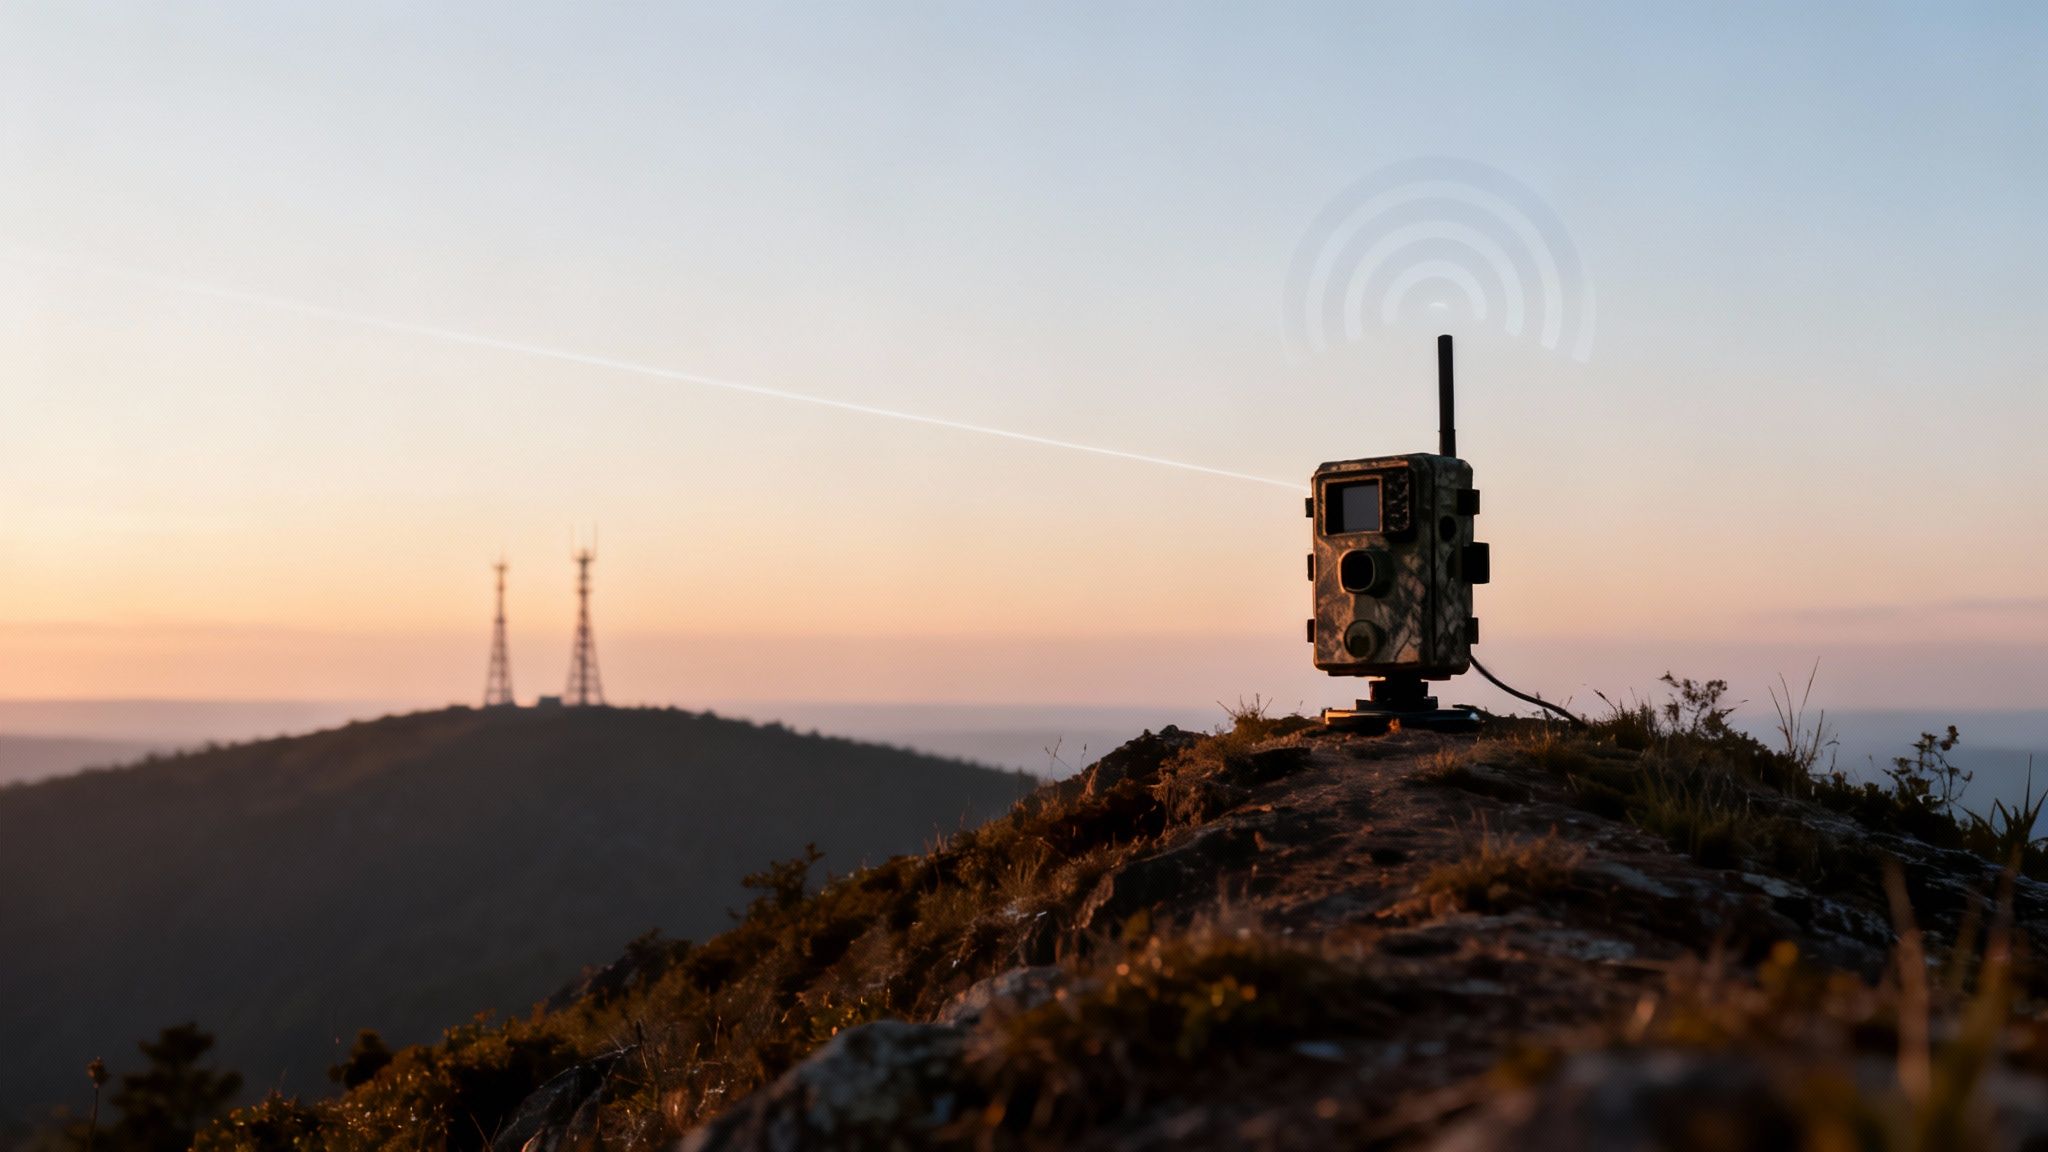
Once you’re in the field, where you put the camera is critical. Think of the signal as a straight line from your camera to the nearest cell tower. Anything that gets in the way—hills, dense trees, ravines—can weaken it.
To give your camera its best shot, follow these simple rules:
- Go High: Get that camera as high up a tree as you safely can. Gaining even a few feet of elevation can lift its antenna above signal-blocking ground clutter.
- Find an Opening: Avoid tucking cameras deep in ravines, thick pine stands, or at the bottom of a steep hollow. An open area or the edge of a field gives the signal a much clearer path to travel.
- Face the Right Way: If you have a general idea of where the nearest town or cell tower is, try pointing the camera’s antenna in that direction.
These basic steps can make a real difference, but they only get you so far. The real game-changer lies in cameras built specifically to solve this problem.
The Power of Multi-Carrier Technology
The single biggest leap forward in fixing signal issues is multi-carrier connectivity. Picture a trail camera with a brain smart enough to check for the best signal—whether it's AT&T or Verizon—and automatically lock onto whichever one is stronger at that exact moment. That’s exactly how this technology works.
This isn't just some minor feature; it's a fundamental shift in reliability. A camera locked to a single carrier is completely at its mercy. If that one network has a weak spot on your land, you're out of luck. A multi-carrier camera, on the other hand, literally doubles your chances of getting a solid connection.
The secret is dual SIM card technology, which lets a camera switch between AT&T and Verizon SIMs on the fly. It's a cutting-edge advancement that has quickly become a must-have feature for serious users.
Practical Advantages in the Field
This automatic network switching gives you a massive advantage. If an AT&T tower gets overloaded or a storm temporarily knocks its signal down, a smart camera like the Magic Eagle with SignalSync technology just hops over to the stronger Verizon network to send your photos. You don't have to lift a finger; the camera handles it all seamlessly in the background.
This is what separates a frustrating, unreliable camera from a dependable scouting partner you can count on. For cameras deployed in truly isolated areas, staying connected is everything. The concept is similar to why wireless lifeline solutions with solar charging are so critical in tough environments—it’s all about maintaining a connection. By choosing a device with robust, multi-network capabilities, you ensure your trail camera cellular plan delivers the performance you paid for, no matter how far off the grid you go.
Managing Multiple Cameras with Shared Data
Running a single cellular trail camera is a serious upgrade. But running a network of five, ten, or even more cameras completely changes how you manage a property. You go from getting sporadic updates to having a constant stream of intelligence. The catch? Managing individual trail camera cellular plans for each device can turn into a costly and logistical nightmare real fast.
As your camera fleet grows, your data strategy has to evolve right along with it. The solution is to get away from separate, individual plans and move to a shared or pooled data model. This approach is way more efficient and has become the standard for any serious hunter, researcher, or land manager.
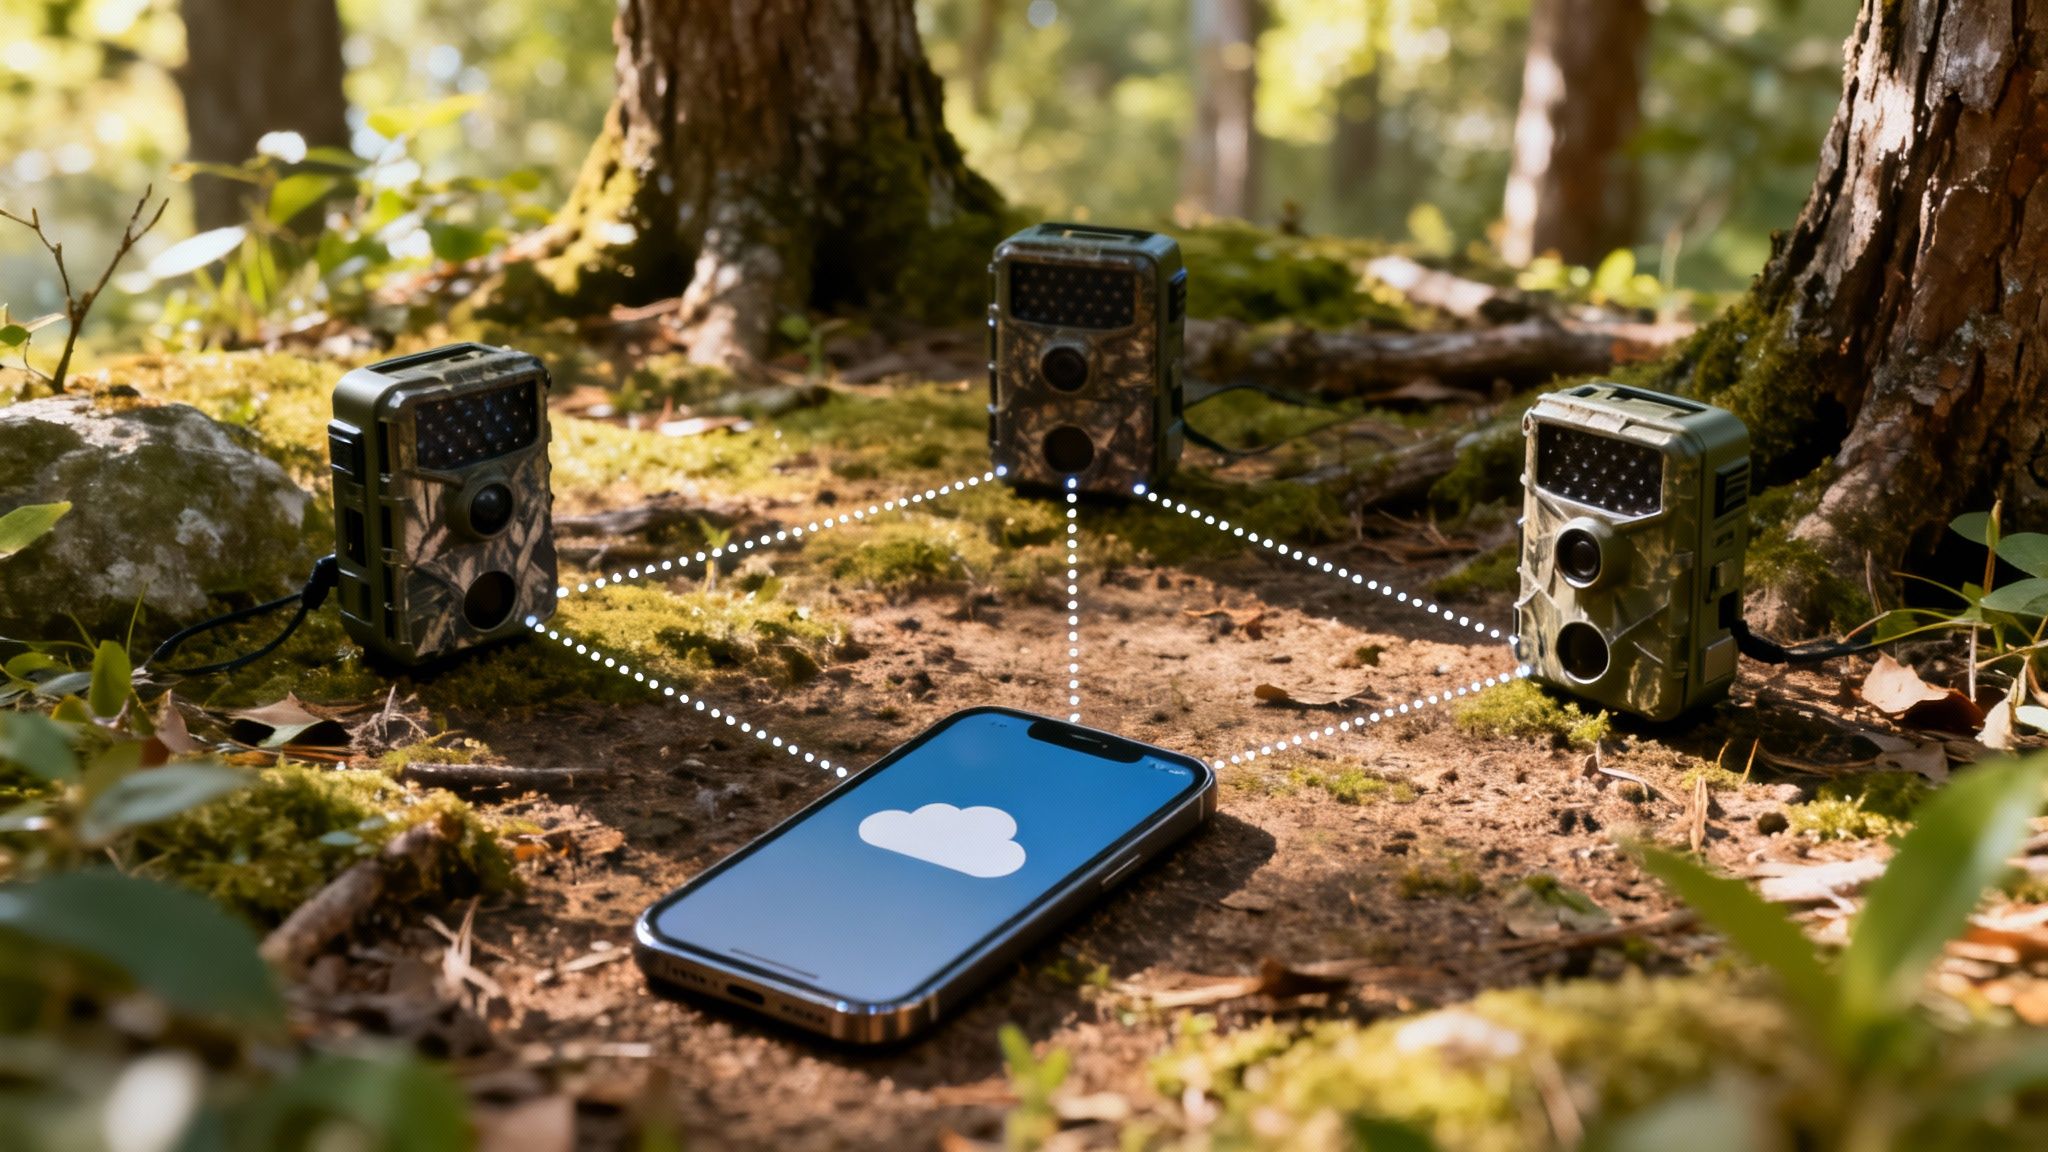
The Power of Pooled Data Plans
Think of it this way: giving each camera its own plan is like giving every person on a hike their own small water bottle. One person might run out while another has plenty left over. It’s just not efficient. A shared data plan is like carrying one large water bladder for the whole group—everyone draws what they need from a single, central source.
This "data pooling" lets all your cameras pull from one big bucket of data. If a camera on a busy food plot chews through data one month, it’s balanced out by a camera on a quiet scrape line that barely transmits. This setup keeps you from overpaying for data you don't use on low-traffic cams and saves you from getting slammed with overage fees on the high-traffic ones.
The cost savings can be huge. Instead of paying for a bunch of small, inefficient plans, you buy one larger, more cost-effective plan that serves your entire network. It simplifies your billing and almost always lowers your total monthly cost.
Your All-in-One Command Center
Beyond just the data plan, managing a whole fleet of cameras requires a unified control system. The days of juggling different apps for different camera brands are thankfully behind us. A modern, integrated app acts as a single command center for your entire scouting operation.
From one screen on your phone, you can:
- View All Photos: Get a single, consolidated feed of images from every camera on your property, all organized by time and location.
- Adjust Settings Remotely: Tweak the photo resolution, trigger speed, or transmission frequency for any camera without ever leaving your couch.
- Monitor Device Status: Check the battery life, signal strength, and SD card space for every single unit at a glance.
This centralized control is what makes running a large camera network truly practical. It saves a massive amount of time and effort, letting you focus on analyzing the intel your cameras are sending, not just maintaining the hardware.
Data-Driven Features for Advanced Scouting
A solid, shared data plan isn't just about sending photos; it’s the backbone for the next-level features that make your cameras smarter and more secure. These advanced tools absolutely depend on a constant, reliable data connection to work.
Features like GPS anti-theft tracking, geofence alerts, and AI species recognition are entirely dependent on your camera's ability to communicate with the cloud. A weak connection or a maxed-out data plan can render these powerful tools useless right when you need them most.
For example, AI-powered species recognition analyzes images on a server—not on the camera itself—to tell you if you've got a buck, a doe, or another pesky raccoon. This process requires data. Same goes for GPS tracking for a stolen camera; it’s only useful if the device can transmit its location. Your choice of trail camera cellular plans directly impacts whether you can actually use these game-changing features to their full potential.
A Simple Checklist for Choosing Your Plan
Alright, let's cut through the noise. Choosing the right cellular plan for your trail camera can feel like a chore, but it really boils down to answering a few straightforward questions about how you actually scout. By now, you know the basics of how these cameras work, what data they chew through, and the different kinds of plans out there.
This checklist pulls all that information together. Answer these questions honestly, and you’ll land on a plan that fits your budget, your property, and your hunting style.
How Many Cameras Are You Running?
First things first: what’s your camera count? Are you just watching a single food plot, or are you building out a network to cover a few hundred acres? This is the first fork in the road.
- One or Two Cameras: For a small setup, individual tiered plans usually get the job done. You can manage them separately without too much of a headache.
- Three or More Cameras: This is where shared data plans become a game-changer. A pooled plan is almost always cheaper and more efficient than juggling a bunch of individual ones. It stops you from overpaying for data you don't use on one camera while another one runs dry.
What Does Your Signal Look Like?
The fanciest plan on the market is useless if you don't have a signal. The location and terrain of your property are the ultimate decider here.
Don’t just guess about your signal strength. A camera that can’t transmit is just an expensive, regular trail camera. Putting connectivity first ensures your investment actually pays off with reliable intel from the field.
- Strong, Consistent Signal: If you’ve got solid bars from one of the major carriers on your property, a single-carrier camera might be all you need.
- Fringe or Unreliable Signal: For those remote spots with spotty service, a camera with multi-carrier technology is non-negotiable. The ability to automatically jump between carriers like AT&T and Verizon is the difference between getting a picture and getting nothing at all.
Are Photos Enough, or Do You Need Video?
Your appetite for high-resolution images and clips has a direct line to your data budget. Standard thumbnail photos barely sip data, but requesting full-blown HD photos and videos will drain your plan in a hurry.
Think about your end goal. Are you just trying to pattern a buck with basic photos? Or do you need crisp video for your YouTube channel or a detailed property analysis? A plan that seems massive for just sending photos can get wiped out in a week if you’re constantly pulling videos. Pick a data bucket that matches the media you actually need.
How Important Is a Simple Setup?
Finally, be honest about how much you enjoy messing with tech. Do you want something that just works the second you take it out of the box, or are you willing to hunt down SIM cards and deal with third-party phone companies?
For most hunters, an all-in-one system from the camera brand itself is the clear winner. The SIM card comes pre-installed, and you activate and manage everything from a single app—it’s foolproof. This integrated approach also means the plan is built specifically for the hardware, and if you run into trouble, you’ve only got one company to call for support.
Frequently Asked Questions
When you're dialing in the details on cellular trail camera plans, a few common questions always seem to pop up. Getting those last few uncertainties cleared up is the final step to making a confident choice and knowing your camera will perform exactly how you need it to out in the field. Here are some straight answers to the things we hear most from hunters and land managers.
Can I Use My Phone SIM in a Trail Camera?
No, you can't. This is probably the most common misconception we see, and it almost always leads to headaches. Your smartphone's SIM card is provisioned for a completely different device and usage pattern. If you try to stick it in a trail cam, your cell carrier will likely flag the line and suspend the service.
Think of it this way: trail cameras are what the tech world calls IoT (Internet of Things) devices. They need a specific data-only plan built for their unique way of sending small bursts of information. The most reliable and hassle-free solution is always the integrated plan offered by the camera manufacturer—it guarantees compatibility right out of the box.
Do Cellular Trail Cameras Work Without a Plan?
Yes, but they’ll only work as a traditional, non-cellular camera. Without an active data plan, the camera loses its biggest advantage: remote access. It will still detect motion, snap photos, record videos, and save everything to the SD card.
The catch is, you'll have to physically hike out to the camera and pull the card to see what's on it, just like you would with an old-school trail cam. All the cellular magic—the ability to send pictures straight to your phone—is switched off until you activate a data plan.
An inactive cellular plan turns your smart scouting tool back into a standard camera. You still get the pictures, but you lose the real-time intel that makes this technology a game-changer for modern scouting.
What Happens If I Exceed My Monthly Data Limit?
This is a big one, and it really depends on your provider and the type of plan you signed up for. The consequences for going over your data allowance can vary wildly, so you absolutely have to read the fine print before you commit.
Here are the most common ways it plays out:
- Service Gets Cut Off: Many prepaid or pay-as-you-go plans simply stop sending photos and videos once your data bucket is empty. The camera won't transmit again until your plan renews next month or you buy more data.
- You Get Hit with Overage Charges: Some plans will let you keep transmitting but will automatically bill you expensive per-megabyte fees for every photo sent over your limit. Those charges can stack up fast and lead to a nasty surprise on your bill.
- Your Speed Gets Throttled: Many so-called "unlimited" plans aren't truly unlimited. Once you hit a certain data threshold (say, 5 GB), the provider will dramatically slow down, or "throttle," your transmission speeds for the rest of the month, making image delivery painfully slow.
Ready to stop the guesswork and get a camera that just works? The Magic Eagle EagleCam 5 comes with SignalSync multi-carrier technology and simple, all-in-one data plans you manage right from our app. Learn more about our seamless connectivity.