
Your Window Into the Wild Unveiled
Imagine having a silent, tireless scout perched in the woods, working around the clock to capture nature's most hidden moments. That’s the core idea behind outdoor wildlife cameras—specialized devices, often called trail cameras or camera traps, that autonomously photograph and film animals in their element, no human required.
These cameras are the modern naturalist's secret weapon. They give you an unfiltered peek into a world that’s usually invisible, revealing the secret paths of a reclusive bobcat or the feeding habits of a buck. They are far more than simple gadgets; they're powerful tools that close the gap between our curiosity and the untamed wild.
From Simple Traps to Smart Observers
The concept isn’t new, but the technology has come a long way. Early camera traps were clunky, film-based contraptions triggered by tripwires. Today’s wildlife cameras are digital powerhouses packed with sophisticated sensors, high-resolution lenses, and connectivity that would have seemed like science fiction just a decade ago.
This leap in technology has opened them up to a much wider audience. What started as a niche tool for researchers is now within reach for just about everyone. The market reflects this explosion in popularity; the global wildlife camera trap industry hit around USD 724.8 million recently and is on track to nearly double. You can dig into the numbers and trends in this detailed market analysis.
This accessibility has created two main groups of users, each with their own goals:
- Enthusiasts and Hobbyists: For backyard naturalists, hunters, and nature lovers, these cameras are all about the thrill of discovery. They turn a familiar patch of woods into a stage for incredible animal behavior you’d otherwise never see.
- Scientists and Conservationists: In the hands of professionals, outdoor cameras are vital research instruments. They help monitor animal populations, study behavior without disturbance, track endangered species, and measure the real-world impact of conservation efforts.
The true magic of these cameras is their ability to work on their own. They wait patiently, sometimes for weeks, for that one perfect moment—a fleeting encounter that would have been lost to time.
Before we dive into the different types, it helps to see the big picture. Here’s a quick breakdown of the main categories you’ll encounter.
Quick Overview of Wildlife Camera Types
This table summarizes the main categories of outdoor wildlife cameras to help you quickly identify the best fit for your needs.
| Camera Type | Primary Use Case | Connectivity | Best For |
|---|---|---|---|
| Traditional (Non-Cellular) | Basic monitoring, scouting | None (SD Card only) | Budget-conscious users, areas with no cell service. |
| Cellular (4G/LTE) | Remote monitoring, real-time alerts | 4G/LTE Cellular | Hunters, property security, remote research sites. |
| Wi-Fi / Bluetooth | Short-range remote access | Wi-Fi or Bluetooth | Backyard observation, checking cams without disturbing the site. |
| Live Streaming | Real-time video feed | 4G/LTE or Wi-Fi | Continuous observation of dens, nests, or high-traffic areas. |
Each type offers a different way to connect with the wild. The right one for you depends entirely on what you want to see and how you want to see it.
By understanding how these devices work, you unlock a whole new way of seeing the world. Whether you're a seasoned hunter tracking game or just curious about what roams your property after dark, a wildlife camera is your portal to discovery. They offer more than just pictures; they provide stories, insights, and a deeper appreciation for the animals we share our planet with.
Decoding the Tech Inside a Great Wildlife Camera
What’s the real difference between an average trail camera and one that captures those truly stunning, once-in-a-lifetime wildlife shots? It’s all about the technology humming away inside. Understanding these core features—without getting bogged down in confusing tech-speak—is your key to picking the right outdoor cameras for wildlife for your specific needs. Let's break down what actually makes a difference out in the field.
Beyond Megapixels: Understanding Image Quality
For years, the camera industry has drilled one idea into our heads: more megapixels (MP) mean better pictures. While a high MP count is great if you plan on making massive prints, it’s far from the whole story when it comes to image clarity. The true heroes are the image sensor and the lens quality.
Think of the image sensor as the camera’s retina and the lens as its cornea. A high-quality, larger sensor can gather more light and detail, which translates to sharper, cleaner images, especially during those crucial dawn and dusk hours. A cheap plastic lens paired with a high-megapixel sensor is like having poor eyesight; no matter how big the file is, the image itself will be blurry and lack critical detail.
A camera with a premium 12MP sensor and a quality glass lens will almost always deliver better photos than a camera with a 30MP sensor and a cheap plastic lens. Always look at real-world photo examples from reviews, not just the megapixel number on the box.
Trigger Speed: The Reflexes of Your Camera
Picture this: a sly fox darts across a narrow game trail. If your camera’s reaction time is too slow, you’ll end up with a photo of an empty path or, if you're lucky, a blurry tail disappearing out of the frame. This is where trigger speed is everything.
Trigger speed is simply the delay between the sensor detecting motion and the camera snapping the first picture. It’s the camera’s reflex, and for fast-moving animals, every fraction of a second is critical.
- Fast Speeds (0.1 - 0.4 seconds): This is what you need for capturing subjects on the move. It’s essential for cameras placed on game trails, creek crossings, or any spot where animals are passing through instead of lingering.
- Slower Speeds (0.5+ seconds): These can work for locations where animals tend to stay put, like bait sites, feeders, or water holes. Still, a faster trigger is always a better bet.
A lightning-fast trigger ensures you capture the whole animal, perfectly framed, not just a fleeting glimpse.
Detection Range and Angle: A Camera’s Field of View
The detection zone is the invisible area in front of the camera where its motion sensor is active. This zone is defined by two key measurements: range and angle.
Detection range tells you how far away the camera can pick up movement. A longer range, like 80-100 feet, is perfect for monitoring wide-open areas like fields or long clearings in the woods. Shorter ranges are perfectly fine for dense forests or setting up in your backyard.
The detection angle determines how wide the sensor’s "vision" is. A wider angle covers more ground horizontally, but it can sometimes cause "false triggers"—when the sensor detects movement at the very edge of the frame where the animal isn't fully visible yet. A narrower, more focused angle is ideal for trails.
This concept map shows how outdoor cameras for wildlife serve everyone from enthusiasts to conservationists.
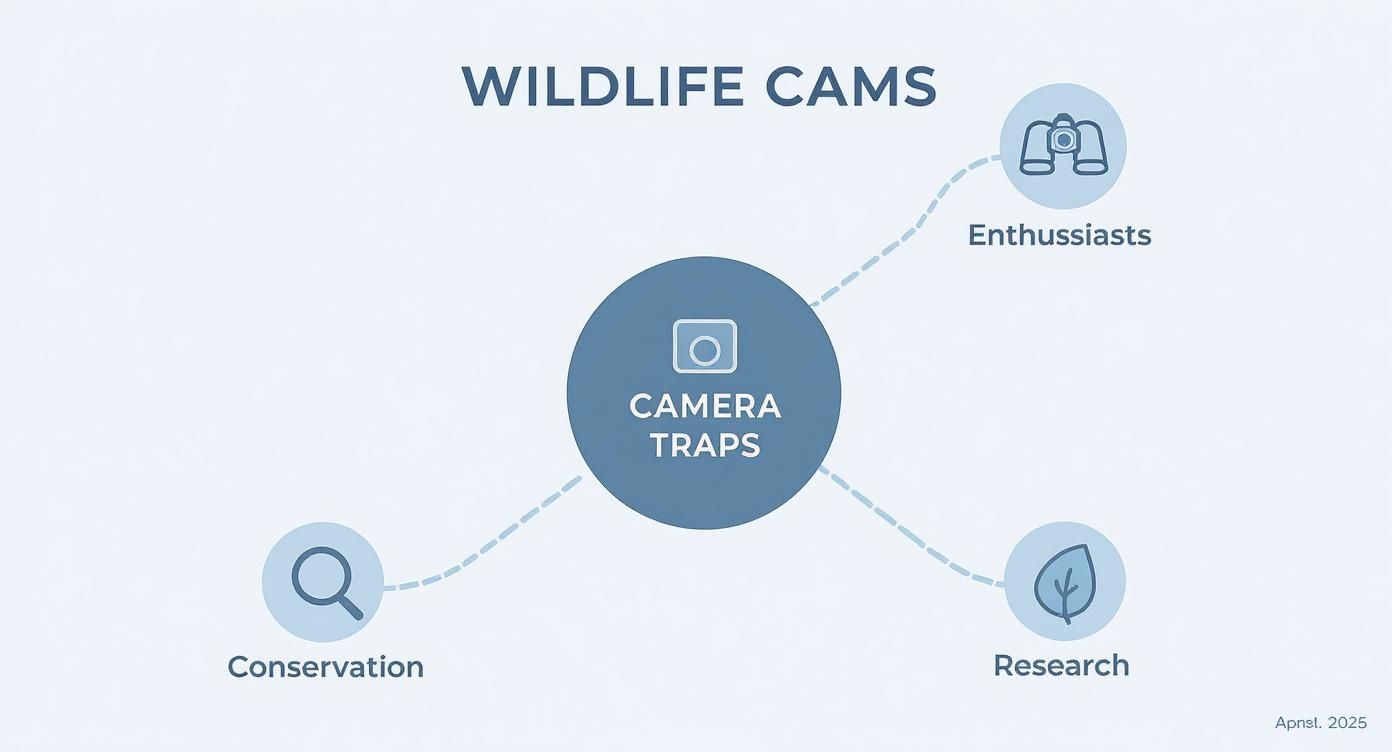
The visualization highlights the central role camera traps play in connecting different groups to the natural world.
Night Vision: Seeing in the Dark
Let's be honest—most of the coolest wildlife activity happens long after the sun goes down. A camera's ability to see in total darkness comes down to its infrared (IR) flash. There are two main types, and the one you choose can make a big difference.
A detailed comparison of the two main types of infrared technology used for night vision, helping you choose the right one for your specific needs.
Feature Comparison: No-Glow IR vs. Low-Glow IR
| Feature | No-Glow Infrared | Low-Glow Infrared |
|---|---|---|
| Visibility | Completely invisible (940nm wavelength) | Faint red glow (850nm wavelength) |
| Best For | Skittish wildlife, security, public land | General wildlife monitoring, brighter images |
| Flash Range | Shorter range, typically up to 60-80 feet | Longer range, often 80-100+ feet |
| Image Quality | Can be slightly grainier or less bright | Generally brighter and clearer night photos |
| Spook Factor | Virtually zero; animals don't notice it | May occasionally spook wary animals like mature deer |
| Cost | Often slightly more expensive | Typically more common and affordable |
Choosing between them is a trade-off. If your top priority is staying completely undetected, no-glow is the way to go. If you want the brightest possible night photos and aren't worried about a very faint glow, low-glow is an excellent choice.
To see how these technologies come together in a modern, durable package, checking out a comprehensive Reolink security camera review offers great insight into sensor quality and build durability. And if you're curious about getting those images sent straight to your phone, don't miss our guide on how cellular trail cameras work.
Staying Powered and Connected in the Field
Even the most advanced outdoor wildlife camera becomes an expensive paperweight if its batteries die or you can't get the footage. A camera's true value isn't just its specs—it's measured by its uptime. This is where the practical, boots-on-the-ground logistics of power and connectivity become just as critical as trigger speed or resolution.
Think of your camera as a remote scout. And like any good scout, it needs a reliable supply line to do its job. Keeping it powered and connected ensures your window to the wild stays wide open, ready to capture whatever wanders by.
Choosing Your Power Source
Every field environment is different. The best power solution really comes down to your camera's location, how easy it is to get to, and how often you can realistically check on it. Let's break down the three main options you'll run into.
- Disposable Batteries (Alkaline & Lithium): This is the old-school, simplest choice. If you go this route, lithium batteries are the clear winner. They last much longer and perform way better in cold weather—a huge factor, since dropping temperatures can absolutely drain alkaline batteries in no time.
- Rechargeable Battery Packs: A smarter, more sustainable, and cost-effective option for the long haul. These high-capacity packs can often run a camera for months on a single charge, which means less waste and no more buying disposable batteries over and over.
- Solar Panels: This is the ultimate "set it and forget it" solution for long-term deployments. A small solar panel hooked up to a rechargeable battery provides a constant trickle charge, keeping the camera running indefinitely as long as it gets a few hours of sunlight each day.
Think of your power source as the camera's metabolism. Disposables are like quick energy snacks—they work, but they don't last. A rechargeable pack is a hearty meal, and a solar setup is a self-sustaining ecosystem that keeps things running for the long haul.
For anyone serious about maximizing a camera's field time, you can learn more about combining these technologies in our detailed guide on using solar panels for game cameras. This approach is a game-changer for remote spots where swapping batteries is a major hassle.
Untangling Camera Connectivity
Getting power to your camera is half the battle. The other half is getting the images from it. Your choice here completely changes how you interact with your gear and the wildlife it captures.
The demand for better, easier connectivity has made the market explode. The use of trail cameras has surged across the globe, with shipment volume recently surpassing 9 million units—up from 6.2 million just a few years ago. This boom is almost entirely fueled by tech that makes remote access a breeze. You can dig into the numbers in this market growth report.
Here’s how the main connectivity types stack up:
1. Manual SD Card Retrieval
This is the classic method. The camera saves everything to a physical SD card. To see your pictures, you have to physically hike out to the camera, swap the card, and bring it back to a computer.
- Pros: No data plans, no monthly fees, and it works anywhere, regardless of cell signal.
- Cons: You have to disturb the site with your presence, and you’re always in the dark about what’s been captured until you make the trip.
2. Wi-Fi or Bluetooth Cameras
These models create a short-range wireless network, letting you connect with your phone to download footage when you're nearby (usually under 100 feet).
- Pros: Lets you check footage without touching the camera, which preserves its exact position and avoids leaving your scent.
- Cons: The limited range means you still have to get very close to the camera's location.
3. Cellular Trail Cameras
This is the modern standard for anyone who's serious about remote monitoring. These cameras use 4G/LTE networks—like the ones in Magic Eagle models—to send photos and video clips straight to an app on your smartphone, often just seconds after they’re taken.
- Pros: Instant access to your images from anywhere in the world, real-time alerts for scouting or security, and zero disturbance to the camera site.
- Cons: Requires a cellular signal and a data plan, though modern cameras like the EagleCam 5 often come with an integrated connection to simplify things.
In the end, it’s all about balancing convenience, cost, and the realities of your location. For those hard-to-reach spots, or when knowing what's happening right now is critical, a cellular model paired with a solar power source is an absolutely unbeatable combination.
Strategic Placement for the Perfect Shot
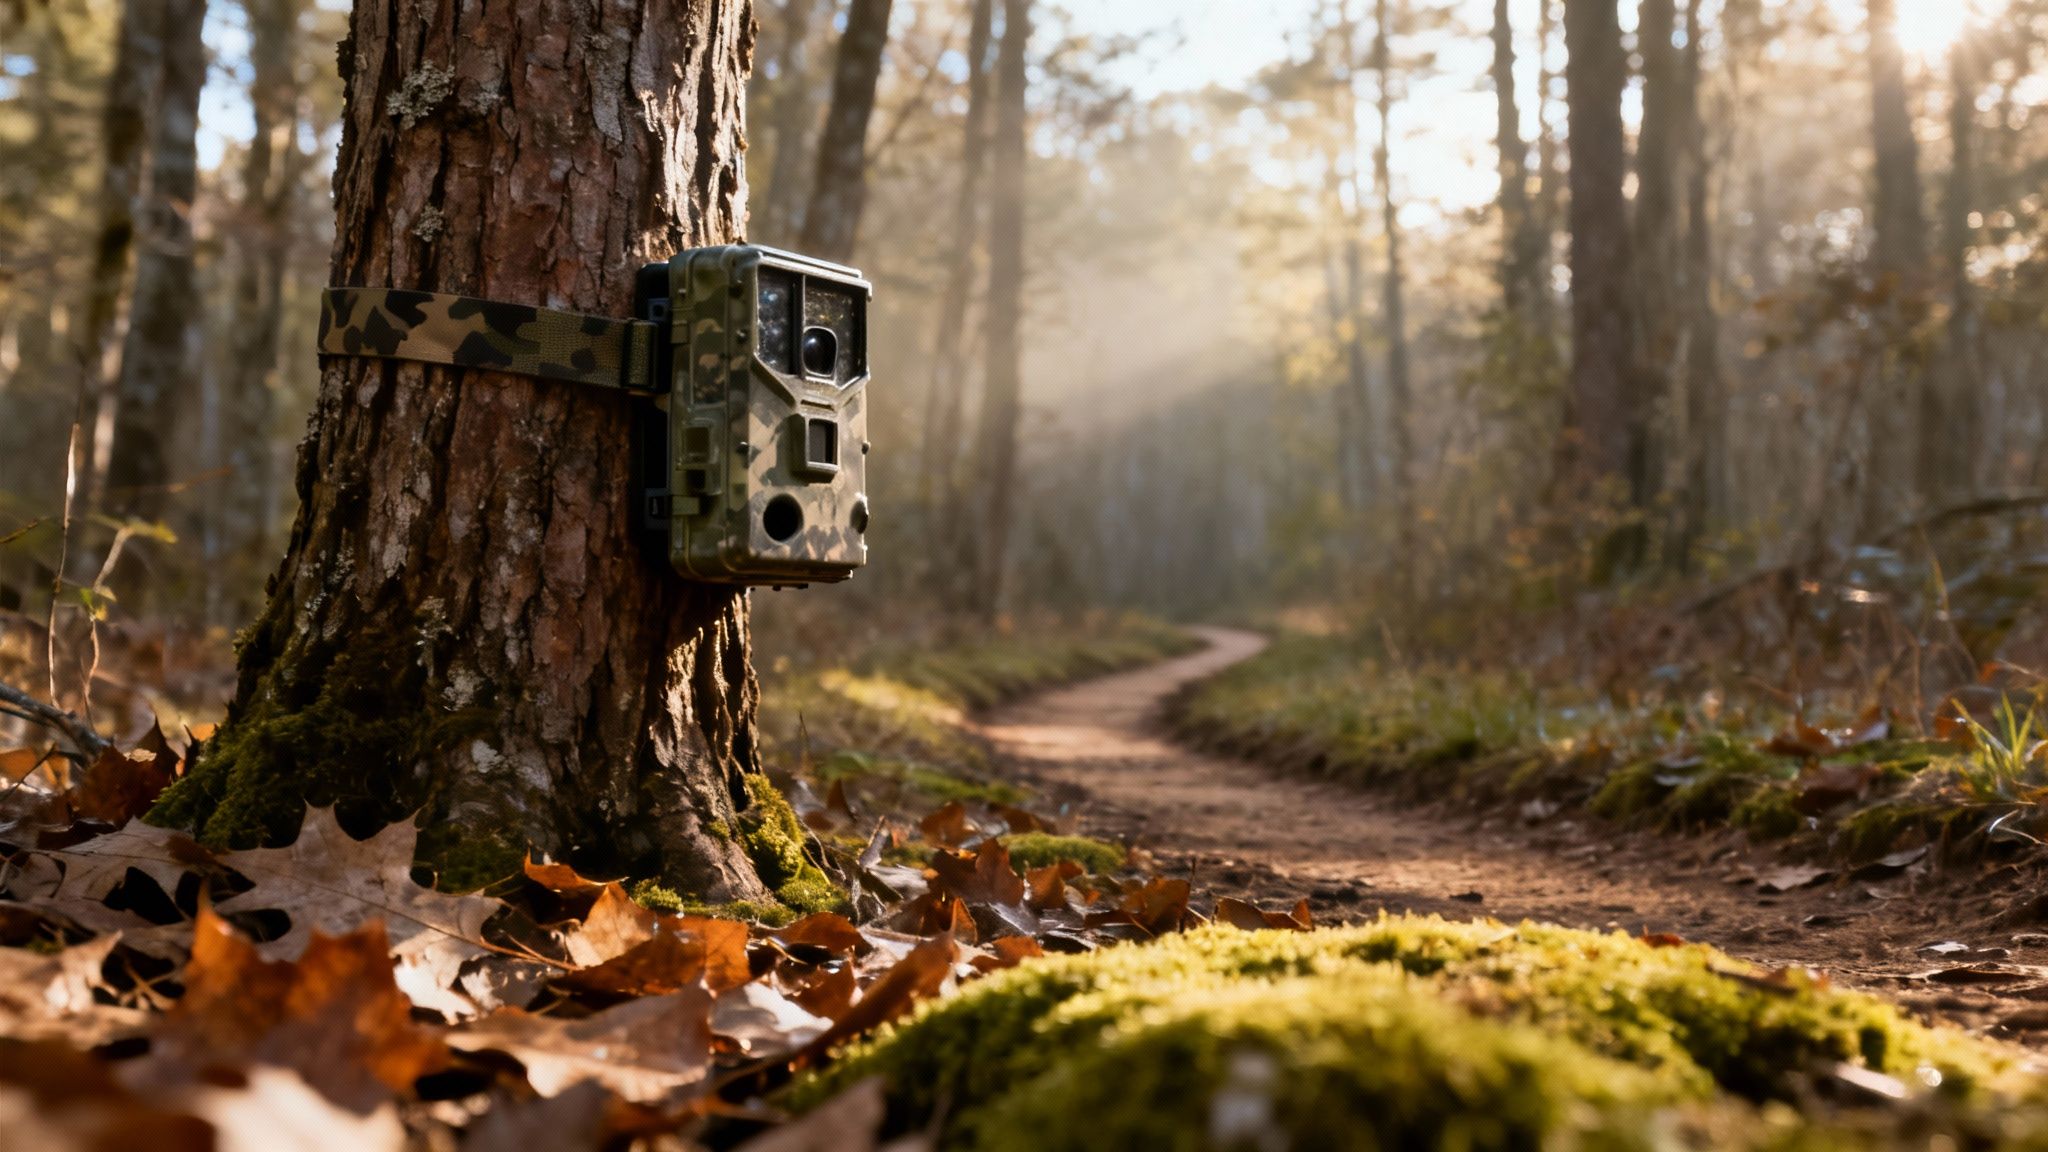
Let's be honest: capturing incredible wildlife footage is an art, and the camera's location is your canvas. A high-tech outdoor camera for wildlife is only half the equation; the other half is pure fieldcraft. Knowing where and how to position your gear is what transforms it from a simple recording device into a strategic observation tool.
This process is about more than just finding a sturdy tree. It requires you to start thinking like the animals you want to see. When you learn to read the landscape and understand animal behavior, you can turn a good location into a great one, drastically increasing your chances of getting that once-in-a-lifetime shot.
Scouting Like a Naturalist
Before you even unbox your camera, the real work begins on foot. Effective scouting is all about identifying the natural highways and hotspots that wildlife use every single day. Your goal is to find areas with the highest probability of animal traffic.
Look for key environmental features that attract or funnel animal movement. These are the spots where a well-placed camera will pay off big time.
- Game Trails: These are the well-worn paths animals use to travel. Look for beaten-down vegetation, tracks, and obvious clearings through thick brush.
- Water Sources: Creeks, ponds, and even seasonal puddles are magnets for wildlife, especially during dry spells. The edges of these water bodies are prime real estate.
- Food Sources: Find the dinner table. This could be oak trees dropping acorns, fruit-bearing bushes, or the edges of agricultural fields.
- Pinch Points and Funnels: These are natural chokepoints in the landscape, like a gap in a fence line, a shallow creek crossing, or a saddle between two hills. They force animals through a specific, predictable spot.
And remember, finding the perfect spot is useless if you can't find it again. Especially in remote areas, it's critical to master basic navigation with a compass and map—a vital skill for any serious outdoorsman.
Fine-Tuning Your Camera Position
Once you've found your "spot X," the next step is precise positioning. Small adjustments in height, angle, and direction can mean the difference between a blurry, washed-out photo and a stunning, perfectly framed shot.
The goal here is to get a clear view of your target area while avoiding the common mistakes that can ruin your footage or fill your SD card with thousands of pictures of nothing.
Pro Tip: Always try to orient your camera facing north or south. Pointing a camera east or west can lead to brutal sun glare during sunrise and sunset, which "washes out" your images and often causes false triggers as the light changes.
Here are the three key elements to get right:
- Ideal Height: For deer-sized animals, mounting the camera at a height of 3 to 4 feet is the standard. This gives you a natural, body-level perspective. For smaller critters like raccoons or foxes, you'll obviously want to aim lower.
- Perfect Angle: Don't point the camera straight down a trail. Instead, angle it at about 45 degrees to the path. This gives the animal more time to move through the detection zone, resulting in more photos and better video clips.
- Clearing the Scene: Before you walk away, take a minute to clear away any small branches, tall weeds, or leaves right in front of the camera. Wind-blown vegetation is the number one cause of false triggers, which will drain your batteries and leave you with a card full of empty shots.
Camouflage and Concealment
Your final step is making sure your camera blends in. Wildlife can be very wary of new objects in their environment, and unfortunately, theft of outdoor cameras for wildlife is a real problem on both public and private lands.
Good concealment protects your investment and helps ensure animals behave naturally. For more stability and unique placement options, especially where you can't find the perfect tree, check out our guide on trail camera stands and mounts.
A camo pattern on the camera case is a good start, but you can do more. Use surrounding natural elements like fallen branches, leaves, or bark to break up the camera's hard, rectangular outline. The goal is to make it disappear into the background, becoming just another part of the forest.
From Data Overload to Wildlife Insights
So, you’ve got your new outdoor cameras for wildlife set up, and the images are finally rolling in. At first, it's pure excitement. Before long, it's just… a lot. A single active camera can easily snap thousands of photos in a week, turning your computer into a chaotic digital junk drawer.
This is the point where your hobby needs to evolve from simply collecting pictures to actually managing them. Without a system, you’ll either lose your best shots in a digital haystack or just give up. The trick is to build a simple, repeatable process for organizing everything so you can find what you need, when you need it.
A logical folder structure is the perfect place to start. Think of it like an old-school filing cabinet. Create a main folder for each camera location, then break it down with subfolders by date (e.g., Year > Month > Day). Just like that, your footage is searchable by time and place.
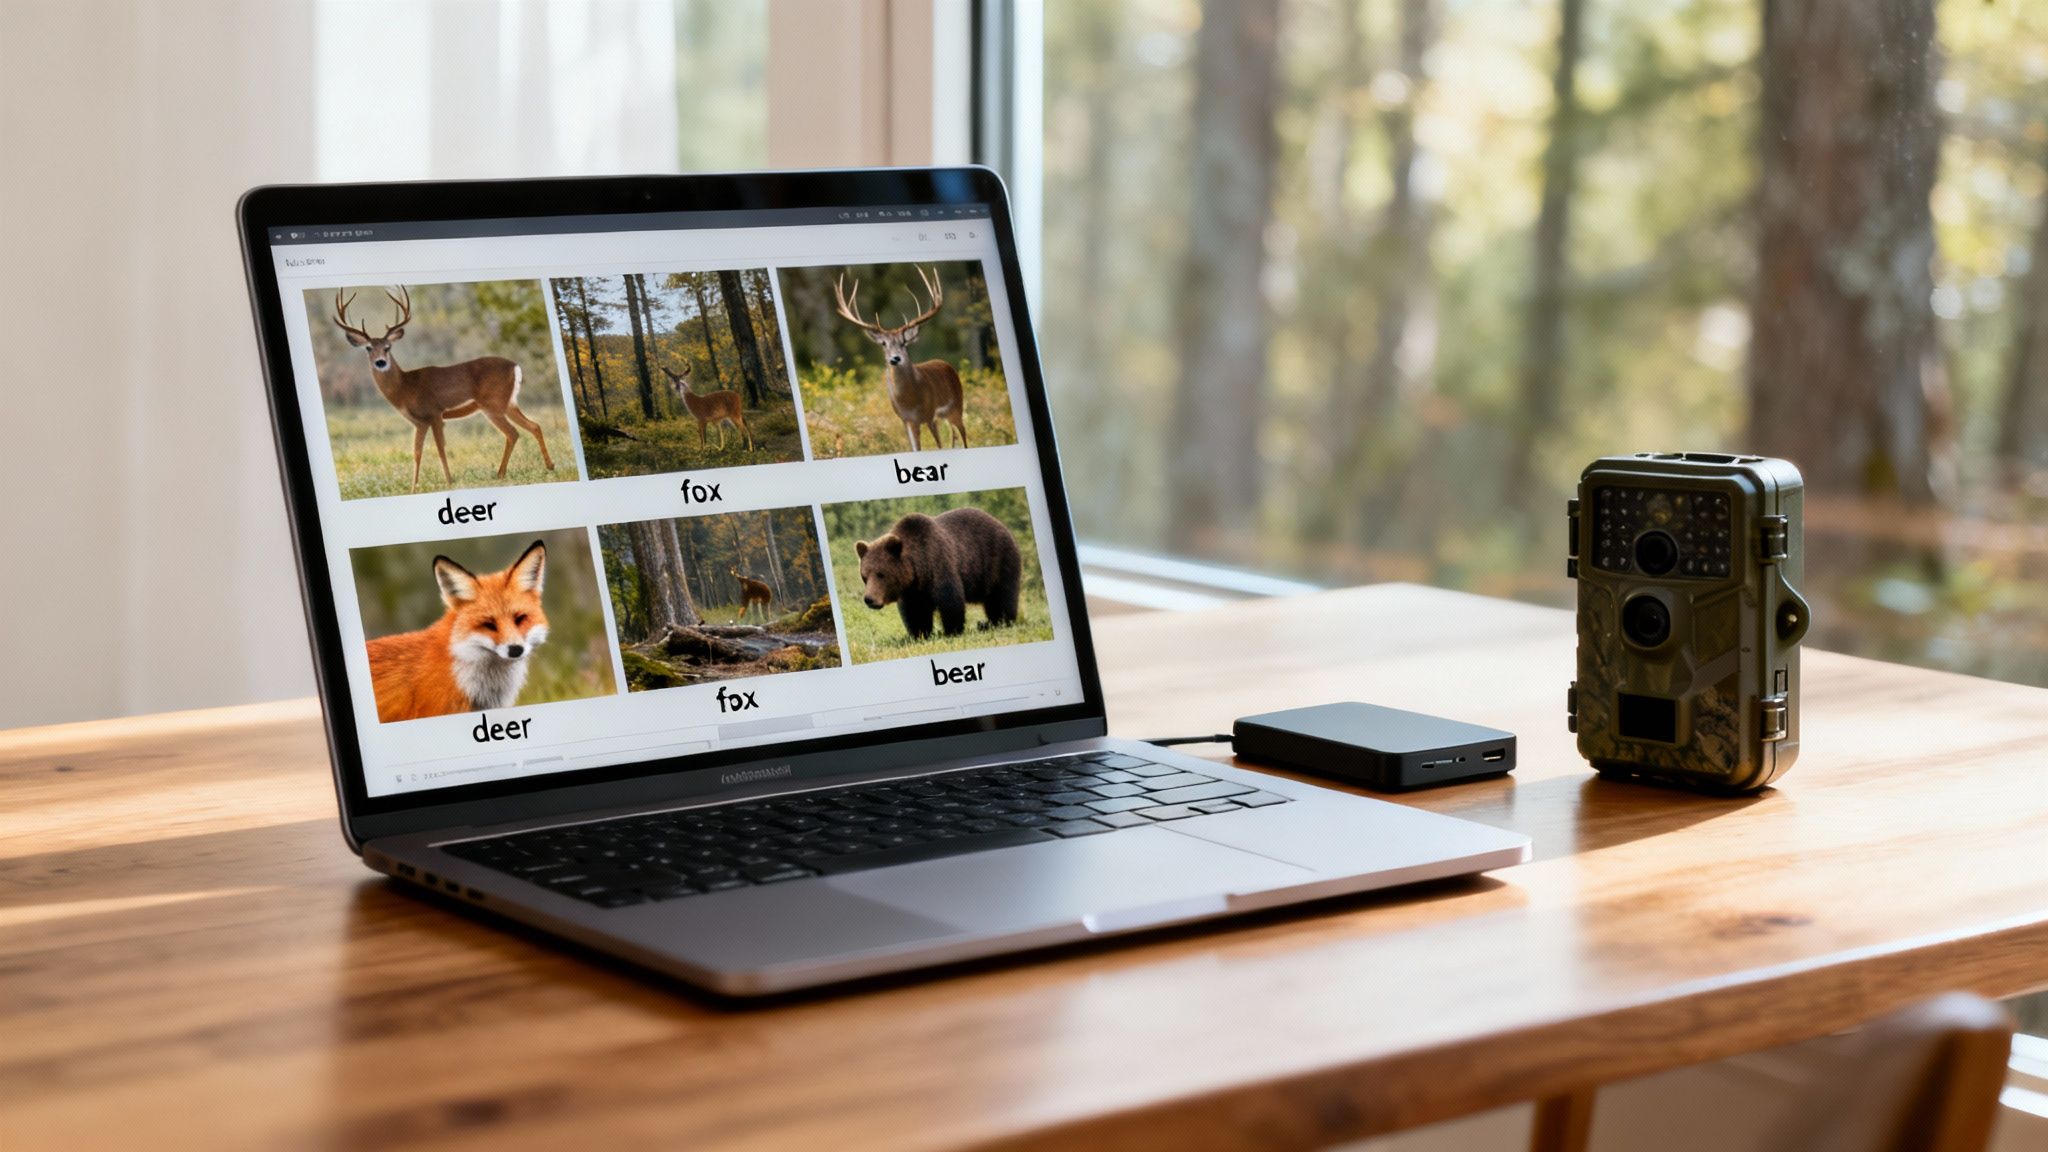
The Power of Artificial Intelligence in the Wild
Let's be honest: manually sorting thousands of images is a massive chore. You could burn hours just trying to identify animals, deleting shots of swaying branches, and flagging the good stuff. This is where modern camera tech—specifically Artificial Intelligence (AI)—steps in to become your best field assistant.
Think of AI species identification as having a digital wildlife expert on call 24/7. Instead of you squinting at a grainy night photo, trying to decide if that's a coyote or a fox, the camera's software figures it out for you. Instantly. The tech cross-references the image against a huge database of animal features to make the call.
AI doesn't just save you time; it transforms raw data into structured, usable knowledge. It’s the bridge between having a folder full of random photos and understanding the actual patterns of wildlife on your property.
This is the kind of automated filtering that separates modern smart cameras, like those from Magic Eagle, from the old guard. It cuts through the noise so you can focus on the genuinely valuable insights buried in your footage.
From Simple Sorting to Deeper Understanding
Once AI is handling the heavy lifting of identification, you can move past basic organization and start spotting real patterns. The camera’s companion app effectively becomes your command center for analysis, automatically sorting your captures into neat galleries for each species.
This unlocks a whole new level of wildlife observation:
- Track Specific Animals: Want to see every picture you have of that big eight-point buck? Instead of digging through folders, you just tap the "Whitetail Deer" category to see every image the camera has ever tagged of one.
- Monitor Population Health: With a clear breakdown of species, you can get a quick census of the animals visiting your spot. It makes it easy to track the number of does, fawns, and different bucks over time.
- Identify Peak Activity Times: The app might show you that coyotes are most active between 2 AM and 4 AM, while the deer prefer dawn and dusk. For a hunter or an observer, that information is gold.
Ultimately, this technology flips the script from a reactive process—passively looking at photos—to a proactive one. You're no longer just a collector of images; you become an analyst of animal behavior. The AI is your research assistant, presenting the data so you can make the connections. This shift from data overload to clear insight is the true power of today’s smart wildlife cameras.
Ethical and Responsible Wildlife Observation
Using an outdoor camera opens an incredible window into the natural world, but that privilege comes with a responsibility to protect what we're watching. As our ability to observe grows, so does our duty to do it ethically.
The core principle is simple: be invisible. Our goal as observers is to make sure our presence—even through a camera lens—doesn't change how animals behave or damage their home.
This all starts with respecting boundaries, both natural and legal. Before you place a camera, always make sure you have the right to be there. Setting up on private property without getting permission first isn't just rude, it's often illegal. Public lands have their own rules, so a quick check with the managing agency, like the Forest Service or a state park authority, is a must.
Do No Harm
The golden rule for any wildlife observer is to keep your impact to a minimum. You want to see genuine, natural behavior, and that’s impossible if the animals are stressed out by your camera or your activity.
Here are a few essential guidelines:
- Avoid Sensitive Areas: Stay far away from known nesting sites, dens, or burrows, especially during breeding season. Disturbing animals at these vulnerable times can have devastating consequences.
- Use No-Glow Flash: For skittish critters, a camera with a completely invisible no-glow infrared flash is the only ethical choice. It gets rid of the risk of spooking an animal in the dark.
- Check Cameras Infrequently: Every trip you make to your camera leaves your scent and sound behind, which can easily alter animal movement. Plan your visits to be as few and far between as possible—this is where cellular cameras really shine.
Leave No Trace
Beyond how we interact with animals, our physical footprint matters just as much. The "Leave No Trace" philosophy is gospel for anyone who steps into the outdoors, and it applies directly to setting up observation gear.
"The goal is to leave the environment exactly as you found it, if not better. Your passion for wildlife should contribute to its conservation, not its disturbance."
This means you don't cut down branches for a clearer shot, you don't damage trees when mounting your camera, and you pack out every single thing you packed in.
The wildlife photography camera market is now a USD 4,300 million industry, which shows just how many of us are connecting with nature this way. It's on all of us to make sure this passion supports conservation. You can find more details about this growing market and its trends. By acting as stewards of the land, we help ensure these wild places—and the animals that live there—continue to thrive for generations to come.
Frequently Asked Questions
When you're getting into outdoor wildlife cameras, a few questions always seem to pop up. Answering them upfront can save you a lot of headaches and help you get the most out of your gear from day one. Here’s a quick rundown of what we hear most often from new users and seasoned pros alike.
How Long Do Batteries Last in Cold Weather?
Cold weather is the arch-nemesis of battery life, particularly for your standard alkaline cells. Once temperatures drop below freezing, you can expect their power output to plummet by as much as 50%.
This is exactly why we always recommend lithium batteries for winter. They just hold up so much better in the cold. For the ultimate setup, though, nothing beats pairing a rechargeable battery pack with a small solar panel. That combination can deliver consistent power for months on end, even through the toughest winter.
What Are the Best Settings for Small, Fast Animals?
Trying to get a clean shot of something quick like a weasel or a fox is all about speed and responsiveness. You have to tweak your camera's settings to be as fast as possible.
Here’s the setup you need:
- Trigger Speed: Put this on the fastest setting your camera has, often labeled "high" or "instant." This closes the gap between when the camera senses movement and when it snaps the picture.
- Burst Mode: Don't just take one picture. Set the camera to fire off a burst of 3-5 photos every time it's triggered. This dramatically increases your odds of getting that one perfect, in-focus shot.
- Sensitivity: Crank the motion sensor up to its highest sensitivity. This ensures the camera will pick up on the subtle, quick movements of smaller animals, even from farther away.
Pro tip: A lightning-fast trigger speed paired with a multi-shot burst is the one-two punch for nailing photos of quick critters. It gives you multiple chances to freeze the action perfectly.
Are Cellular Data Plans Expensive?
They used to be, but the cost of data plans for cellular wildlife cameras has dropped significantly. It’s much more affordable now.
Many modern cameras, including those from Magic Eagle, ship with a SIM card already installed that can hop between multiple networks to find the strongest signal automatically. The plans are usually flexible, too. You can often find everything from free limited trials to monthly or yearly subscriptions based on how many photos or video clips you expect to get.
When you weigh the cost against the fuel and time you'd spend driving out to check cameras manually, a small data plan often ends up saving you money and hassle, especially for those hard-to-reach spots.
Ready to stop guessing and start seeing what's really out there? The Magic Eagle EagleCam 5 gives you an all-in-one cellular connection, AI species recognition, and a tough-as-nails build to deliver reliable scouting in any condition. Explore the EagleCam 5 and transform your wildlife observation today.