
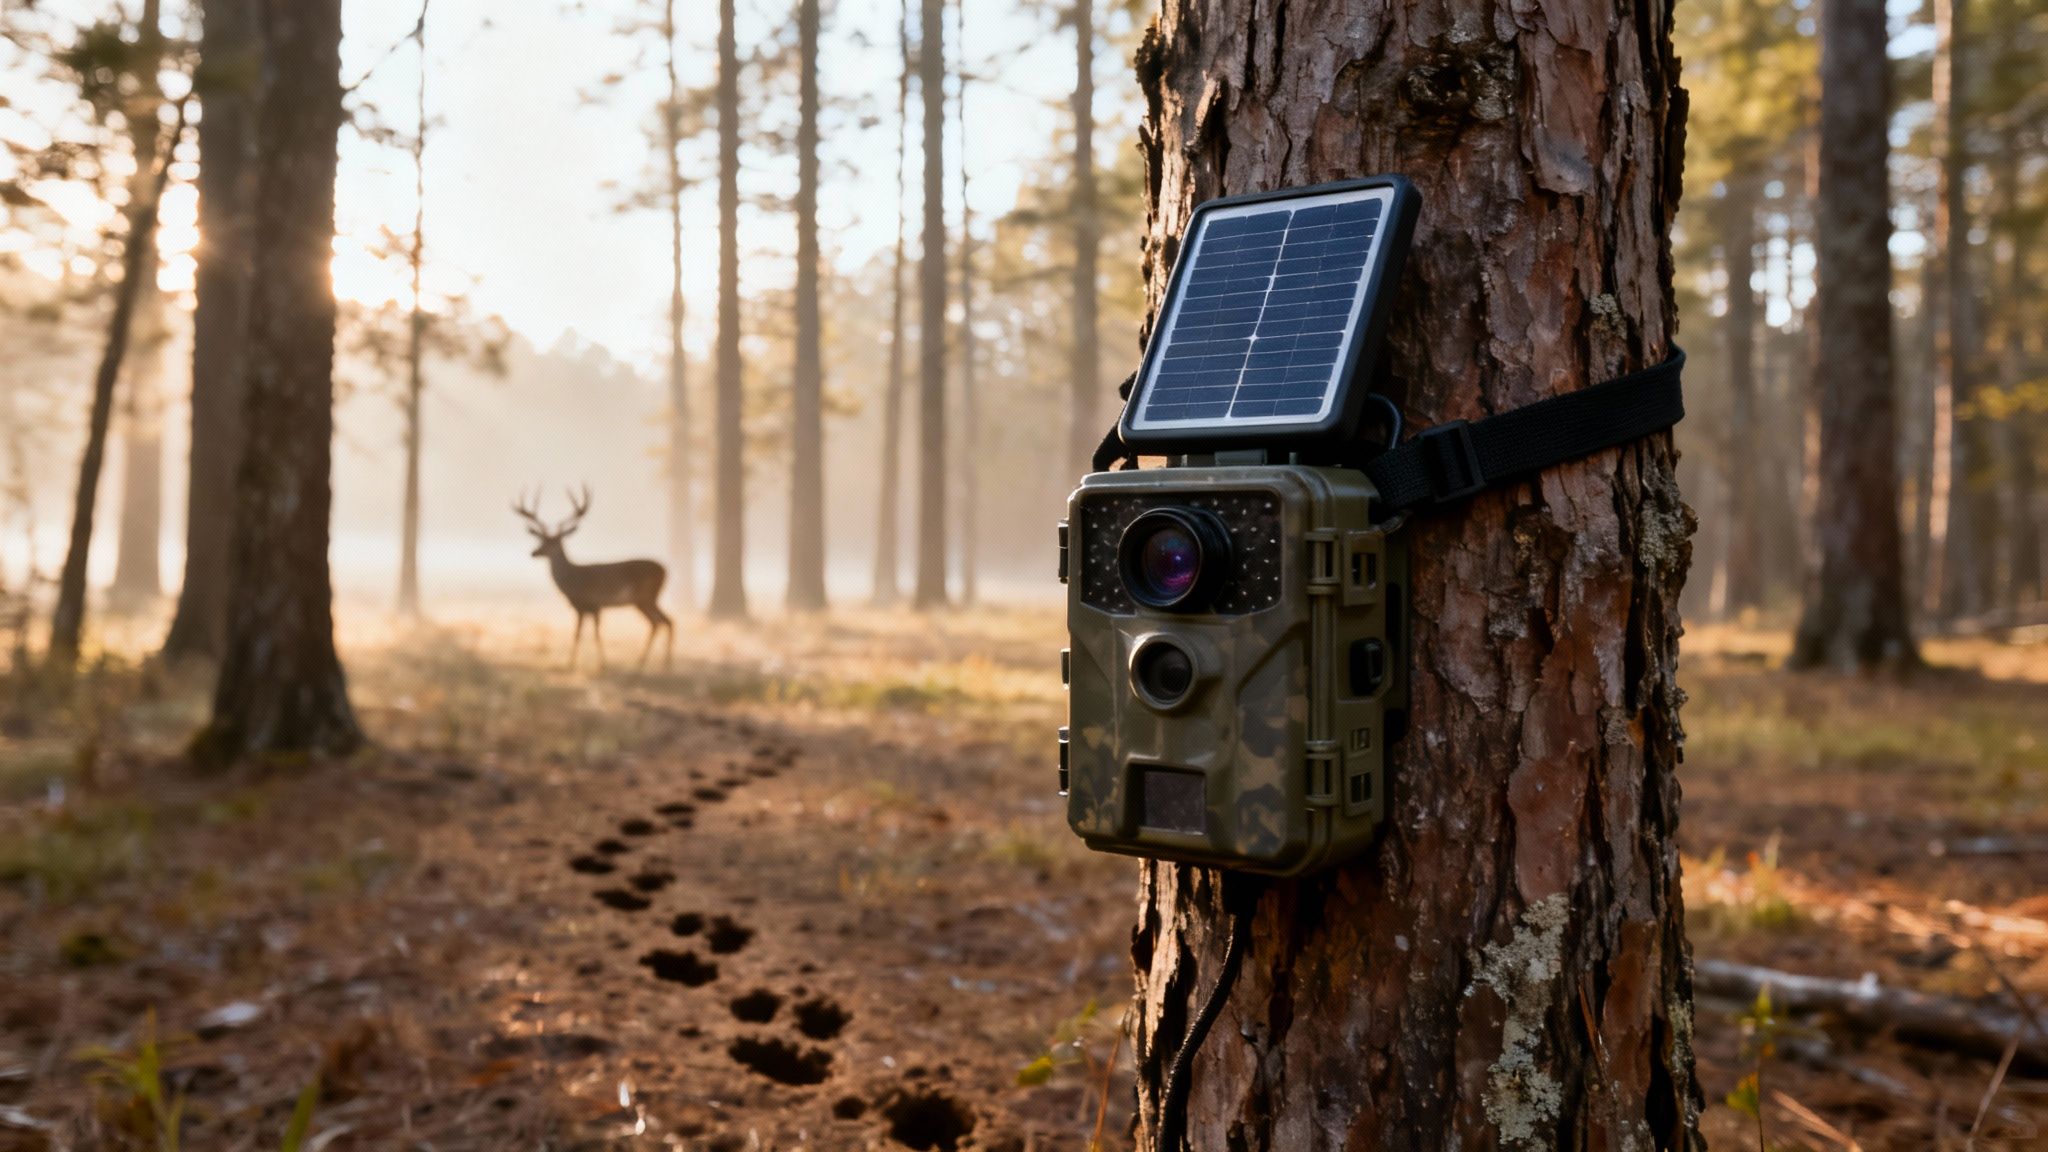
Let's be honest, trekking miles into the woods just to swap out a fresh set of AAs is one of the biggest pains of running trail cameras. Adding solar panels for game cameras is the fix. It gives you a steady, reliable power source that can keep your camera running for months on end, not just a few weeks. This simple upgrade saves you time, money, and—most importantly—countless trips that leave your scent all over a prime hunting spot.
Why Your Trail Camera Needs a Solar Panel
This is about more than just saving a few bucks on batteries; it’s about fundamentally changing your scouting strategy. The real advantage here is uninterrupted surveillance.
With a constant power supply, you can pattern deer over an entire season or keep an eye on a remote property without ever worrying about a dead camera. This is especially true for modern cellular models, which burn through batteries much faster because they're constantly transmitting photos and videos.
Eliminate Scent Contamination
Every time you walk into your spot to service a camera, you're leaving a trail of human scent. That's more than enough to alert a mature buck and change his patterns.
By installing a solar panel, you can cut those visits from a monthly chore to a simple check-up once or twice a season. This "set it and forget it" approach is a game-changer for anyone serious about low-impact hunting.
The less you disturb an area, the more authentic the animal behavior you'll capture. A solar panel is one of the best tools for minimizing your presence and getting a true picture of what’s happening when you’re not there.
Unlock Your Camera’s Full Potential
Those power-hungry features we all love—high-resolution video, rapid-fire photo bursts, and real-time cellular updates—drain standard batteries in a hurry. A lot of hunters end up handicapping their own cameras by picking lower-quality settings just to make the batteries last.
A solar setup gets rid of that compromise. It lets you run your camera at its highest performance settings without a second thought. You can finally capture those crisp, multi-photo sequences and full-length videos that tell the whole story.
A Smarter Financial Investment
Sure, there's an upfront cost, but a solar panel pays for itself pretty quickly. Think about how much you spend on premium lithium batteries over a year.
We break down the numbers in our guide on how long trail camera batteries last, but the math is simple: a solar panel is a one-time purchase that kills recurring battery costs for years. The industry is already catching on, with solar-powered models expected to account for 21% of total trail camera shipments by 2024. That’s a clear sign of their reliability and long-term value.
Choosing the Right Solar Panel for Your Camera
Picking the right solar panel for your game camera isn't about grabbing the biggest or most expensive one off the shelf. It's about a smart match between the panel's specs, your specific camera, and the environment you're dropping it in. Get it wrong, and you could end up with a dead camera—or worse, fried electronics. Nailing this choice from the get-go is the secret to a truly set-it-and-forget-it power system.
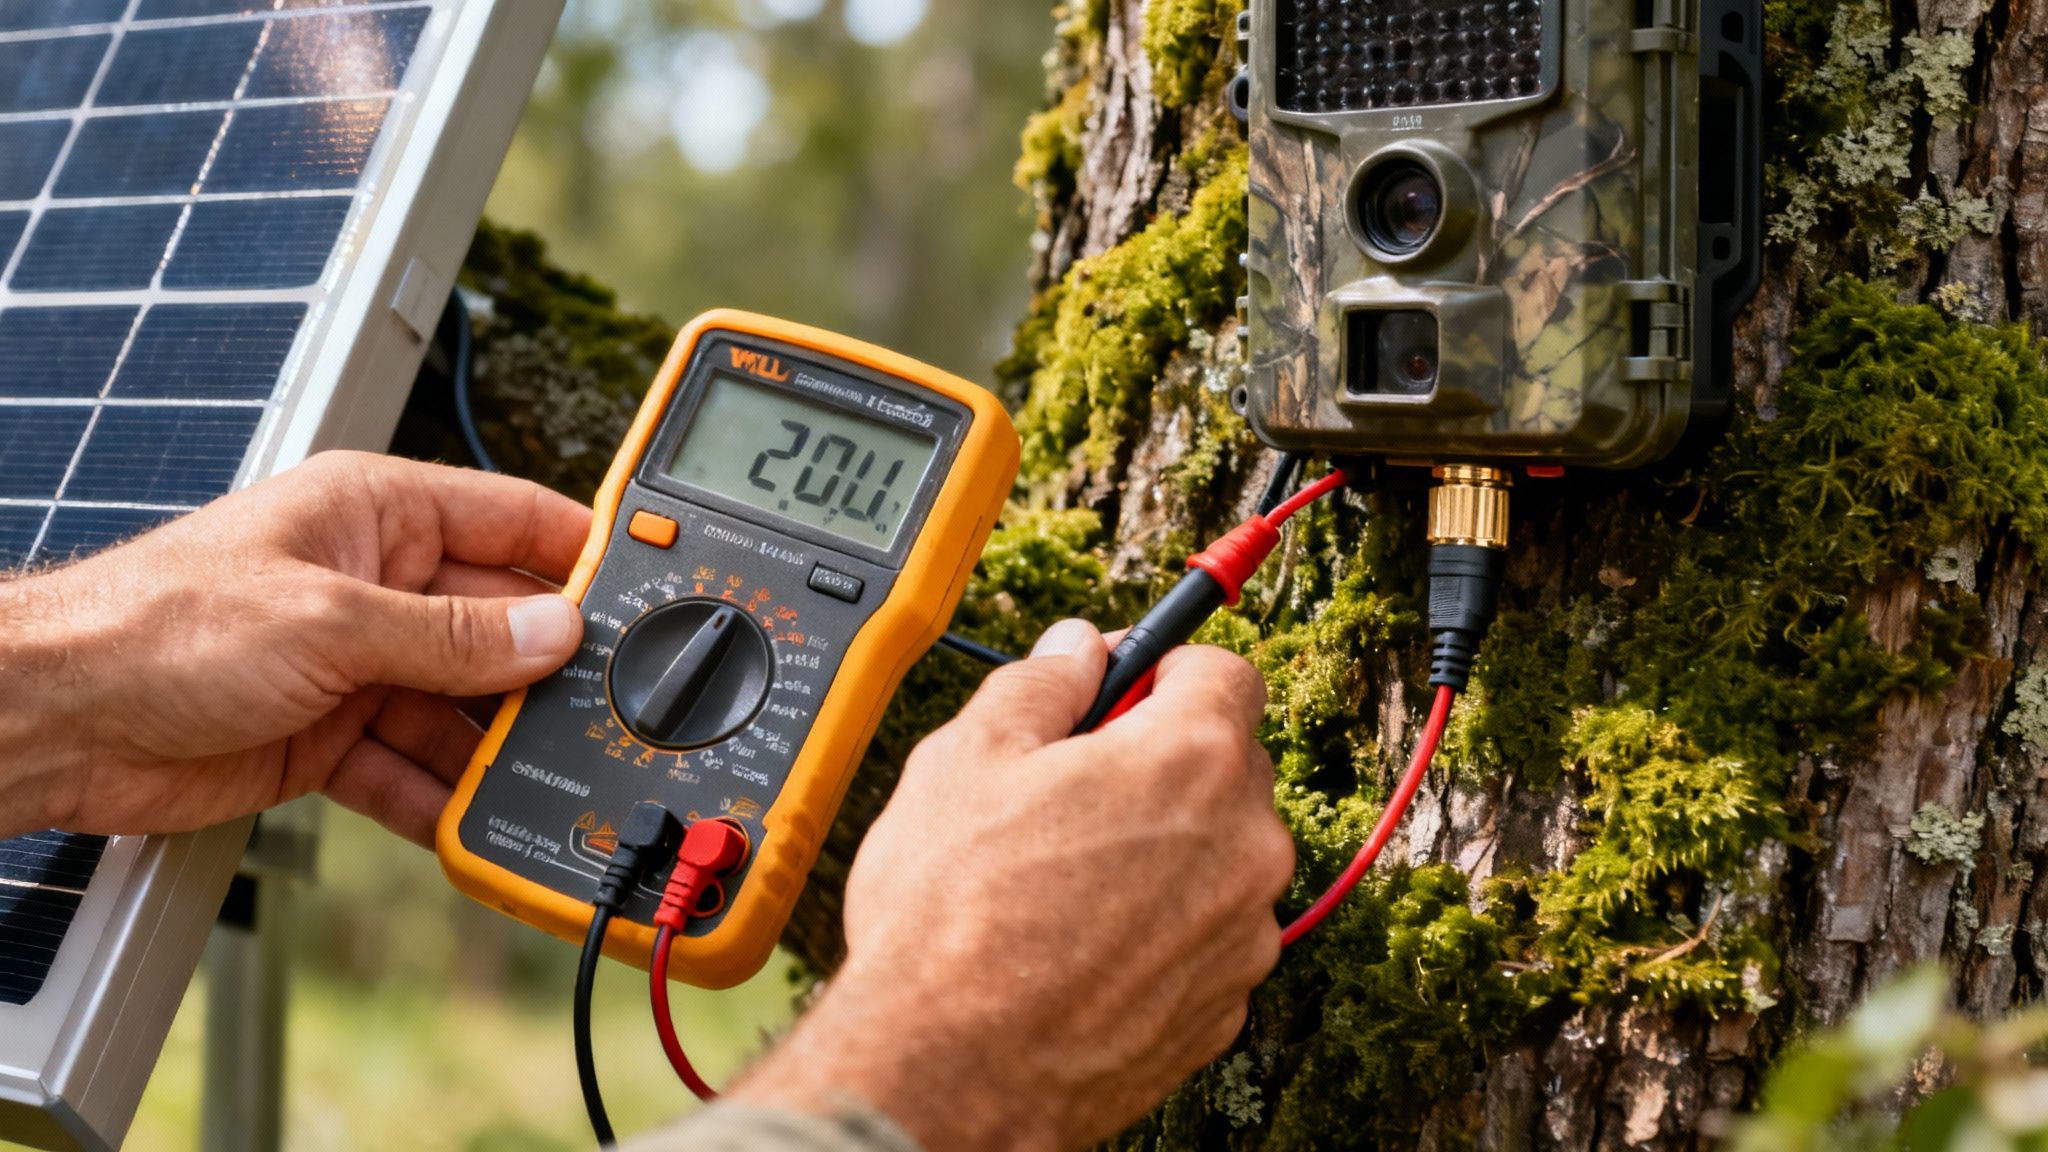
First thing's first: voltage. Most game cameras run on 6V, 9V, or 12V DC power. Shoving 12 volts into a camera built for 6 volts is a quick way to kill it for good. This critical piece of info is almost always printed right next to the camera's external power port or buried in the user manual. Do yourself a favor and check your camera before you even start shopping for solar panels for game cameras.
Once you've got the voltage sorted, look at the connector. The vast majority of cameras use a standard barrel-style plug, but the actual diameter can differ. The panel's packaging or online description should list the plug size. If you’re not sure, the safest move is to buy a panel made by your camera’s manufacturer. For example, grabbing the one designed for the EagleCam 5 guarantees it will fit perfectly.
Internal Battery vs. Direct Charging
One of the biggest decisions you'll make is whether to get a panel that has its own built-in battery. These all-in-one units are hugely popular for a good reason: they basically act as a dedicated power bank for your camera. The solar cells charge up an internal lithium battery all day, and that battery is what powers your camera through the night or during a string of cloudy days. It creates a much more stable and resilient setup.
On the other hand, simpler panels without a battery just trickle-charge the AAs you have inside the camera. That can work, but it's a lot harder on those AA batteries and becomes unreliable fast during long stretches of bad weather.
Pro Tip: A solar panel with an integrated battery is almost always the better choice. It provides a consistent power buffer that shields your camera from power dips and keeps it running through back-to-back overcast days—a classic scenario during deer season.
Matching Wattage to Your Environment
Finally, think about the panel's wattage, which is just a measure of its power-generating muscle. This isn't a one-size-fits-all deal; where you live and where you place the panel completely dictates what you need.
A small 3W panel might be all you need for a camera set up on a food plot in sunny south Texas where it gets blasted with direct sun all day.
But that same 3W panel is probably going to fall flat in the dense hardwoods of Pennsylvania during the short days of late fall. There just isn't enough sunlight hitting the forest floor to keep the battery topped off.
For those low-light spots, stepping up to a 5W or even a 10W model is a smart move. The larger surface area on these panels lets them soak up more ambient light, generating enough juice to keep your camera alive even on gloomy days or in heavy shade. It's always better to have a little more power than you need than to hike in and find a dead camera right before the rut kicks off.
Building a Power System That Never Fails
Setting up a truly bulletproof power system for your game camera is about more than just plugging in a panel and hoping for the best. The real goal here is to create a self-sufficient energy source with enough juice in the tank to ride out multiple days of bad weather.
This is what prevents that frustrating moment when you discover a dead camera after a week of rain or heavy overcast skies.
Success starts with being honest about your camera's energy appetite. A standard, non-cellular camera that snaps a few dozen photos a day barely sips power. But a cellular model like the EagleCam 5 is a completely different beast. Every single photo and video it sends to your phone requires a big burst of energy, which dramatically hikes up its daily power needs.
Calculating Your Power Needs
Your specific environment is the next piece of the puzzle. A camera rig soaking up the intense sun in the desert southwest has a much bigger power budget to work with than one tucked away in a shaded northern forest during the short, cloudy days of winter. You have to account for these regional and seasonal differences.
The whole point is to build a system that doesn't just work on perfect, sunny days, but thrives through the realistic conditions you'll actually face in the field.
A good rule of thumb is to plan for at least three to five days of reserve power. This means the battery hooked up to your solar panel should be able to run the camera all by itself for that long without any help from the sun. This buffer is what separates a reliable, year-round setup from one that dies during the first long storm.
This simple visual guide breaks down the core thought process for picking the right panel.
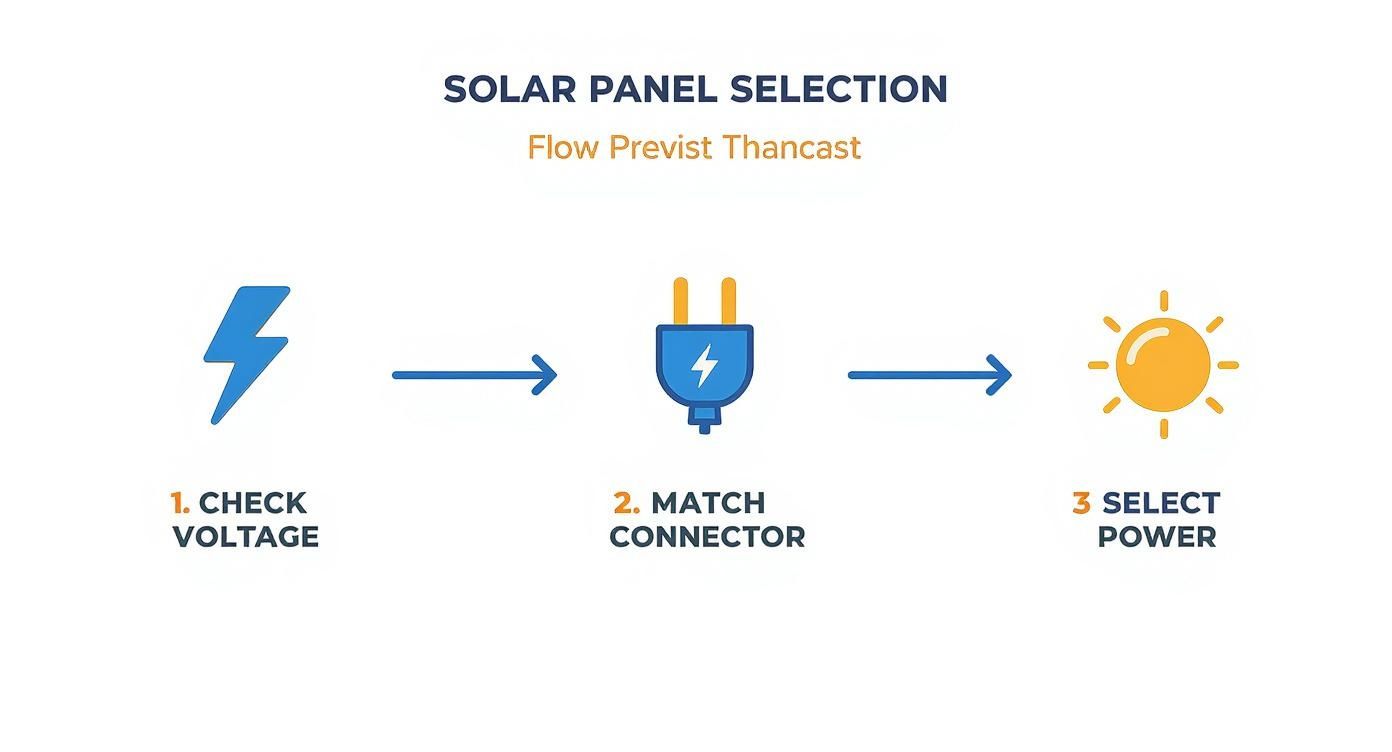
As you can see, it all boils down to matching the voltage, connector, and power output to what your specific camera needs to run properly. Get this right, and you're well on your way.
A Quick Power Audit Checklist
Before you pull the trigger on a setup, run through this quick checklist. It’ll help you avoid the classic mistake of underpowering your camera.
- Camera Type: Is it a power-hungry cellular model or a basic SD card camera?
- Trigger Frequency: Are you expecting hundreds of daily triggers over a feeder, or just a few captures of deer passing on a trail?
- Primary Location: Will the panel get 6+ hours of direct sun, or is it stuck in a shaded, low-light area?
- Climate: Are you dealing with long, overcast winters or pretty consistent year-round sun?
Answering these questions honestly will point you toward the right combination of solar panel wattage and battery capacity. Choosing the right power source is foundational, which is why understanding the best batteries for trail cameras is every bit as important as picking the panel itself.
To truly build a power system that never fails, regular care is essential. Consider following a thorough solar panel maintenance checklist to keep your panel free of debris and performing at its best, season after season.
Field Installation for Maximum Sun Exposure
Let's get one thing straight: where and how you mount your solar panel is just as important as which one you buy. A top-tier panel stuck in a shady ravine will get smoked by a basic model set up in a sunny clearing.
Getting this right is the difference between a camera that stays powered up all season long and one that dies on you when you need it most.
The golden rule is simple. If you're in the Northern Hemisphere, your panel needs to face true south. That single adjustment ensures it soaks up the most direct sunlight as the sun tracks across the sky from east to west.
Aiming for the Sun
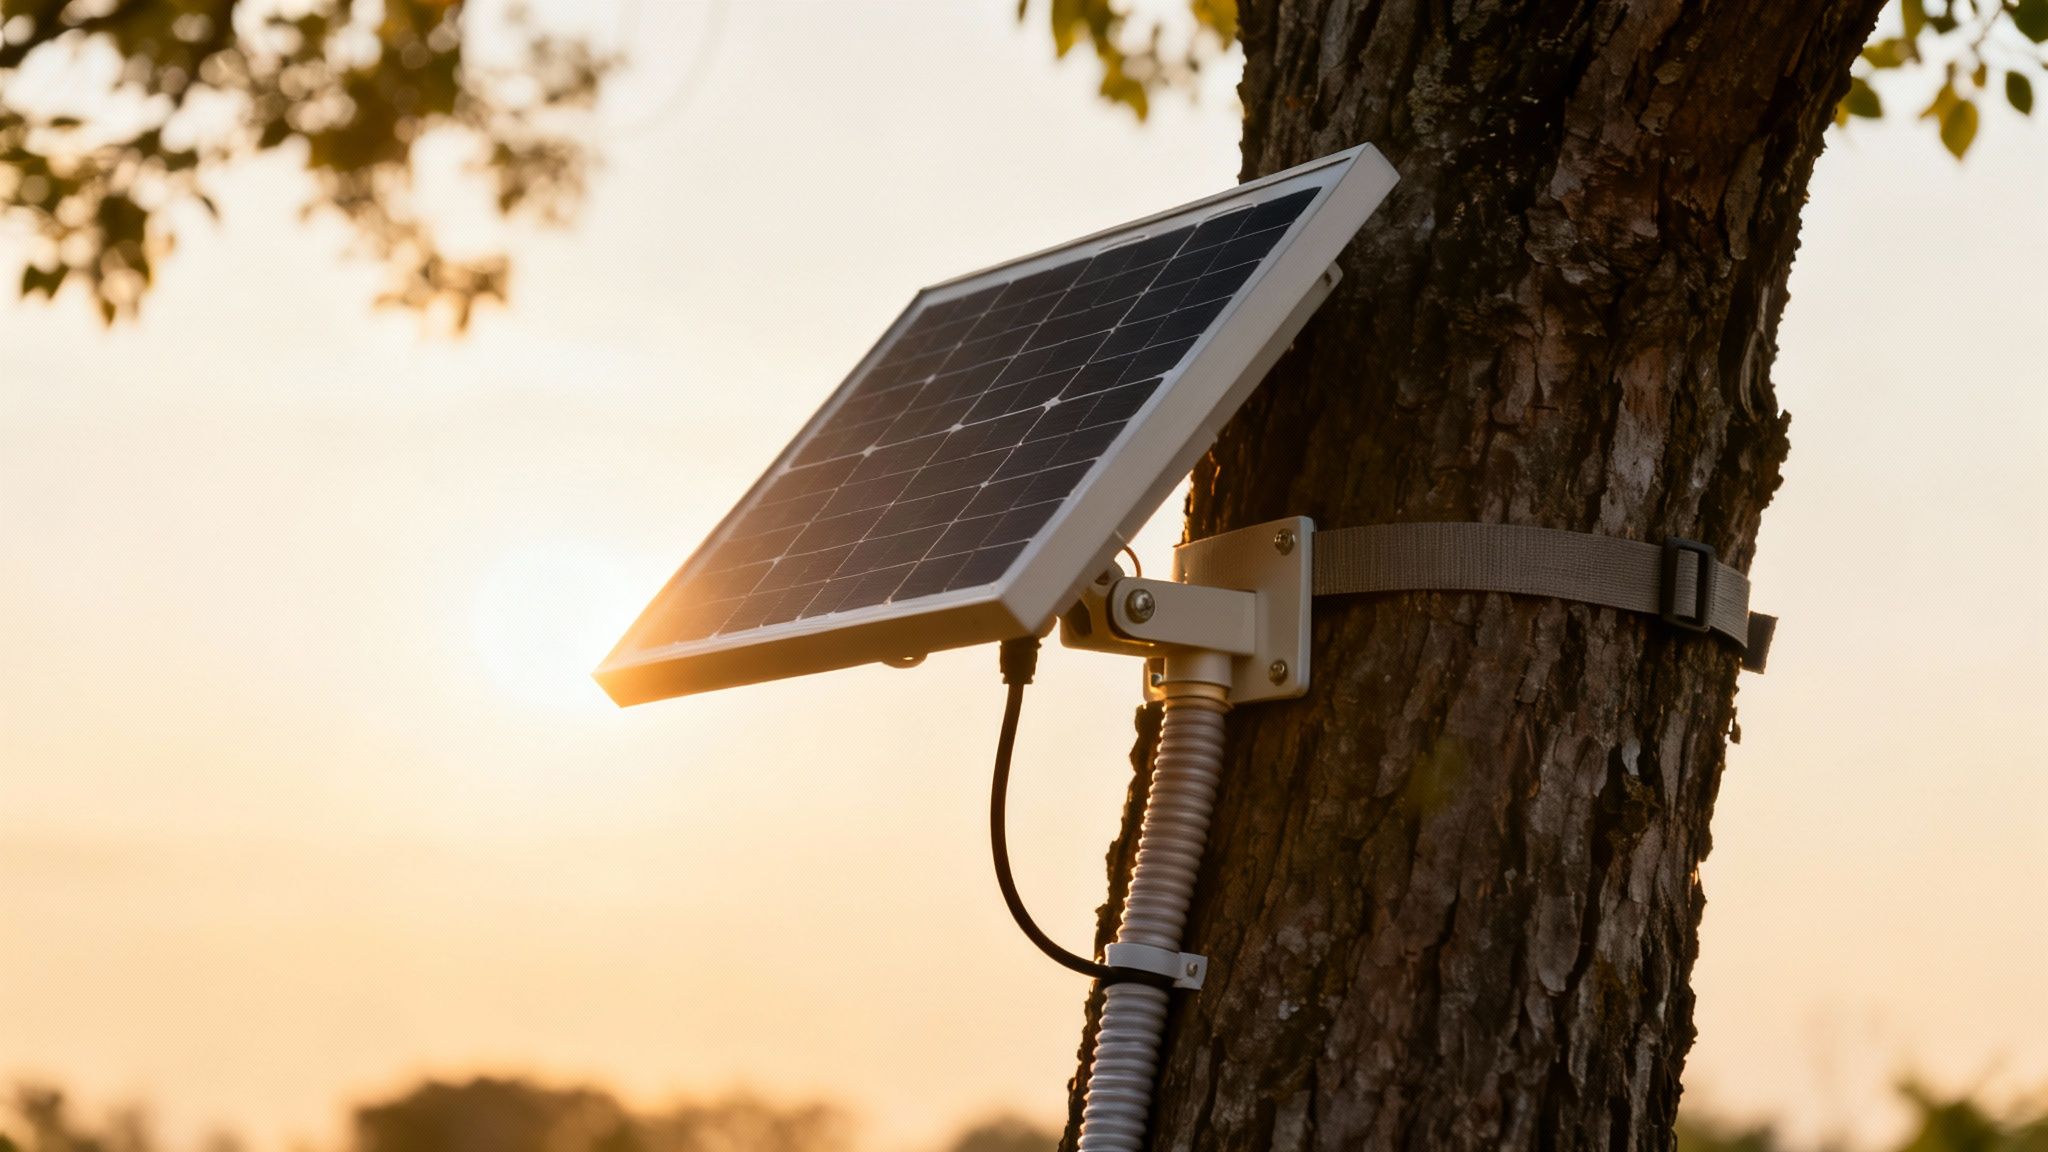
Think of your panel like a tiny sunflower—it needs to be aimed right at its power source. Just strapping it flat against a tree trunk and calling it a day won't cut it. You have to think about the angle, which changes dramatically with the seasons.
During the summer, the sun is high overhead, so a flatter angle works fine. But in the fall and winter, when most of us are really putting our cameras to work, the sun hangs much lower on the southern horizon.
For those critical hunting months, you’ll need to tilt your panel more vertically to catch that low-angled light. This is why adjustable mounting brackets are a must-have. For a deeper dive, check out this excellent guide on the best direction for solar panels to really maximize their output.
Pro Tip: Don't just look for a sunny spot. Find the spot that will be sun-drenched between 10 a.m. and 4 p.m. This is the peak power-generating window, and maximizing exposure during these hours is what keeps your battery topped off.
Smart Mounting and Cable Management
Your mounting options are pretty straightforward, but each has its pros and cons. I've used all of them, and here's the breakdown:
- Tree Mounts: Most panels come with a strap and an articulating bracket. I like to find a tree on the north side of a clearing and mount the panel facing south into the open sky.
- T-Posts: If you're setting up over an open field or food plot, a simple T-post is your best friend. It gives you total control over direction and angle, with zero canopy interference.
- Security Boxes: A trick I use a lot is mounting the panel bracket directly to the camera's steel security box. Just drill a small hole, bolt it on, and you have a compact, secure setup.
Remember, your panel doesn't have to be right next to your camera. Most have cables that are 6-10 feet long. This gives you the freedom to mount the panel high up on a tree in direct sun while keeping your camera perfectly concealed down in the brush.
Once everything is mounted, cable management is key. Don't leave loose wires dangling where a curious squirrel or raccoon can turn them into a chew toy.
I always secure the cable tightly against the tree or post using staples or zip ties. Tucking the wire into deep bark crevices is a great way to hide it and protect it from critters and the elements. Using sturdy trail camera stands can also provide a solid base for both your camera and panel, keeping everything organized and securely off the ground.
Troubleshooting Common Solar Power Issues
Even the most carefully planned solar setup can run into hiccups out in the field. A sudden battery drain or a camera that just won’t power on is incredibly frustrating, but the fix is often much simpler than you think. The key is to run through the issues systematically instead of jumping to the conclusion that your gear is broken.
Start with the most common culprit: the sun. A panel that looked perfect in the summer might be completely shaded by November as the sun’s angle shifts. Before you tear everything apart, head back to your camera site during peak daylight and double-check that the panel is still getting several hours of direct, unfiltered sunlight.
Diagnosing Power Loss in the Field
If the panel’s location is still solid, it’s time to check for simple physical problems. These account for the vast majority of power failures with game camera solar panels and are usually easy to fix right on the spot.
First, give the whole system a physical once-over. Pay close attention to the connection points. Is the cable seated firmly in both the panel and the camera's external power port? A loose plug is one of the most common—and thankfully, easily corrected—issues I see.
Next up, check the panel’s surface. Is it caked with dust, pollen, bird droppings, or snow? A dirty panel can't absorb sunlight effectively, which kills its charging ability.
Field Tip: I always keep a small microfiber cloth in my pack. A quick wipe-down of the solar panel is often all it takes to solve a mysterious battery drain and restore its full charging power.
Finally, trace the entire length of the power cable. Look for any signs of chewing. Squirrels and mice are notorious for gnawing through the thin wires on some models, which can cause a short or a complete break in the connection.
Is the Panel or the Battery at Fault?
If all the connections are tight and the panel is clean, you need to figure out if the problem is the panel, the battery, or the camera itself.
If you have a panel with an integrated battery, disconnect it from the camera. Let it charge in direct sunlight for a full day, then try powering a different compatible device with it. If that device fires up, the problem is likely with your camera's charging circuit or its internal batteries.
This kind of simple field troubleshooting is more important than ever. The cellular trail camera market is projected to hit $1.525 billion by 2033, and that growth is driven by solar integration that frees us from constant battery swaps. Knowing how to diagnose these systems ensures you can actually take advantage of the tech. You can learn more about the growth of the cellular camera market here.
What if the panel’s battery still won't hold a charge after a full day in the sun? It may have simply reached the end of its life. Most of these internal lithium batteries last 3-5 years before their capacity drops off a cliff. When that happens, the whole solar panel unit usually needs to be replaced. A few minutes of testing in the woods can save you from pulling a perfectly good camera from your best spot.
Frequently Asked Questions About Game Camera Solar Panels
When you're thinking about upgrading your scouting gear, a few common questions always come up. We get asked all the time about the practical side of running solar panels on game cameras.
Here are some straight answers to the most frequent queries. This quick guide will give you the clear, practical info you need to make the right call out in the field.
Can I Use Any Solar Panel with Any Game Camera?
Absolutely not—and trying to is a fast way to kill your camera. Compatibility is everything.
The two things you absolutely cannot ignore are voltage output and the physical connector plug. Most trail cameras are built to run on a specific DC power input, usually 6V, 9V, or 12V. If you push a 12V charge into a camera designed for 6V, you can instantly fry its sensitive electronics. Always check your camera's user manual or look for the power rating stamped right next to the external power port.
On top of that, the barrel plug on the panel's cable has to be a perfect match for the camera's input jack. Some "universal" kits come with a bunch of adapter tips, but it's much safer to confirm the exact size beforehand. Honestly, the easiest way to guarantee a perfect match is just to buy the solar panel made by your camera's manufacturer.
How Do I Protect My Solar Panel from Theft?
Protecting your gear from thieves is a real concern. The best defense is making your setup hard to see and even harder to reach. Out of sight, out of mind is the name of the game here.
For starters, mount the panel high up, at least 10-12 feet off the ground. This immediately gets it out of a casual line of sight and makes it a real pain to mess with. For serious security, use a Python-style security cable to lock both the solar panel and the camera securely to the tree. Some brands even offer custom-fit steel security boxes for their panels, which adds another tough layer of defense.
A little camouflage goes a long way. I always wrap the shiny frame of the panel and any exposed cables with camo tape or cloth. This simple step helps the entire setup just dissolve into the tree bark, drastically cutting the odds that another person will ever spot it.
Will a Solar Panel Work During Winter?
Yes, it'll work, but you have to manage your expectations. A panel's performance will definitely be lower in the winter.
Solar panels generate power from light, not heat, so cold temperatures themselves aren't the problem. The real challenges are the shorter daylight hours and the fact that the sun hangs much lower in the sky. Both factors mean less intense light is hitting the panel for a shorter amount of time.
But the biggest winter threat is obstruction. Heavy snow or a thick layer of ice covering the panel will stop it from producing any power at all. This is exactly why having a system with enough battery capacity to power your camera through several days of low-light or no-light conditions is absolutely critical for winter scouting.
How Long Does a Trail Camera Solar Panel Last?
A well-made solar panel is a surprisingly durable piece of equipment. The photovoltaic cells and the rugged housing are built to withstand years of brutal outdoor exposure and can often last for a decade or more with minimal care.
The part that will almost always wear out first is the integrated rechargeable battery, if your model has one. These internal lithium-ion batteries typically have a lifespan of 3 to 5 years. After hundreds of charging cycles, especially in climates with extreme heat or cold, their ability to hold a full charge will gradually fade. The plastic casing and power cable can also get brittle after many seasons in the sun, but a unit from a reputable brand should give you years of dependable service before you even have to think about replacing it.
Ready to build a power system that never quits? The Magic Eagle solar panel is engineered to perfectly match our cameras, ensuring you get uninterrupted power and reliable scouting all season long. Check it out and stop buying batteries for good.