
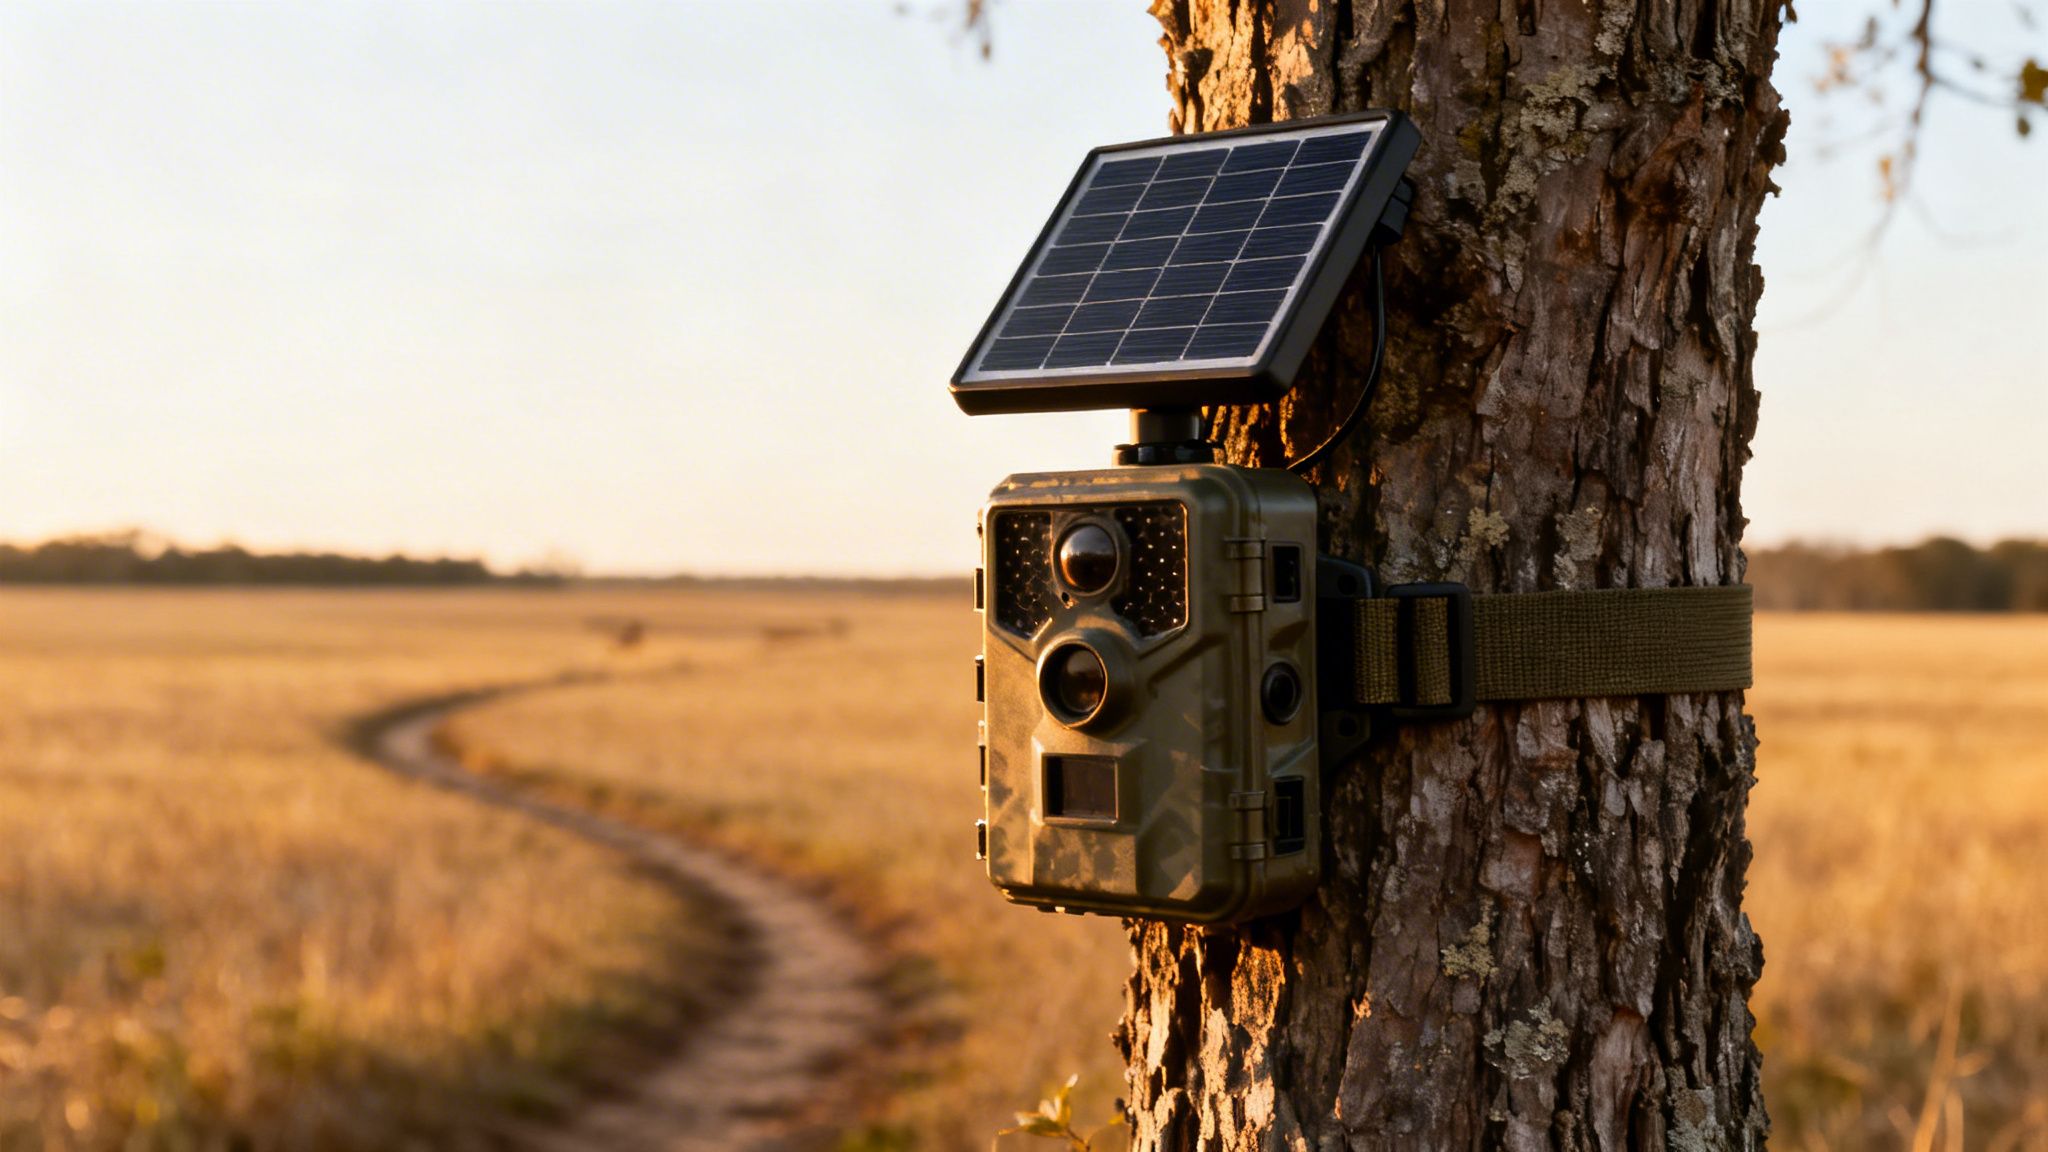
We’ve all been there. You spend weeks patterning a monster buck, your anticipation building with every passing day, only to pull the SD card and find your trail camera died a week ago. Dead batteries. It’s the ultimate gut-punch for any serious hunter. A reliable solar panel for game cameras puts an end to that frustration for good, turning your scouting tool into a self-sufficient powerhouse you can truly set and forget.
The End of Dead Batteries: Why Solar Power Is a Game Changer
 Every trip into the woods to swap out AAs is a disturbance. You leave your scent, snap twigs, and potentially spook the very animals you’re trying to understand. This constant maintenance cycle isn't just a hassle—it can throw off your whole season's strategy by making wildlife wary of the area.
A solar panel setup completely eliminates that weakness. By soaking up the sun's energy, it provides a steady trickle charge that keeps your camera’s internal battery topped off, day in and day out. Your camera stays live, capturing critical intel without you ever having to stomp through your honey hole again.
Achieving True Energy Independence in the Field
Running a camera off the grid is about more than just convenience. It’s about unlocking your gear's full potential, especially with power-hungry cellular models like the Magic Eagle EagleCam 5 that need extra juice to send photos and videos. With a constant power supply, you can confidently crank up the settings—like frequent check-ins and high-res video—without worrying about a dead battery.
This isn’t just some niche trend; it’s the future of remote scouting. The trail camera market is expected to explode from USD 89.52 billion in 2025 to USD 151.45 billion by 2032, and a huge part of that growth is the demand for wireless, self-sufficient cameras. In 2023, nearly 20% of all trail camera shipments already came with solar panels, giving users months of runtime in the deepest, most remote country.
For hunters and researchers, this translates to real savings. Users can cut their annual battery costs by 60-80% while ensuring critical features like GPS anti-theft alerts stay active. You can explore the full trail camera market analysis to see just how fast this tech is moving.
The real benefit is simple: a solar panel lets you reduce your human impact. Fewer trips to your camera site mean less pressure on wildlife, giving you more natural and reliable scouting data.
When you switch to a solar setup, you're not just buying another piece of gear. You’re investing in a smarter, less intrusive way to hunt.
How Your Solar Panel Keeps Your Camera Running

To really get the most out of a solar panel for game cameras, it helps to know what’s actually happening under the hood. Think of your solar setup as a tiny, personal power grid out in the woods. The panel is your miniature power plant, and the battery is your local grid, storing energy until it’s needed.
Each piece has a critical job. Together, they create a nonstop cycle of generating, storing, and managing power so your camera can run 24/7 without you ever touching it. Let's break down the three key players that make this all possible.
The Collector: The Photovoltaic Panel
It all starts with the photovoltaic (PV) panel. These panels are packed with semiconductor cells, usually made of silicon. When sunlight hits these cells, it gets the electrons moving, creating a flow of direct current (DC) electricity. This is called the photovoltaic effect.
Basically, the panel is a silent energy harvester, turning light straight into juice for your camera. The brighter the sun, the more power it makes. A panel's max output is measured in watts, but for trail cameras, even a small, low-wattage panel can do the trick and keep a battery topped off.
Of course, you want to squeeze every last drop of power out of that panel. Learning how to increase solar panel efficiency with smart placement and maintenance is key to keeping your camera online, especially during those gloomy winter months.
The Reservoir: The Battery
Here’s the thing: your solar panel only makes power when the sun’s out. That’s where the battery comes in—it’s your energy reservoir. Most modern solar panel kits for game cameras have a rechargeable battery built right in, typically a lithium-ion pack.
All the electricity the panel generates flows into this battery, banking it for later. This is what keeps your camera snapping photos through the night, on cloudy days, or when it's tucked under a thick tree canopy. The battery's capacity, measured in milliamp-hours (mAh), tells you how much energy it can hold. More mAh means more power in reserve, giving you a bigger buffer during low-light periods.
Want to learn more about how this fits into the bigger picture? We cover power systems and more in our detailed guide on what are trail cameras.
The battery is the critical bridge between daytime energy collection and nighttime operation. Without effective storage, a solar panel would only power the camera for a few hours each day, defeating the purpose of a set-it-and-forget-it system.
The Gatekeeper: The Charge Controller
The final piece of this puzzle is the charge controller. It's a small but vital electronic component that acts as a gatekeeper, sitting between the panel and the battery. Its main job is to regulate the flow of power to prevent overcharging.
Overcharging will absolutely wreck a battery, shortening its lifespan and killing its performance. The charge controller constantly monitors the battery’s status and cuts off the power from the panel once it’s full. It's the silent protector of your whole setup, making sure your battery stays healthy season after season.
In most integrated solar panel for game cameras kits, this controller is built directly into the unit, so you never even have to think about it. It just works.
Choosing the Right Solar Panel for Your Trail Camera
Picking a solar panel for your game camera isn't as simple as grabbing the first one you see on the shelf. The wrong choice can lead to a dead camera battery right when the action heats up—or worse, it could fry your camera's electronics for good.
Think of it like pairing the right scope with a rifle; compatibility is everything. This guide will walk you through the must-knows, from voltage to connectors to power needs, so you can build a reliable setup that runs on its own.
Match the Voltage and Connectors
First things first: voltage. This is non-negotiable. Most trail cameras run on either 6V or 12V systems. Hooking a 12V solar panel up to a 6V camera is a surefire way to destroy its internal circuits, turning your valuable gear into a paperweight. Always, always check your camera’s user manual for its required voltage.
Next up is the connector plug. While a lot of panels use a standard barrel-style plug, the actual size can differ between brands. A plug that’s too loose won't make a solid connection, meaning it won’t charge. One that's too tight simply won't fit. Make sure the panel you're eyeing either has the correct plug for your camera model or includes an adapter that does.
Before you buy, it's smart to double-check that your solar panel and camera are a perfect match. A quick compatibility check can save you a ton of headaches down the road.
Solar Panel and Camera Compatibility Checklist
Use this table to ensure the solar panel you choose is perfectly matched to your game camera's technical requirements.
| Compatibility Factor | What to Check | Why It Matters |
|---|---|---|
| Voltage (V) | Compare the panel's output voltage to your camera's input voltage. Look for 6V or 12V. | A mismatch can permanently damage your camera's circuitry. This is the most critical check. |
| Connector Plug | Verify the plug type and size (e.g., 4.0mm x 1.7mm barrel plug). | An incorrect plug won't create a secure connection, preventing the battery from charging properly. |
| Battery Chemistry | Confirm the panel is designed for your camera's internal battery type (e.g., Li-ion, NiMH). | Mismatched chemistry can lead to inefficient charging, reduced battery lifespan, or even safety risks. |
| Charge Controller | Check if the panel has a built-in charge controller. | A charge controller prevents overcharging, which protects your camera's battery from damage and extends its life. |
Getting these four things right is the foundation of a reliable, self-sustaining camera setup. Once you've confirmed compatibility, you can move on to sizing the system for your specific spot.
Calculate Your Camera's Power Budget
To pick the right size solar panel, you first need to get a handle on your camera's "power budget"—how much energy it actually uses every day. A camera on a quiet trail taking a few photos will sip power, while one on a buzzing food plot sending high-res videos over a cellular network will guzzle it.
Here are the main things that drain your battery:
- Trigger Frequency: How often does your camera wake up to take a picture or video? A camera in a high-traffic spot might fire hundreds of times a day, with each event chipping away at the battery.
- Video vs. Photo: Recording video, especially with sound, is a massive power hog compared to snapping a single photo. A 30-second clip can easily use as much juice as dozens of still images.
- Night Vision: The infrared (IR) or black flash LEDs needed for night shots are one of the biggest power draws. If you've got a lot of nocturnal critters, your battery will work overtime.
- Cellular Transmissions: For cellular models like the Magic Eagle EagleCam 5, sending photos and videos over the network is energy-intensive. Setting it to transmit instantly uses way more power than sending one daily report.
Think of it this way: your camera's settings are like the throttle on a truck. High-resolution video and instant cellular uploads are like flooring it—you get incredible performance, but you burn through fuel (battery power) a lot faster. The easiest way to manage your power budget is by adjusting these settings.
Once you have a rough idea of your camera’s daily habits, you can choose a panel and battery combo that can keep up, even on cloudy days.
Sizing Your Solar Panel and Battery
With your power budget in mind, it's time to match it to a panel. A solar panel's output is measured in watts (W). For nearly all trail camera setups, a panel between 3W and 10W will get the job done. A higher-wattage panel doesn't charge the battery "faster" than it can handle, but it can gather enough energy in fewer hours of good sunlight—a huge advantage in the woods.
Here’s a simple way to think about sizing:
- Low Demand / High Sun: If you have a camera mainly taking photos in an open field with great sun, a small 3-5W panel with a standard internal battery (around 2000-3000 mAh) should be plenty.
- High Demand / Low Sun: For a cellular camera shooting frequent videos deep in a shady hollow, you'll need to step up your game. Look for a bigger 5-10W panel and pair it with a high-capacity internal battery (5000 mAh or more). This gives you enough reserve power to last through several overcast days without going dark.
Choosing the right solar panel for game cameras is a balancing act. You have to weigh your camera's appetite for power against the sunlight available at your location. By checking compatibility first and then sizing your system to your needs, you can build a truly hands-off setup that lets you focus on the hunt, not the batteries.
Field Strategies for Mounting and Placement
Having a solid solar panel is a great start, but knowing where and how to put it in the field is what really makes the difference. A perfectly good panel won't do you any good if it’s stuck in the shade all day or pointed at the wrong part of the sky. This is your guide to making sure your setup becomes a reliable, sun-powered machine.
Think of your solar panel like a little sunflower—it has to follow the sun's path to do its job. Your main goal is to find a spot that gets the most direct, clear sunlight you can find. Even a few leaves or a small branch casting a shadow can be an energy killer, seriously cutting down your panel’s output.
The process starts before you even step into the woods.
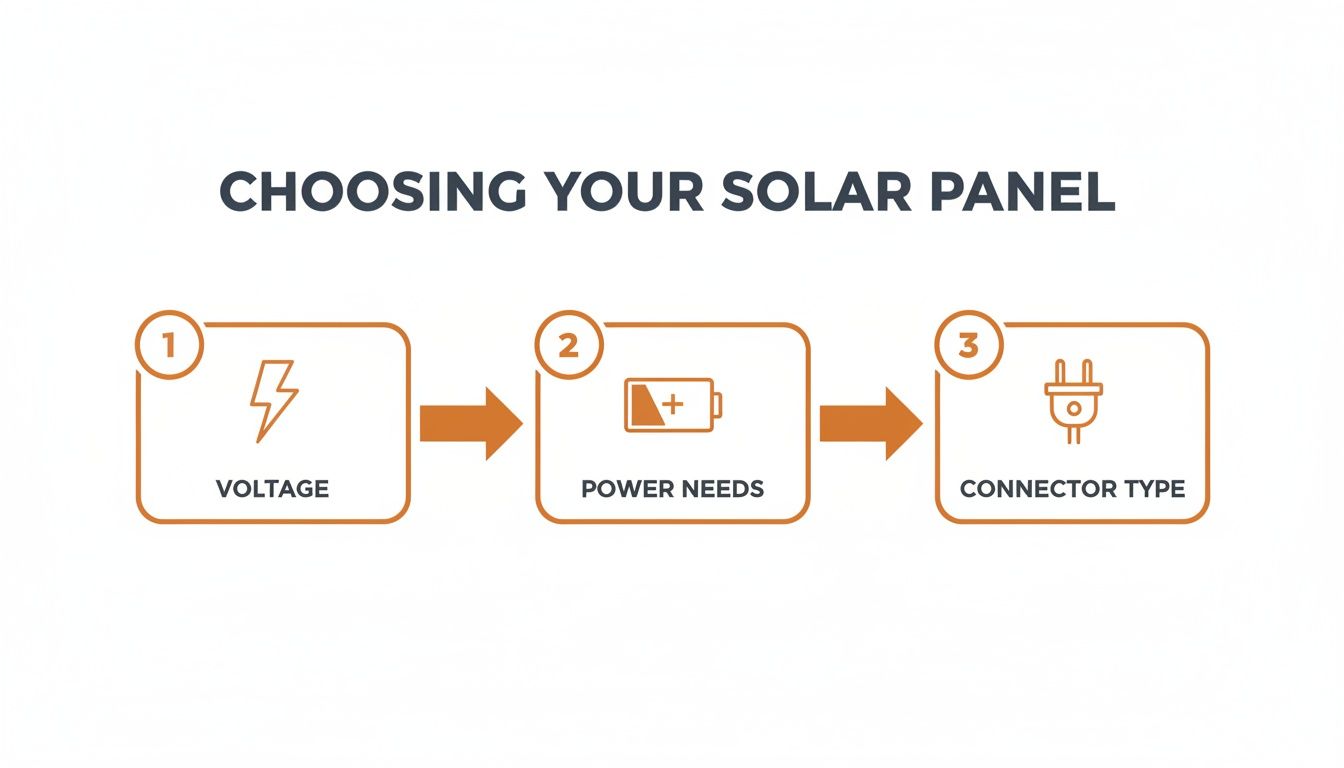
This simple guide is a reminder that success begins with picking the right gear—correct voltage, enough power, and the right connectors—before you even start thinking about where to mount it.
Finding the Optimal Position
For anyone in the Northern Hemisphere, the sweet spot for a solar panel for game cameras is facing true south. This lets it soak up the maximum amount of light as the sun moves from east to west. A simple compass app on your phone is all you need to get your bearing.
Once you’ve found that south-facing spot, look up. Do you see overhanging branches or a thick canopy that will cast shadows during peak sun hours (usually 10 AM to 3 PM)? Don't forget the sun's path changes with the seasons. A spot that’s perfect in the summer might get totally shaded in the fall when the sun hangs lower in the sky.
A common mistake is mounting the solar panel right next to the camera just because it's easy. It's often much better to put the camera in the perfect spot for wildlife, then run a longer cable to a nearby tree or post where the panel can get uninterrupted, all-day sun.
Adjusting Tilt for Seasonal Success
The angle of your panel, known as its tilt, is just as important. A flat panel works fine in the summer when the sun is almost directly overhead, but it’s pretty useless in the winter when the sun is low on the horizon. A tilted panel is also way better at shedding rain, snow, and leaves.
Here’s a simple rule of thumb for tilt:
- Summer: A shallow, almost flat angle does the trick.
- Winter: Go for a steeper angle, around 45-60 degrees, to face that low-hanging sun.
- Spring/Fall: Split the difference with a moderate angle.
Most mounting brackets that come with a solar panel for game cameras are adjustable, so you can tweak the angle for peak performance all year. A quick adjustment when you visit your camera site can make a world of difference.
Protecting Your Gear from Wildlife and Weather
Out in the wild, your gear will face everything from curious raccoons to freezing rain, so locking it down is non-negotiable. When you mount the panel, make sure it and the cable are snug and won't get knocked around by animals or heavy winds.
To guard against critters that love to chew on wires, you can run the power cable through a small piece of PVC pipe or some flexible metal conduit. It’s a small step that can stop a squirrel from knocking your camera offline. For more ideas on securing your setup, check out our guide on trail camera stands and mounts.
The technology behind this stuff is always getting better. The global market for solar-powered monitoring, which includes these camera systems, is expected to hit USD 5.8 billion by 2032. This growth is fueled by new tech that lets cameras run forever on solar power, cutting maintenance trips and costs by up to 70%. You can learn more about the research driving these energy-efficient designs and see where the industry is headed.
Maintaining Your System for Year-Round Reliability
A well-placed solar panel for game cameras is a low-maintenance powerhouse, but "low maintenance" doesn't mean "no maintenance." Just like any other piece of critical gear, a little preventative care is the secret to making sure your system runs flawlessly season after season.
Think of it as a quick pre-season tune-up. A few simple checks whenever you're at your camera site can prevent a dead battery right in the middle of the rut. These tasks are straightforward and designed to keep your setup running through the worst rain, snow, and heat the woods can throw at it.
Your Essential Maintenance Checklist
The goal here is simple: keep the panel clean, the connections tight, and the wires in one piece. Run through this quick checklist every time you visit your camera.
-
Clean the Panel Surface: This is the most common culprit behind a drop in power. Dust, pollen, bird droppings, and general grime can build up and block sunlight, strangling your panel's ability to generate a charge. Just wipe the surface with a soft, damp cloth to get it back to full strength.
-
Inspect All Cables: Give the power cable a quick look, from the panel all the way to the camera. You're searching for signs of trouble—fraying, cracking from UV exposure, or chew marks from squirrels and other rodents. A damaged cable is an incredibly common point of failure.
-
Check and Secure Connections: Make sure the plug is seated firmly in your camera's power port. It might seem minor, but vibrations from wind or even an animal bumping the tree can loosen it over time. A loose connection means you're getting an intermittent charge, or worse, no charge at all.
Weatherproofing Your Electrical Connections
While most modern setups are built to handle the elements, adding an extra layer of protection at the connection point is just smart practice. It’s cheap insurance against moisture.
After plugging the cable into the camera, wrap the connection point with a good-quality electrical tape. This tiny step helps seal out moisture and prevents the corrosion that can kill the flow of power over time, especially in areas with heavy rain, snow, or high humidity.
To guarantee your game camera always has power, consistent maintenance is crucial. You can significantly extend your solar panel's life and performance by learning how to improve solar panel efficiency.
This routine check-up also gives you a chance to make sure your internal battery is holding a charge like it should. Keeping your power system in top shape is just as important as choosing the right parts in the first place. You can dive deeper in our guide on the best batteries for trail cameras, which breaks down how power storage and maintenance go hand-in-hand.
A few minutes of care will pay off with uninterrupted scouting and total confidence in your gear.
Troubleshooting Common Solar Power Problems
Even the best solar setup for a trail camera can hit a snag. It's frustrating when your camera suddenly goes dark or the battery percentage nosedives, but the fix is usually simpler than you think. Before you decide to pull the whole rig down, a quick and logical check right there in the field can often solve the problem in just a few minutes.
The key is to work through the potential culprits one by one, starting with the easiest stuff first. Don't jump to conclusions. Most power issues boil down to a handful of common problems: a loose connection, not enough sun, or a component that's finally given up the ghost.
Start With the Obvious: A Connection Check
Your first move should always be a simple physical inspection of the entire system. More often than not, the solution is staring you right in the face.
-
Secure the Power Plug: Check that the power cable from the solar panel is plugged firmly into your camera’s DC port. A connection that’s been worked loose by wind or a curious squirrel is a classic reason for a camera to stop charging. Unplug it and plug it back in just to be sure.
-
Inspect the Full Cable Length: Run your hand along the entire length of the cable, from the panel all the way to the camera. You’re feeling for any signs of damage—chew marks, cracks from years of UV exposure, or a pinch point where it's wrapped around a tree. A compromised wire is an instant point of failure.
This simple once-over solves a surprising number of power headaches. If everything looks solid, the next step is to look up at your power source: the sun.
Evaluate Your Sun Exposure
A panel can't generate power if it isn't getting enough direct sunlight. What looked like a perfect, sun-drenched spot in August might be completely shaded out in November as the sun's angle drops in the sky.
Step back and take a hard look at your panel during peak sun hours (around midday). Are there new branches, a fresh crop of leaves, or even another tree now casting a shadow across it? Even a small shadow can slash your panel's output dramatically. If shade is the problem, you’ll need to relocate the panel to a sunnier spot, even if it's several feet away from the camera itself.
The reliability of solar power is a huge reason for its booming popularity. In 2023, solar-powered models accounted for nearly one in five trail camera shipments globally, helping users cut down on field disruptions by up to 80%. This trend is especially strong in North America, which held a 32% revenue share, driven by hunters and wildlife managers who need dependable, long-term deployments. You can dive deeper into this shift in the full 360iResearch report.
Test the Components Individually
If the connections are tight and the sun is hitting the panel, it's time to isolate the problem. The issue is almost certainly with either the panel or the battery.
To test the panel, try connecting it to a different camera you know works, or any other compatible device. If it starts charging the other device, your panel is fine. The problem is likely with your camera’s internal battery or its charging port.
On the other hand, if the panel fails to charge a second device, you’ve found your culprit—the panel itself is probably toast. This simple process of elimination saves you from replacing the wrong part and gets your camera back online much faster.
Frequently Asked Questions
Even with the best gear, questions pop up out in the field. Here are a few common ones we hear about running a solar panel for game cameras, with straight-up answers to get your setup dialed in.
How Much Direct Sunlight Does My Panel Need?
This is the big one, and the answer isn't a magic number. Think of it like filling a bucket of water. How much "fill time" (sunlight) you need depends entirely on how fast your camera is emptying that bucket (power consumption).
For most modern setups, four to six hours of direct, unobstructed sunlight a day is the sweet spot. That’s usually enough juice to run the camera and top off its internal battery, giving you a nice surplus for those inevitable cloudy days.
But let's say you're running a cellular camera over a busy food plot, and it's sending you videos all day. That thing is thirsty. In a high-drain situation like that, you'll want to aim for six or more hours of peak sun to make sure you never run a deficit.
Can I Use a Solar Panel from a Different Brand?
Mixing and matching brands is tempting, especially if you see a good deal online, but it's a gamble. While it can work sometimes, you have to be extremely careful and check three things before you plug anything in:
- Voltage: This is an absolute deal-breaker. Hooking a 12V panel up to a 6V camera is a great way to fry its electronics for good. Don't do it.
- Connector Plug: The physical plug has to be the right size and type. A loose, wobbly connection means an unreliable charge, if you get one at all.
- Charge Controller: The panel needs a built-in charge controller. This little piece of tech is what stops the panel from overcharging and slowly cooking your camera’s battery.
Honestly, unless you can confirm that all three of these specs are a perfect match, it's always smarter and safer to stick with the solar panel made by your camera's manufacturer. It guarantees everything works together and protects your investment.
Will a Solar Panel Work on Cloudy Days or in Snow?
Yes, but don't expect miracles. Modern solar panels are pretty sensitive and can still generate a trickle of power from ambient light on an overcast day. But the output will be way lower than on a bright, sunny afternoon. This is exactly why a fully charged internal battery is so critical—it's the buffer that gets your camera through those gray periods.
Snow is a different beast. A light dusting won't shut it down, but once a heavy layer cakes on top, it completely blocks the sun and kills power generation.
- Pro Tip: Try mounting your panel at a steep angle, somewhere around 45 degrees. This helps it catch that low winter sun and, just as importantly, encourages snow to slide right off.
How Can I Tell If the Panel Is Charging?
Most cellular trail cams today, like the ones from Magic Eagle, make this super easy. Just pop open the camera’s mobile app. It'll almost always show you the current battery percentage and have a little icon—like a sun or a lightning bolt—that tells you when an external source is actively charging the camera.
If you have an older camera without an app, check the unit itself. Many models have a small indicator light near the power port that lights up or blinks when it's getting a charge. It’s a quick, in-the-field way to confirm your connections are solid and the sun is doing its job.
Ready to make dead batteries a thing of the past? The Magic Eagle EagleCam 5 is built to work seamlessly with our high-efficiency solar panels, giving you nonstop performance even in the toughest conditions. Explore the EagleCam 5 and Solar Power Accessories at magiceagle.com